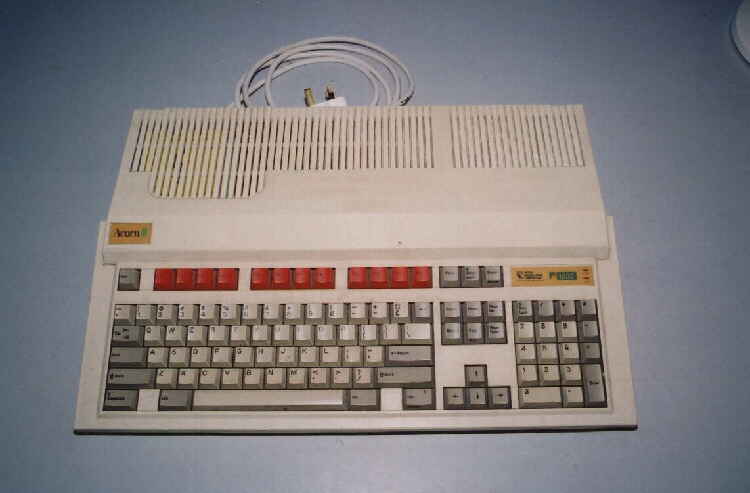
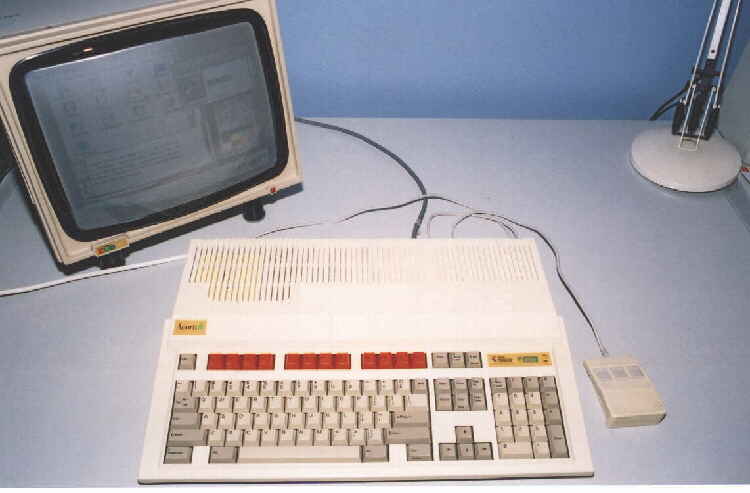
A grubby looking BBC Acorn A3000 ready for restoration to its former glory.
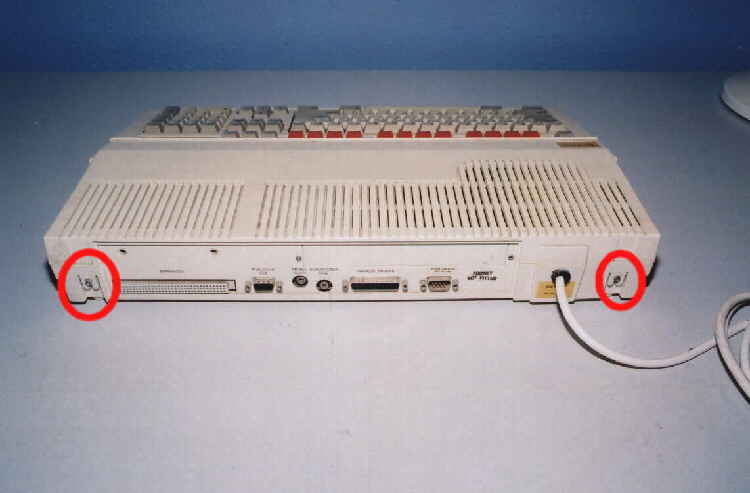
Firstly at the rear, slacken the 2 screws and slide out the locking plates (downwards).
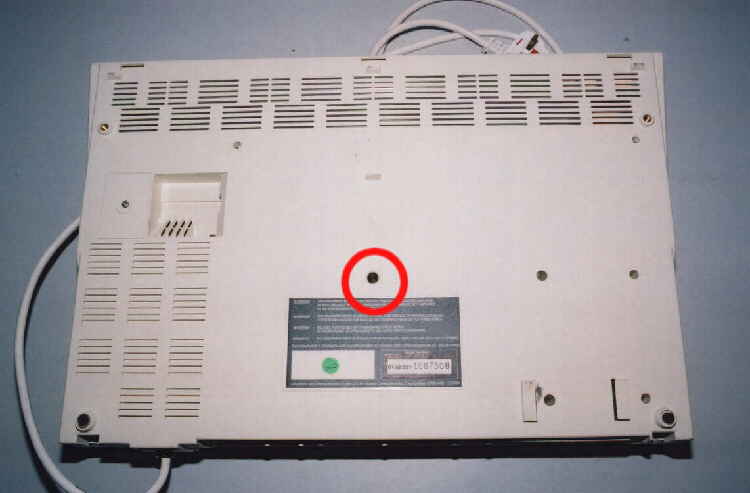
Undo (1) screw in the centre of the base.
Press tabs at rear of lid "inwards" then raise rear. You will also have to ease
the front of the case free by pressing tabs in the 3 slots on the underside.
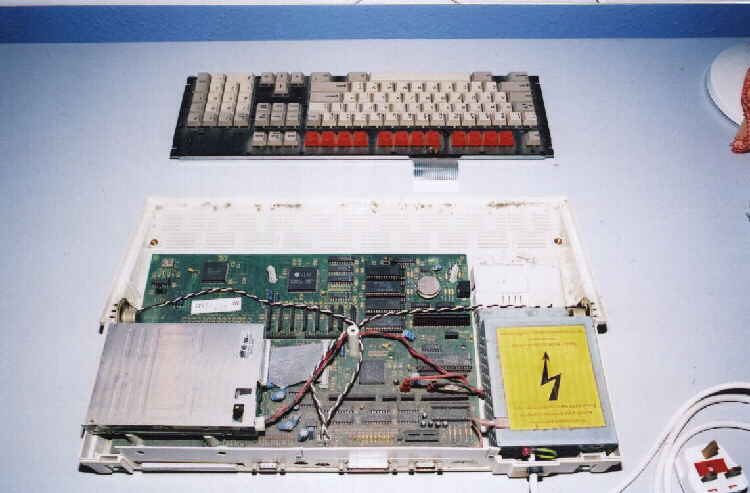
Grip carefully at both ends and remove each of the 2 Keyboard Ribbons by pulling upwards.
The keyboard will the lift off.
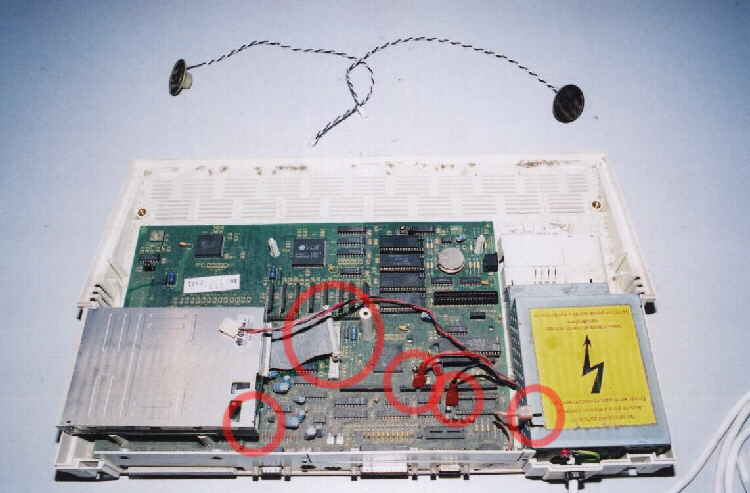
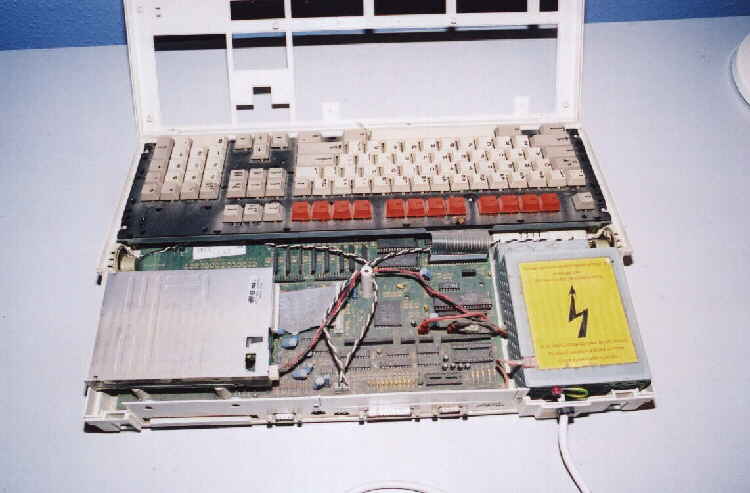
Unplug all connectors to the mainboard (noting there positions for re-assembly).
Also unplug the 2 stereo speakers and remove them.
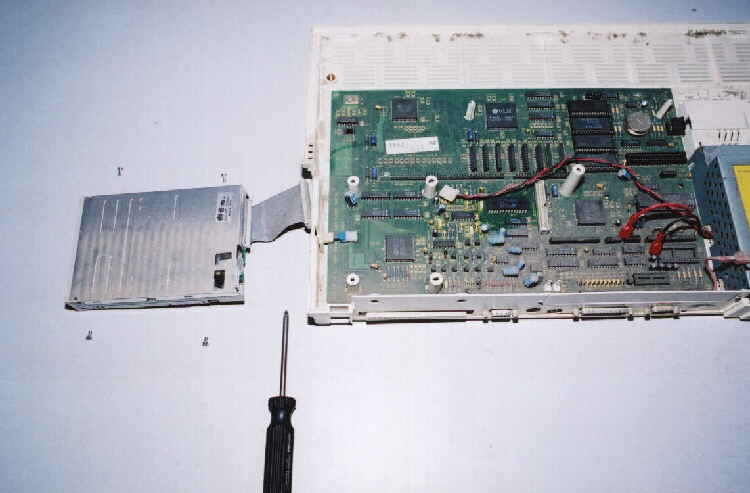
Remove the floppy drive unit by unscrewing the 4 screws found on the underside of the case.
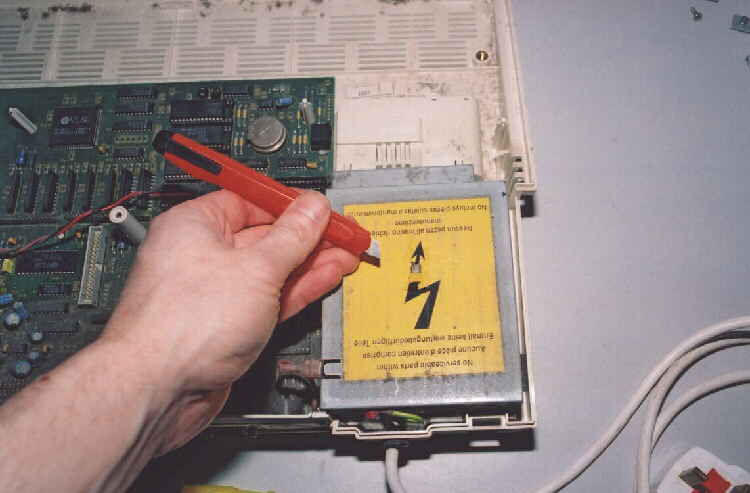
By pressing in the middle of the Power Supply Label you will feel a square hole.
Make 3 cuts to reveal access to a deeply recessed screw. Undo to remove the PSU lid.
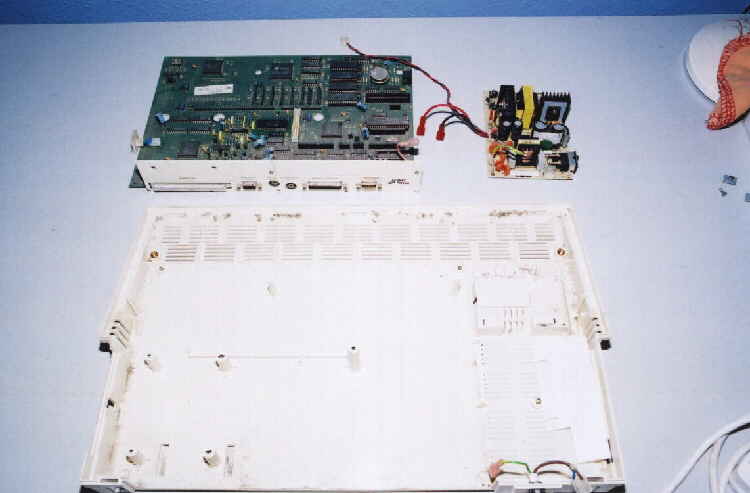
Remove 3 screws securing mainboard (centre,centre left and bottom left).
The lift the PSU and mainboard away. (after unplugging mains cable and earth strap)

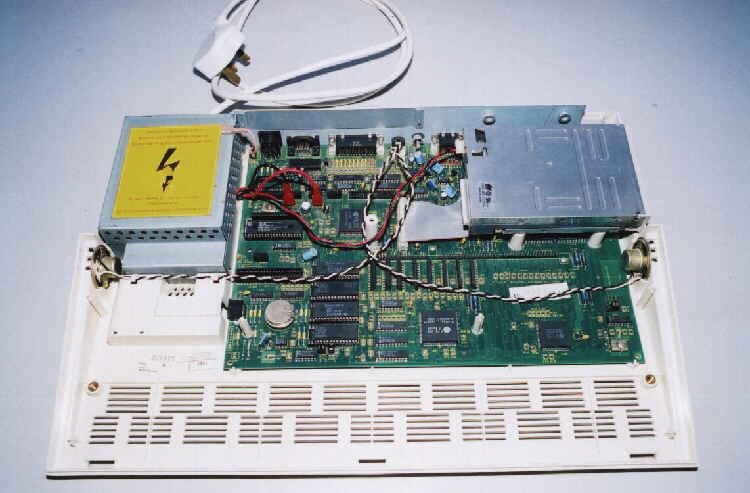
Clean the Mainboard using a small paintbrush and a vacuum cleaner.
The difference is noticable in the photograph. Just like new underneath.
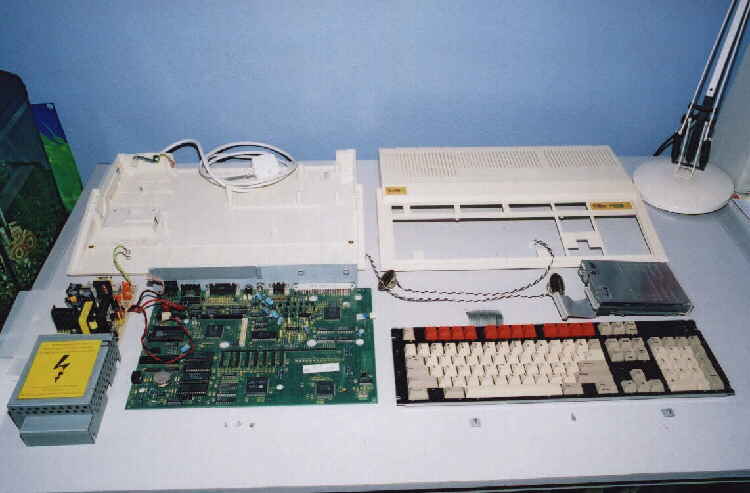
Clean all other components using Vacuum or damp cloth method.
Keyboard cleaning is described in full in the Acorn A3010 section.
Re-assemble is the reverse of the steps above.
Lovely and clean. Ready to accept keyboard.
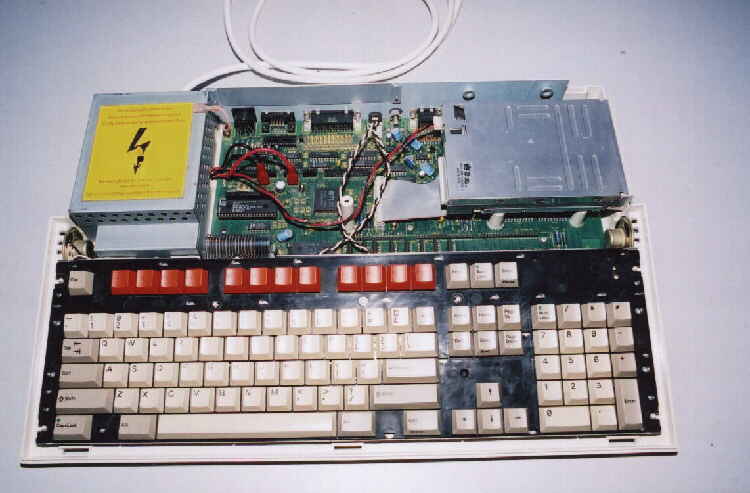
Keyboard fitted. To fit the Keyboard ribbons, hold each end of the ribbon and press firmly
into connectors. Its a tight squeeze but unless you've got giant hands you should do it ok.
Main case back on and powered up. Job well done.