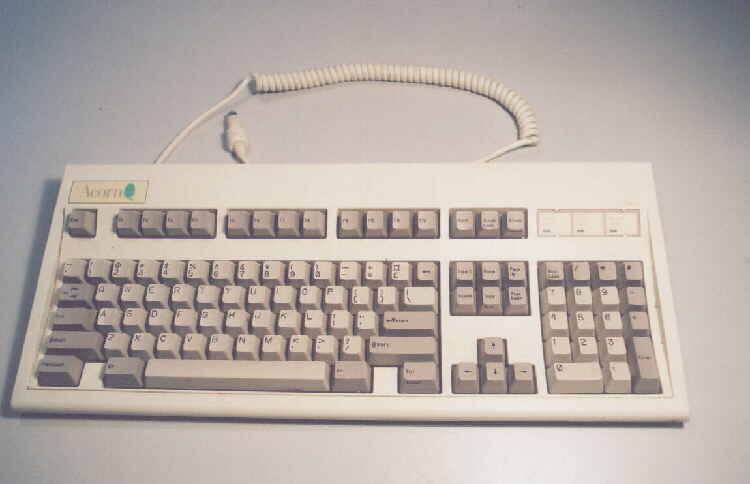
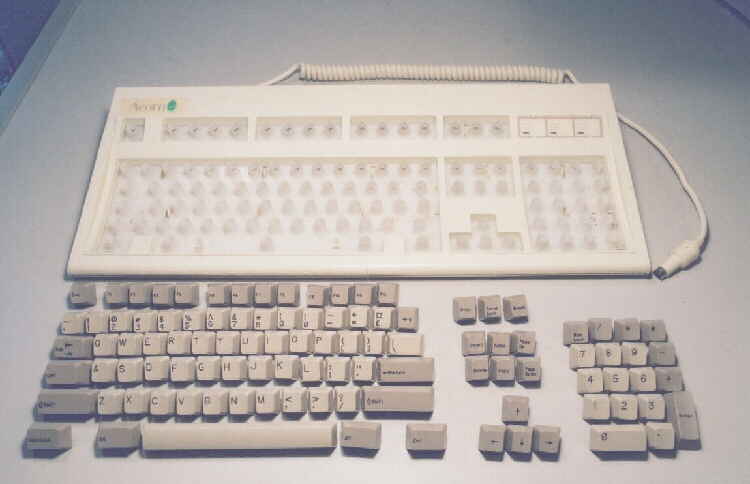
This is the keyboard off of one of my A4000's
Its in a typically grubby state and in need of a good clean, so lets get to it.
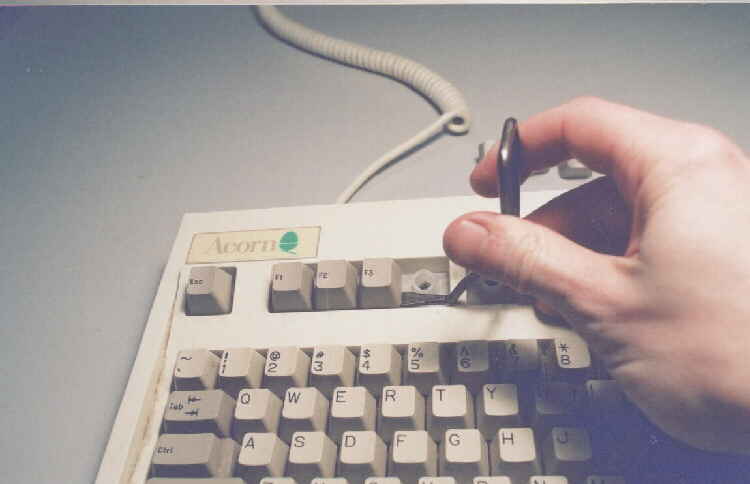
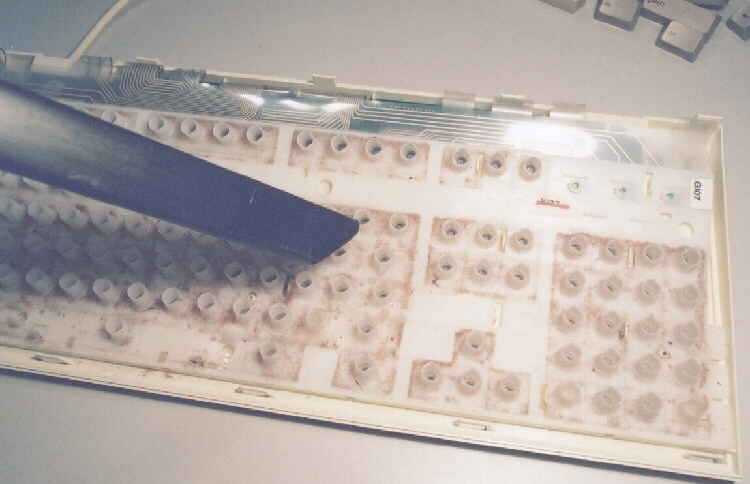
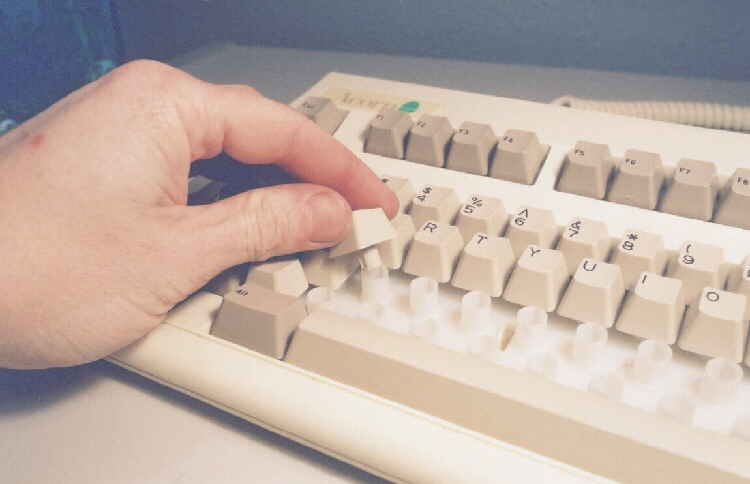
Ive found the best way to start is to first remove the "top" row of keys.
Try to grasp one and pull upwards, they will come out with a click.
Once I have one out I gently lever the others out.
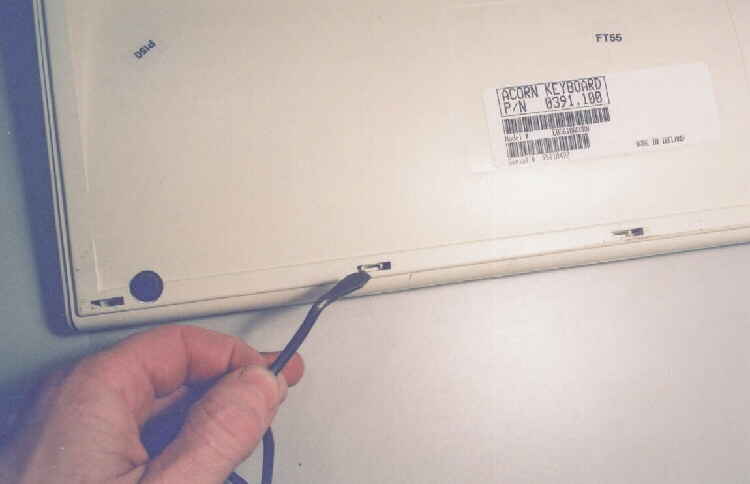
There are "no" screws holding the keyboard together.Use a screwdriver to "gently" lever
the tabs in the 3 slots underneath. Take care as the plastic can be brittle.
Next lift upwards from the front and the lid will un-latch itself at the rear.
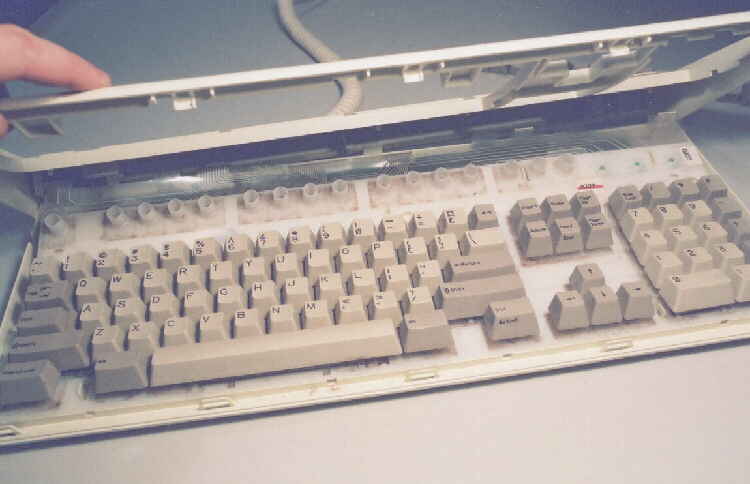
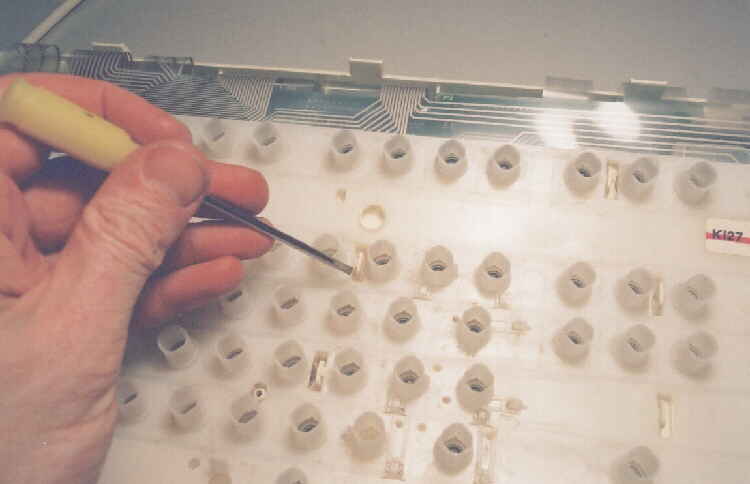
Next pull off the remaining keys and lay them out in order to aid re-assembly.
Get the vacuum hose and a paintbrush to remove all the grime you can.
A wipe with a damp cloth will help.
Using a small screwdriver, lever the several clips which hold the top cover in place.
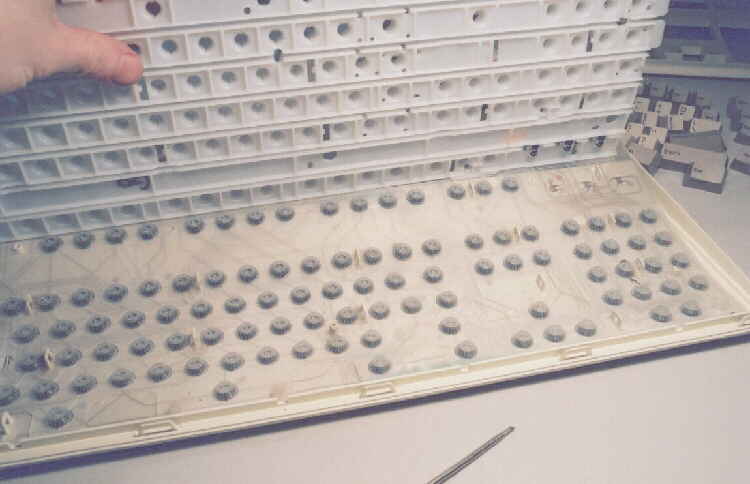
Lifting the cover off reveals a rubber top layer to the membrane.
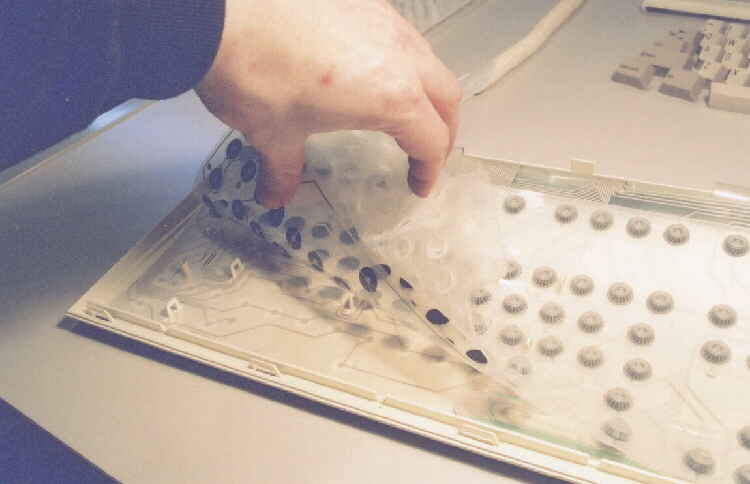
Lifting this will reveal 2 more layers of membrane.
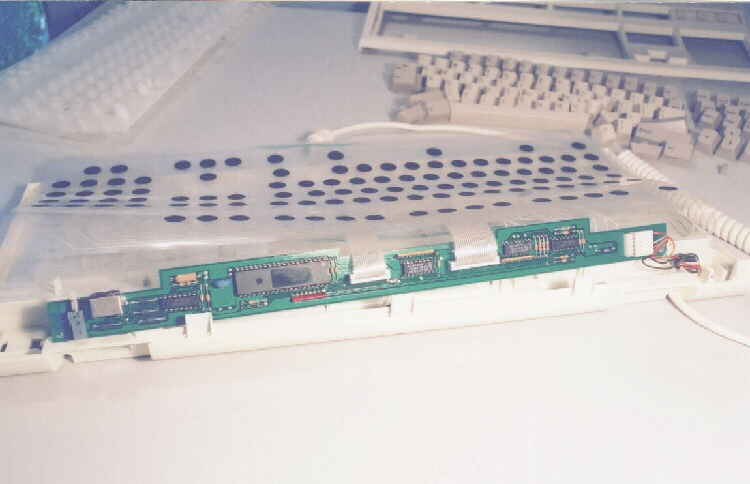
Pull off the "reset" button and gently ease out the PCB.
The membrane/PCB assembly can be wiped clean as a whole.
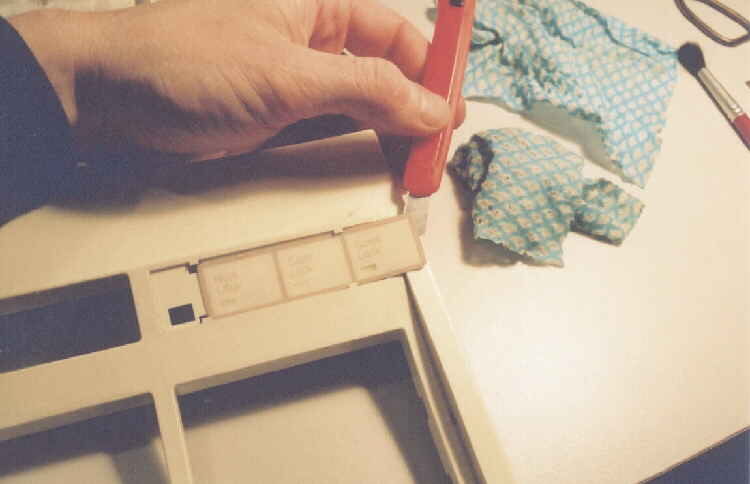
Using a craft knife, ease it under the label and slide out.
The label and case can now be cleaned with damp cloth.
Remember no harsh detergents or chemicals as they can ruin plastic.
Re-assemble the keyboard in the reverse order.
Finally wipe all the keys with a damp cloth. Keys always shine up fantastic Ive found.
Finally re-fit the keys by just inserting them into there relevant hole and pushing down until you hear a click.