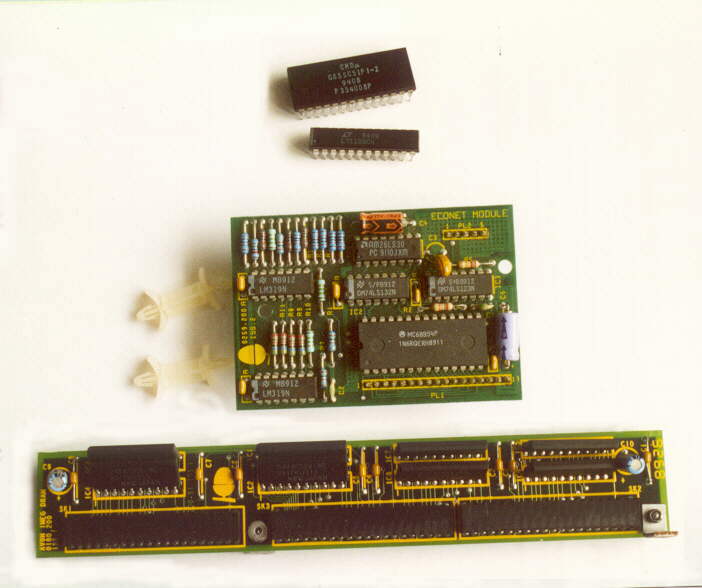
You will need the following parts;
Serial Upgrade; G65SC51P (28pin) and a LT1133 (24pin)
Econet Upgrade; 1x Econet Module, 2x supports.
RAM Upgrade; 1MB Memory module (this one is Acorn OEM)
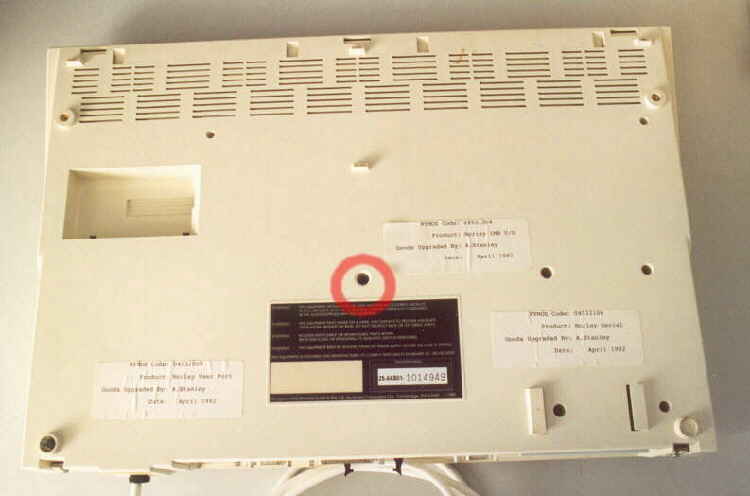
Ok, as before, start by unscrewing and removing the single screw highlighted from the base of the unit.
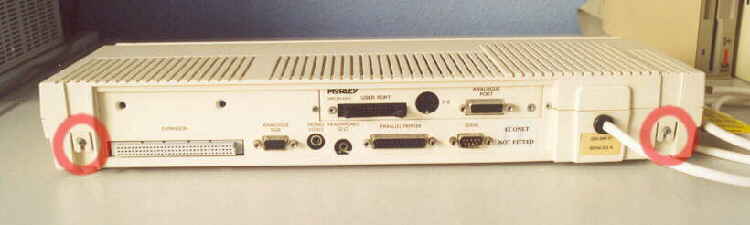
Next, at the rear, loosen and allow the rear securing clamps to drop down and clear of the unit.
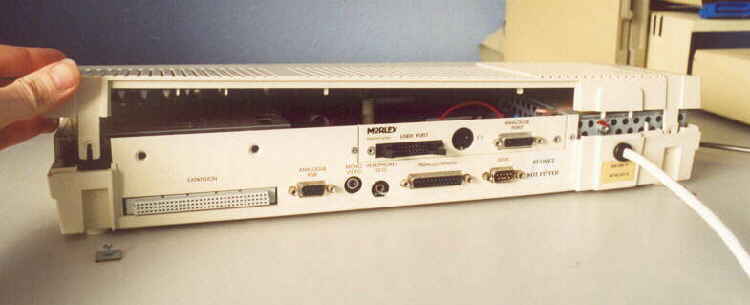
Push the clips "in" whilst lifting the top of the case upwards to free it.
Take care when unclipping the front of the case as it is easily damaged.
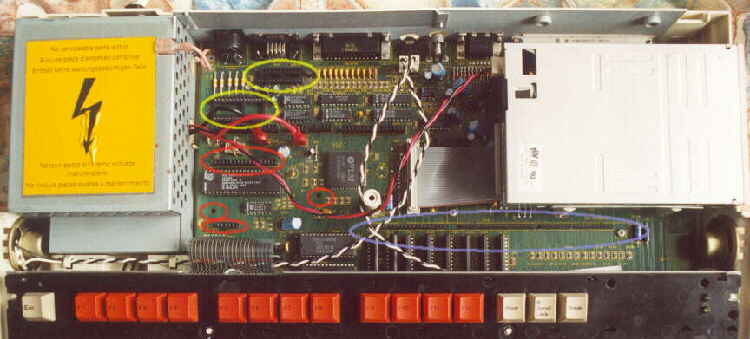
A view of our mainboard ready to take the upgrades. "Yellow" indicates the sockets for the serial upgrade.
"Red" for the Econet. And "Blue" for the Memory.
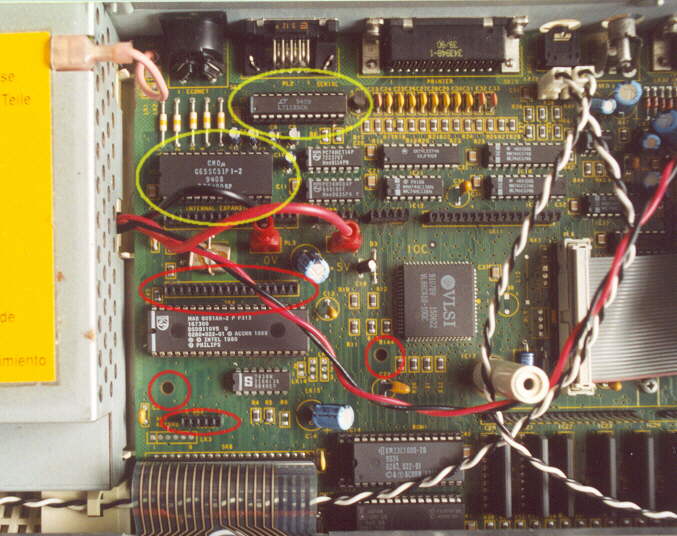
So fit the 65SC51 to IC 1 and the LT1133 to IC 7, noting chip "notches" face the PSU or "left" as here.
Fit the Econet module and supports as shown in the A3000 Econet Upgrade section.

To fit the memory upgrade, first unscrew and remove the 2 screws highlighted.
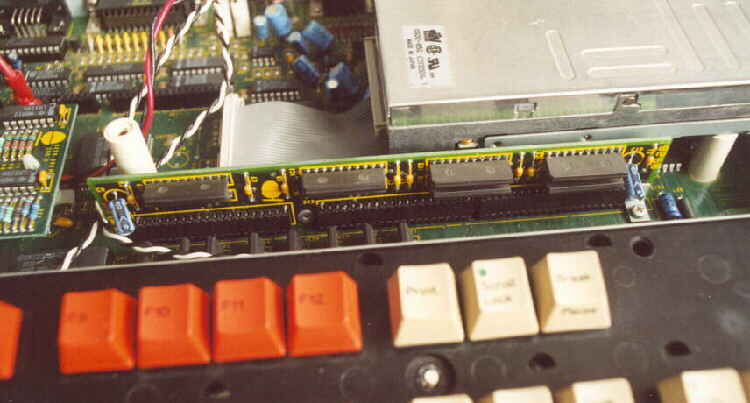
Next align the sockets on the memory upgrade with the pins on the mainboard.
Note, the upgrade only fits one way round as the 2 screws removed go back through 2 brackets that secure
it to the mainboard. So align, then "evenly" push down on the module until it is fully down.
Then refit the 2 screws and the top cover to the machine.