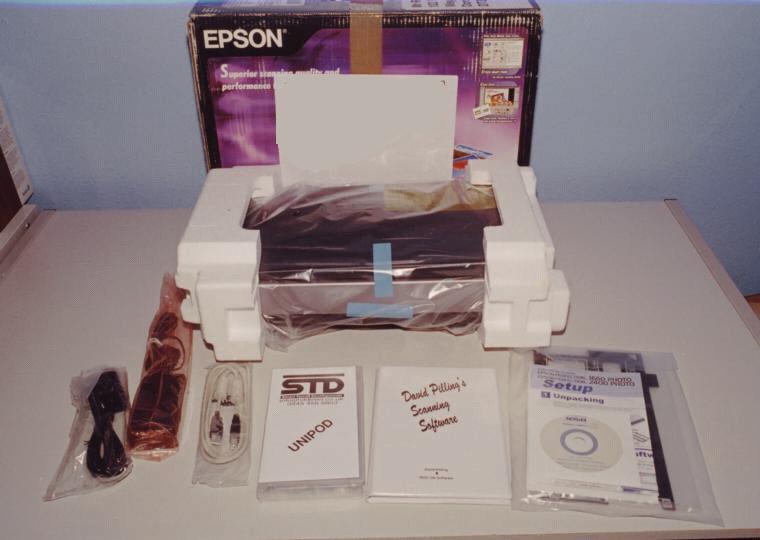
The package as it arrived from Stewart Tyrell Developments.
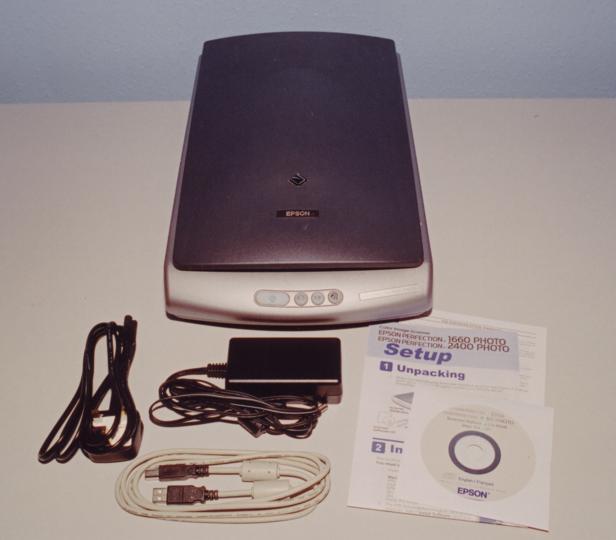
The Epson Perfection 1660 Photo, comprising of, Scanner, Power Lead, Mains Adaptor, USB Lead,
Driver CD-ROM (Windows and Mac Software), Setup Guide and Guarantee leaflet.
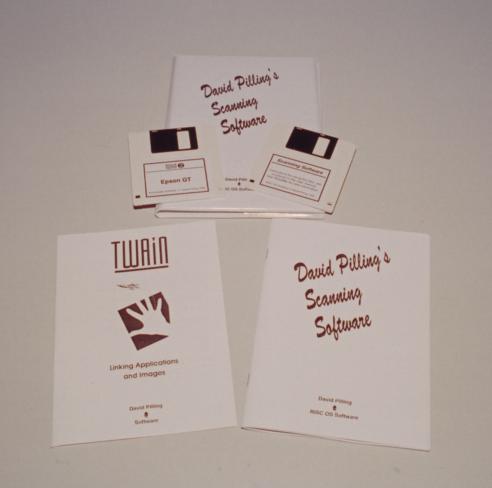
Dave Pillings TWAIN and Scanning Software Package.
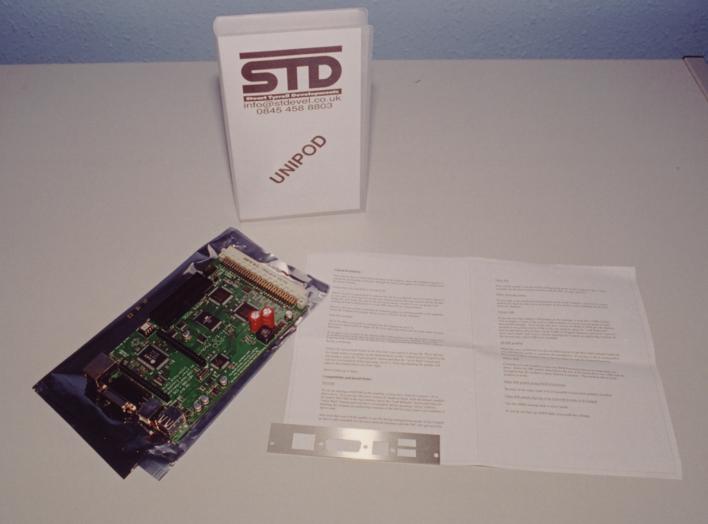
The UniPod with Mounting Plate and Instruction leaflet.
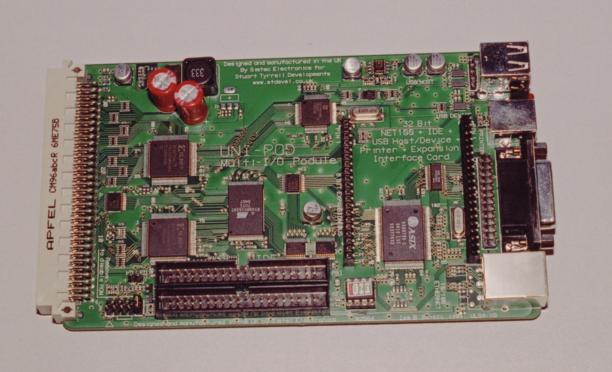
A closeup of the UniPod.
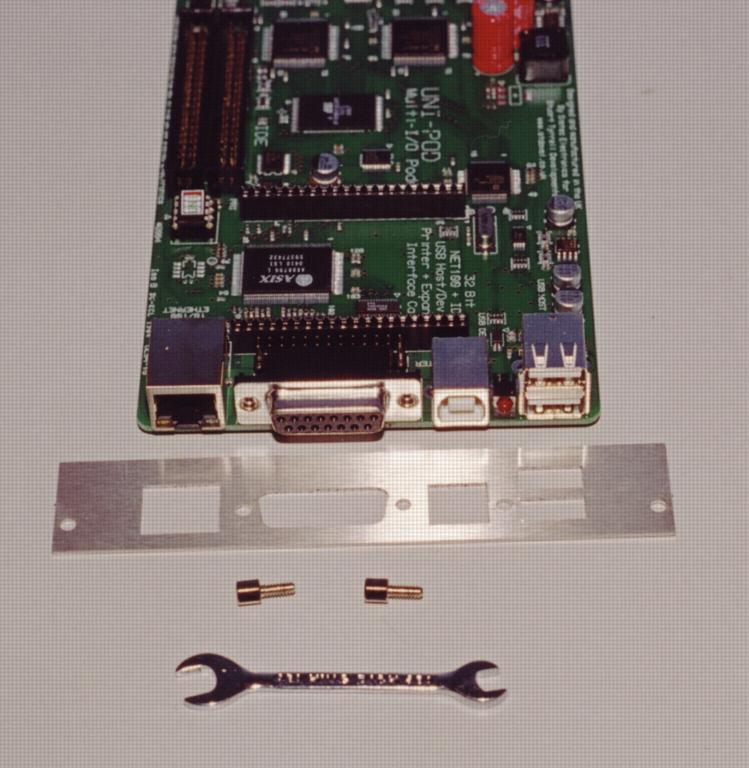
To attatch the mounting plate, first remove the two screws on the Econet Port.
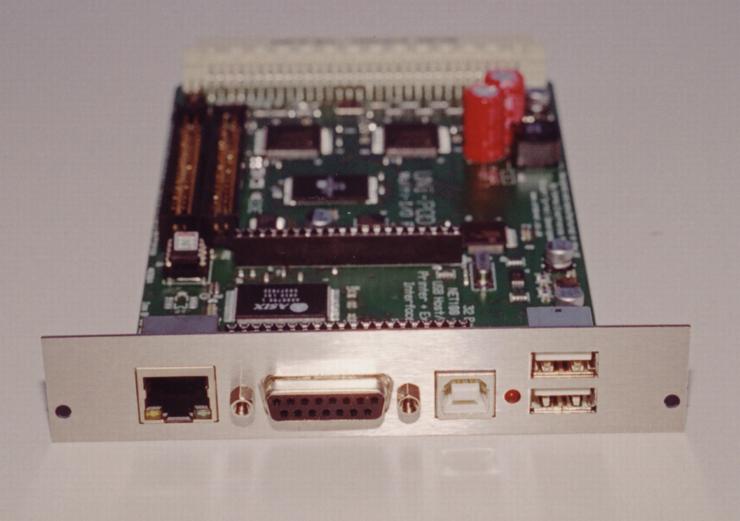
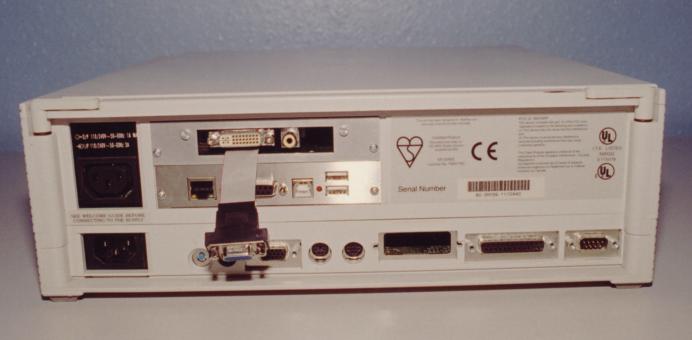
The mounting plate now fits perfectly and neatly around all the rear sockets.
Re-fit the two screws and tighten.
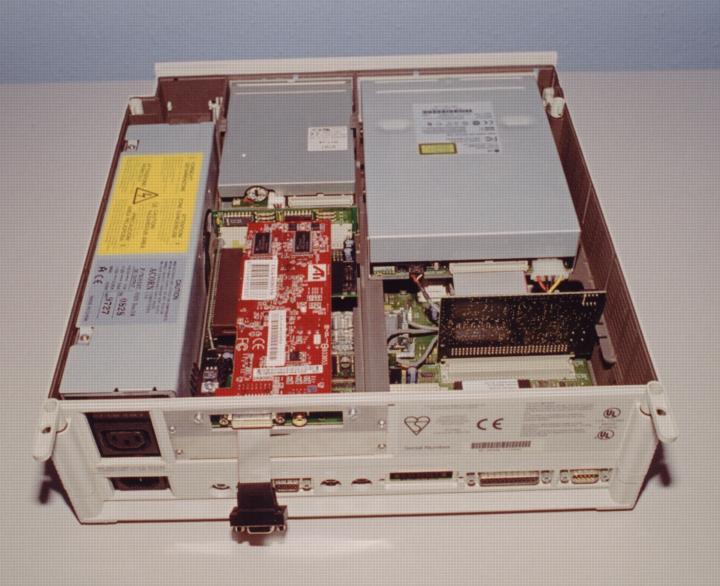
My RISC PC with its cover removed.
Next, strip the machine down to its lower section to gain access to the motherboard IDE cable socket.
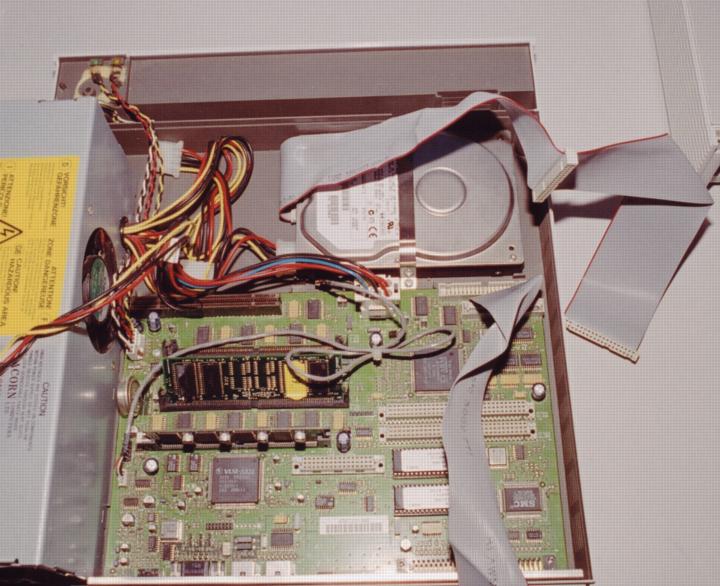
With the top half of the machine stripped away I disconnected the Hard Disc from the Internal IDE Interface.
I also fitted a longer IDE cable in order to reach the UniPod better.
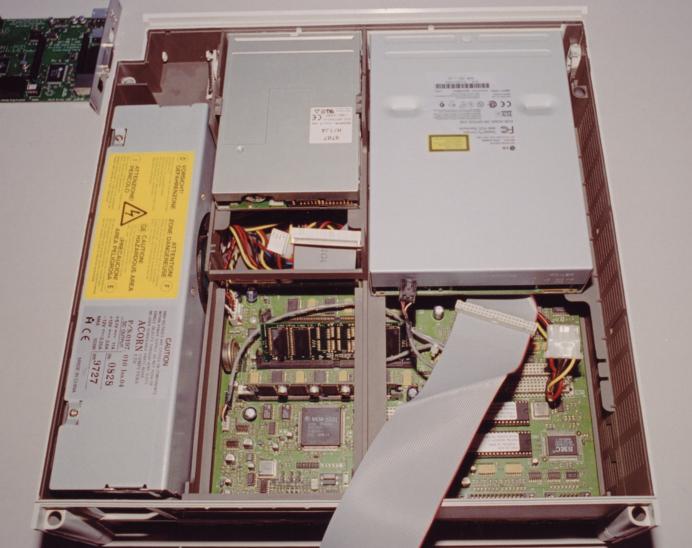
Re-assemble the first slice making sure the IDE cable is NOT connected to the internal interface.
Here, I have re-connected the IDE cable to the CD-ROM drive, along with its Power Supply Lead and Audio Connector.
I have also re-connected the Floppy Drive and re-fitted the 2-way backplane.
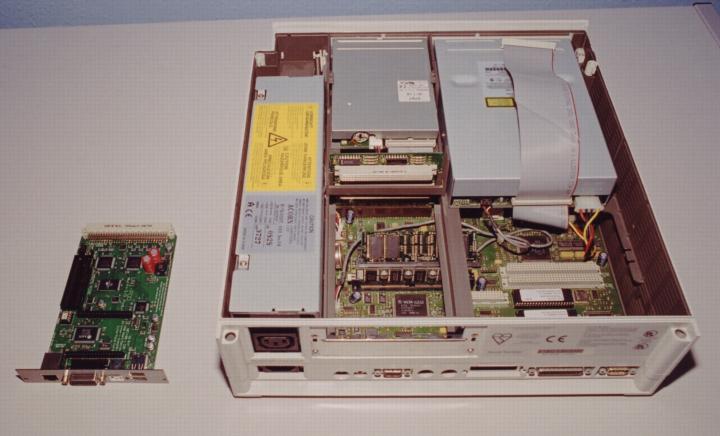
Next, I need to remove the lower podule blanking plate to make room for the UniPod.
The UniPod now fitted into the Lower Port on the backplane.
It has been secured and the IDE ribbon attatched to the Primary Channel. I have also re-fitted the StrongArm processor.
The UniPod, for best results needs to be fitted to either of the lower two expansion connectors.
In a two slice machine, only the bottom two connectors provide DMA, so move any other podules up.
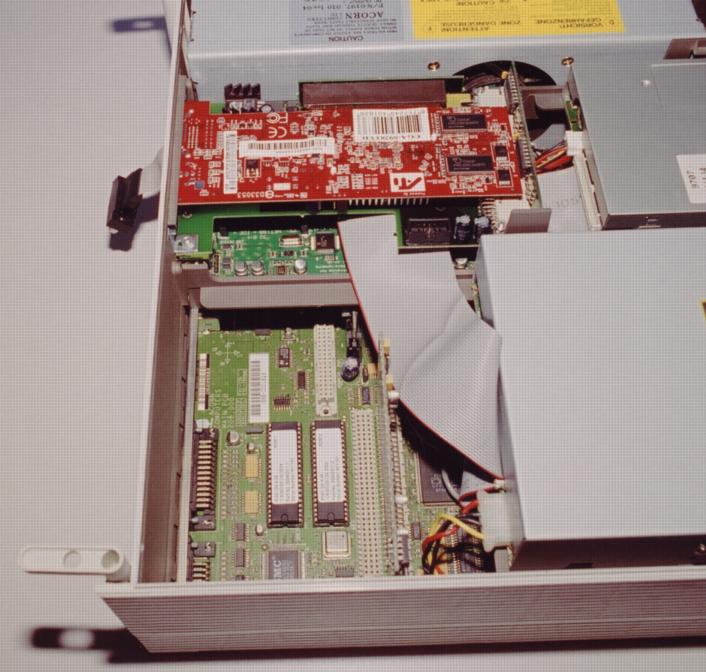
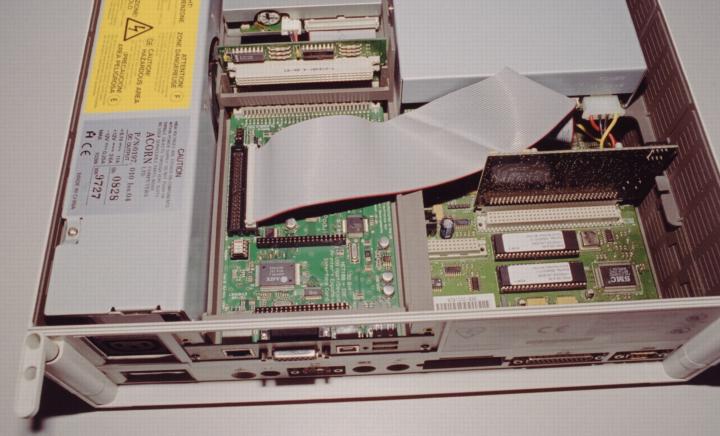
I have now re-fitted my ViewFinder card into the upper socket.
It looks like a tight fit but there appears to be enough room for ventilation.
This last image shows the completed installation.
Its a shame that the ViewFinder mounting plate isn't up to the same quality as the UniPod's.
Following the instructions supplied, the rest of the installation should be no trouble.
Just remember to *UNPLUG CDFSSoftATAPI or the machine will take an age to boot.