Using LOGO and Turtle Roamers
On Acorn Machines.
The first time I ever used a turtle was back in school in the 80's.
Only back
then it wasn't called a "turtle" but a "BBC Buggy". We only touched
on the
basic's of controlling it, and I cannot remember today wether or
not it used
LOGO or some other language, afterall it was some time ago.
My Interest was re-awakened when I came into posession of several
Jessop
Ralph turtles. I had to get them going just for the fun of seeing
them in action.
Below is a step by step account of how I set one up and programmed
one the
other day just as an example for this page. I hope to go into more
detailed and
interesting turtle ventures at a later date. So for now, take a
look below.
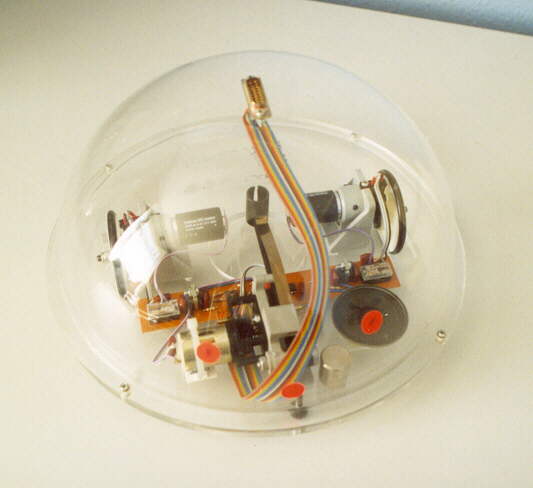
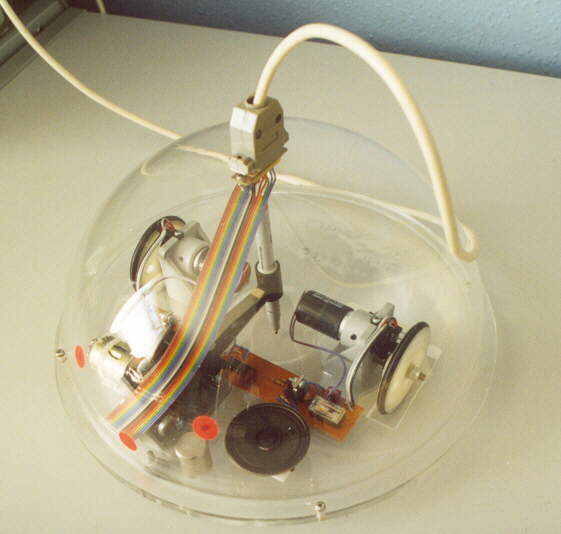
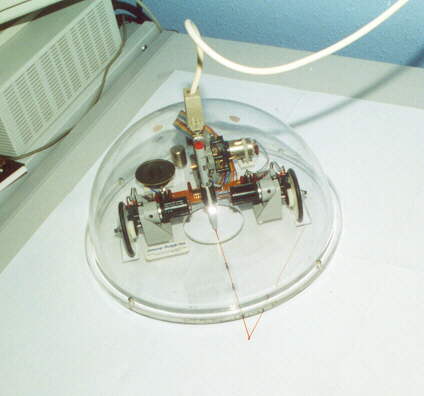
This is your basic "Turtle". So called, because of its "domed" shape.
Inside, as you can see its very basic. A couple of stepper motors for
the driving wheels, A motor for Applying or Retracting the Pen, a small
circuit board and speaker for making little "beep" noises.
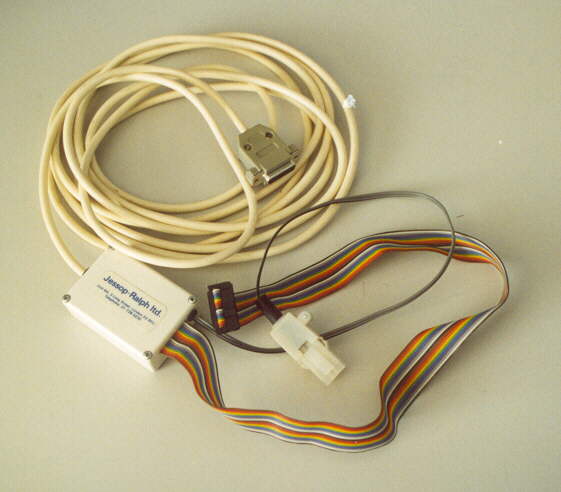
To connect the Turtle to either a BBC Master or Archimedes computer,
the following lead is required. One end has a "D" shaped connector that
attatches to the top of the turtle, and the other has a small box with
ribbon cable and power plug.
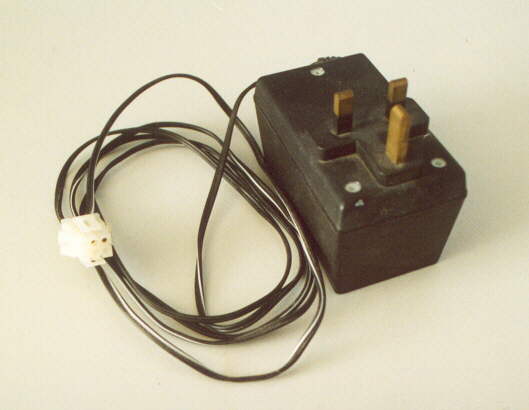
This is the optional mains power supply for the turtle.
If the power socket under the Master is being used by a disk drive then
this will be required. It is mandatory for Archimedes machines as they
do not have the required power socket.
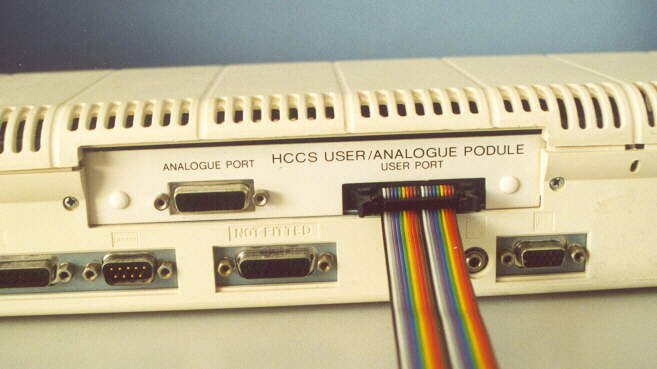
The Ribbon cable is connected to an Archimedes class computer via the USER PORT.
This will be found on a suitable Podule.
The ribbon is shown here attatched to an A3020.
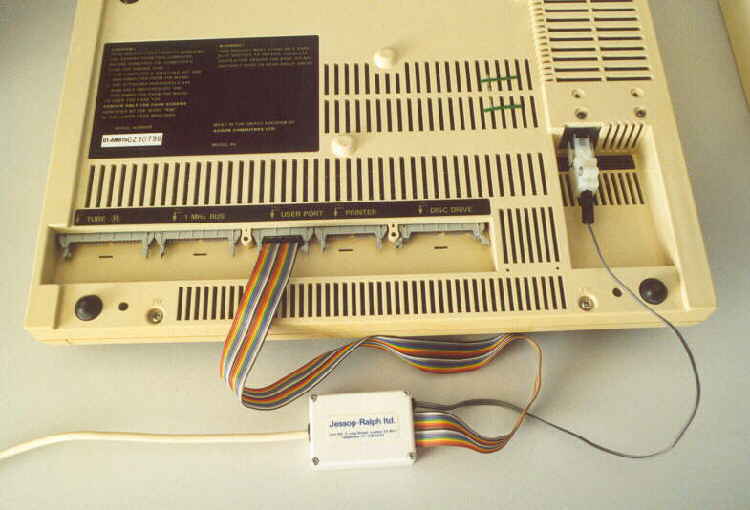
To Connect to a BBC Master.
Turn the computer over and connect the power cable and data ribbon as shown.
Connect the "D" shaped connector on the other end of the data cable
to the top of the turtle. Also shown is a felt-tip pen mounted in the pen
holder ready for drawing.
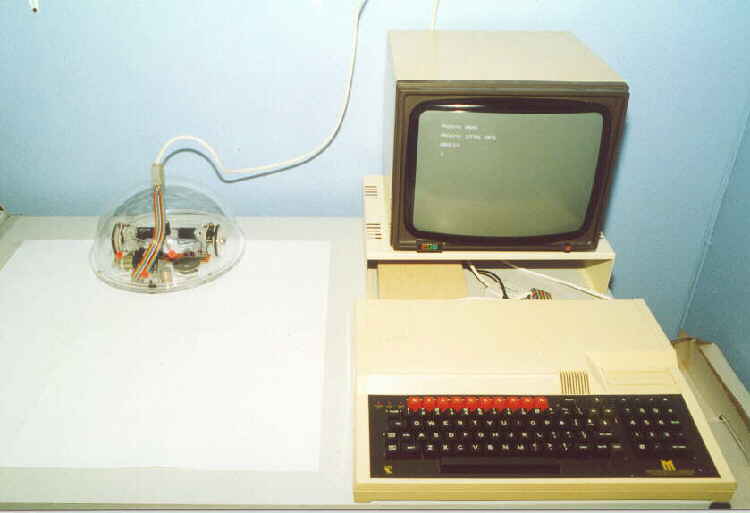
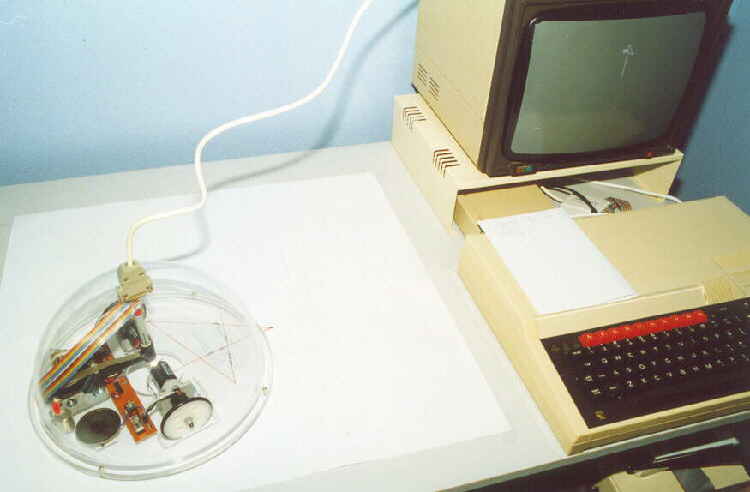
I now set up the computer as normal with disk drive and power-on.
I have also taped together 6 pieces of A4 paper and stuck it to my desk
ready for some basic art.
The LOGO software is loaded from disc and I have entered a small
routine that will draw a "star".
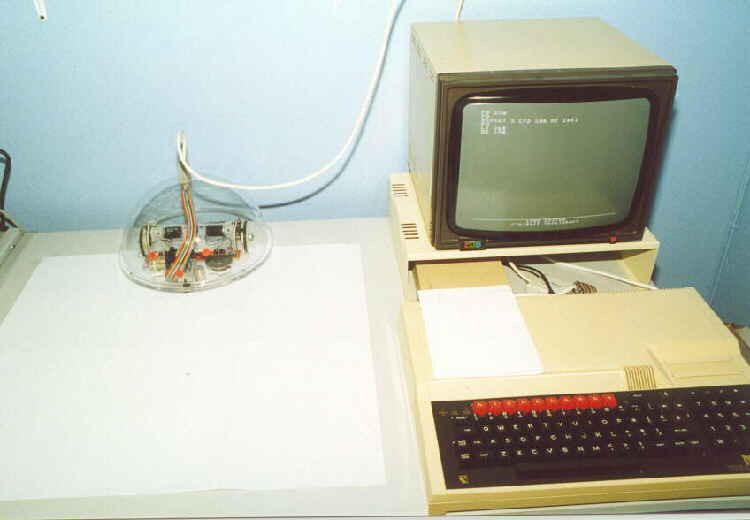
On leaving the program "Editor" the turtle starts to execute the commands.
I will describe this small program in full at the bottom of this page.
About half way there, note the screen is plotting the moves that the turtle is making.

Just about finnished. Now to turn around and back away clear of the finnished "star".
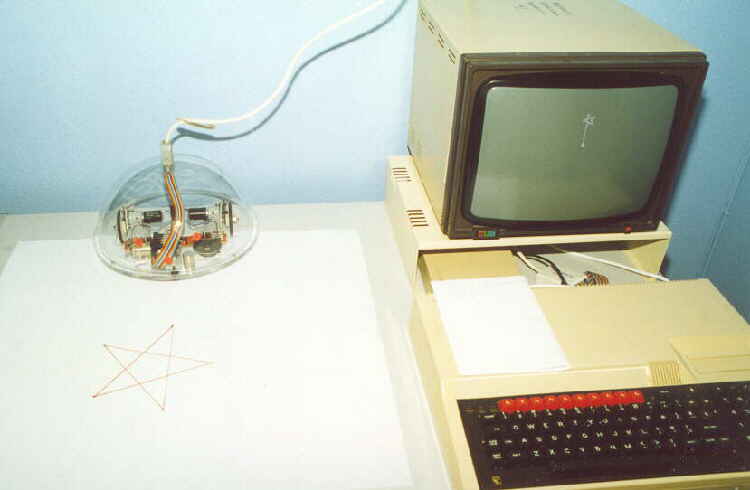
And there we have it ! My first image by "Turtle", see below how it was done.
The "STAR" program explained.
LOGO is a "Mathematical" programming language. It uses basic commands
to make the "Turtle" move Forward and Back. To turn Left and Right,
an "angle"
is required to be entered. Basic shapes to complex artwork can be
achieved
when the language is mastered. So to our little program and its
meaning.
FD 150
PD
REPEAT 5 [FD 100 RT 144]
PU
LT 360
BK 150 |
So, Line by Line;
FD 150 ( Move Forward 150mm)
PD (Pen Down)
REPEAT 5 [FD 100 RT 144] (Repeat 5 times whats in
the square brackets, so Forward 100mm and Turn Right 144 degrees)
This will end up with us back at the start point of the Star.
PU (Pen Up)
LT 360 (This just turns the Turtle LEFT by 360 degrees just to
uncoil the cable, as we've been turning Right for the entire program)
BK 150 (The Turtle now moves backwards 150mm so it comes
to rest at the original start position on the edge of the paper.)
Thats just a starter for a LOGO program. I intend to go further
into programming and use of the turtle at a later date.
If you wish to have a go at LOGO yourself, a very comprehensive
"Free" version with Excellent Help and Example programs is available
to download from the net. Its called MSW LOGO.
If you have arrived here from a Search Engine
Click the link below to go to the Classic Acorn Home Page
Everyone else use the Navigation Section on the Left
<---------------------------------------------------