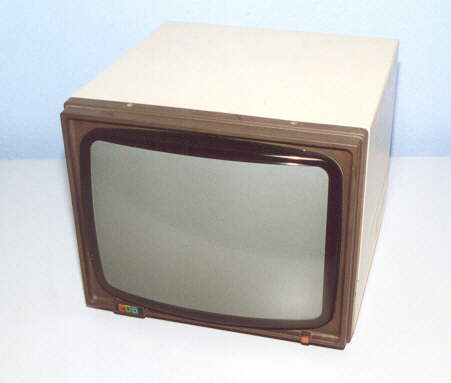
This is a Cub monitor which I'm going to strip down for a well deserved clean.
I will also point out some of the internal features.
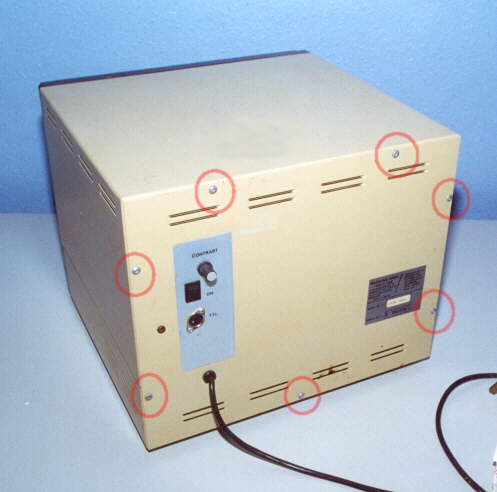
To remove the back panel, unscrew and remove the seven screws highlighted in this image.
Ensure that the monitor is totally disconnected from the mains supply first.
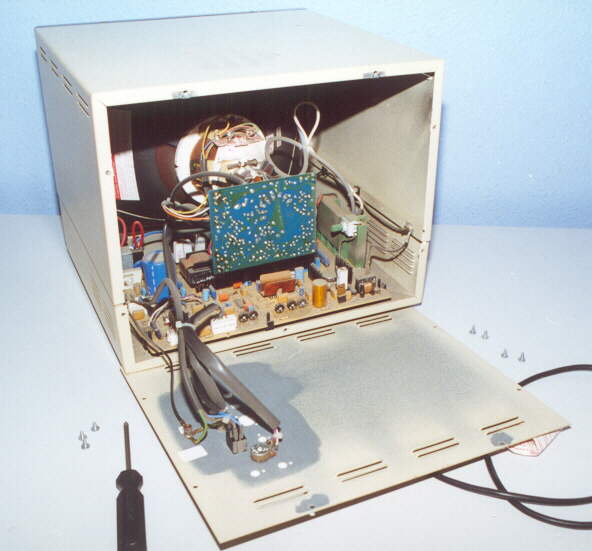
With the fixing screws removed, the back panel can be laid down flat.
Be careful to ensure you don't stress any of the cables connecting the back panel to the main PCB.
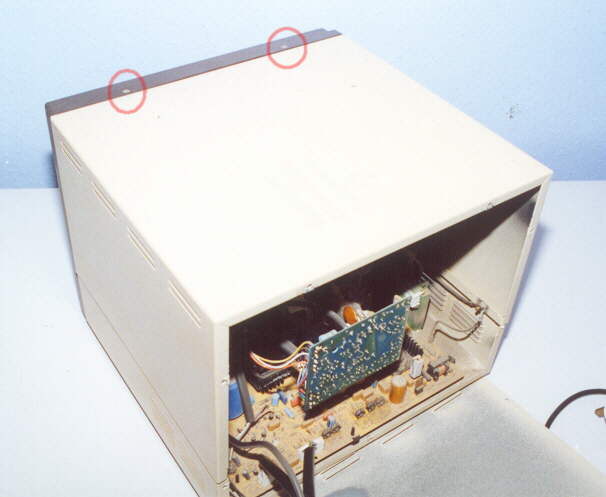
To remove the top cover, first unscrew and remove the two screws highlighted in this image.
The top cover can now be pulled towards the rear of the unit then lifted off.
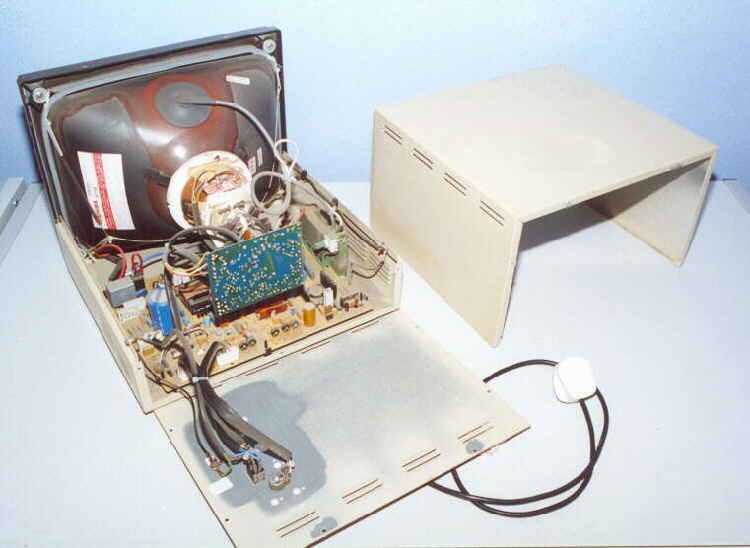
This image shows the monitor stripped ready for a clean.
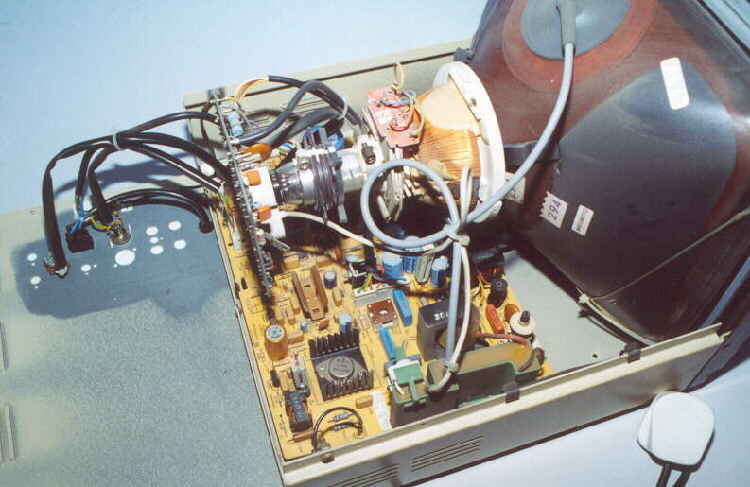
Clean the internals with a vacum cleaner hose and small paintbrush.
To much dust on electrical components makes them run hotter, so the cleaner the better.
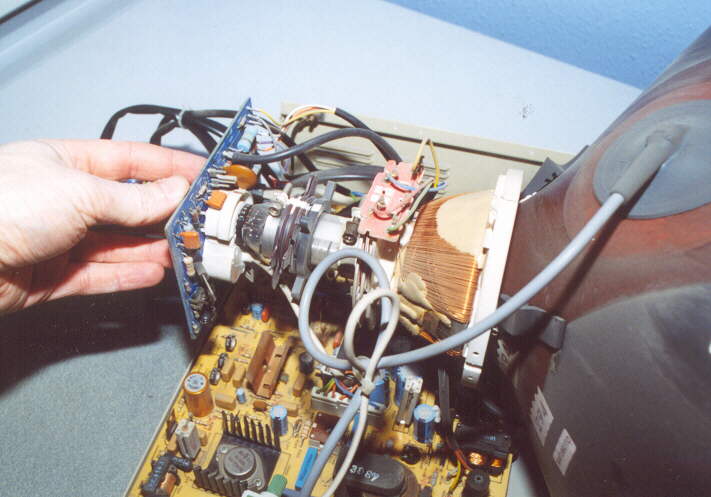
Whilst we are inside, take a moment to make sure the board attatched to the neck of the tube
is firmly in place, they can work loose. So, with a hand on the front screen,
use your other hand to press the board upto the tube.
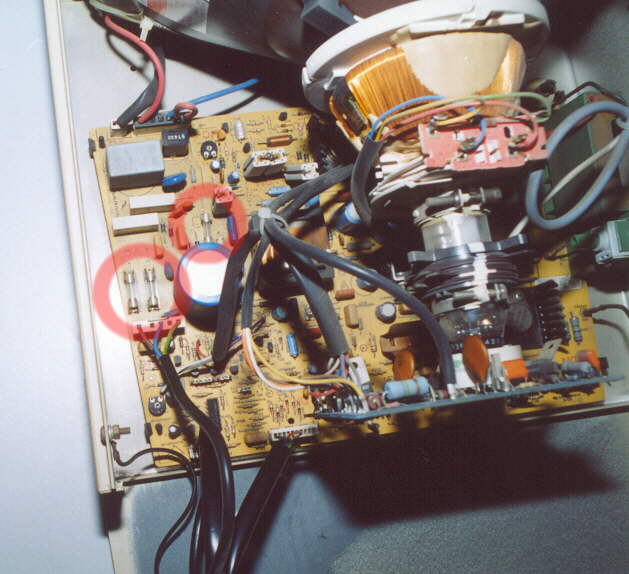
This image shows the location of the three internal fuses. First stop for diagnosing a dead monitor.
F1 and F2 are 2 amp and F3 is 1 amp. Always replace with the same type and rating of fuse.
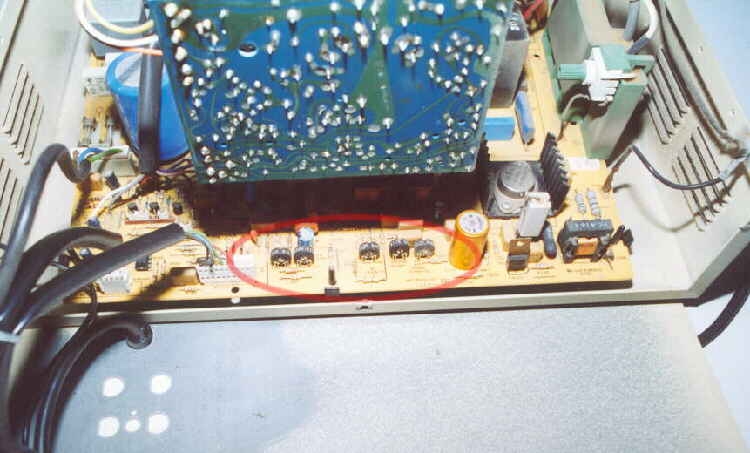
These are the picture trim controls. There is no need to touch these unless you have a picture defect.
Finally re-assemble the monitor and enjoy what was the best display technology of its time.