
An Acorn Plus1 expansion unit for the Acorn Electron.
This view shows edge connector for attatching to the rear of the electron.
And the 2 top ROM cartridge slots.
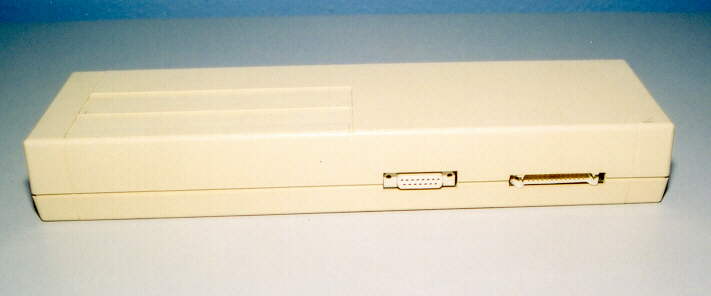
A rear view if the unit here shows the analogue/joystick port and far-right a printer port.
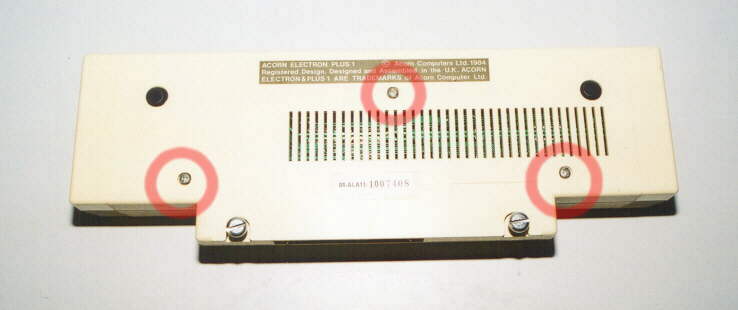
To get inside the unit, turn it upside-down and remove the 3 screws highlighted in the picture.
Grip both halves and turn the unit up he right way again.
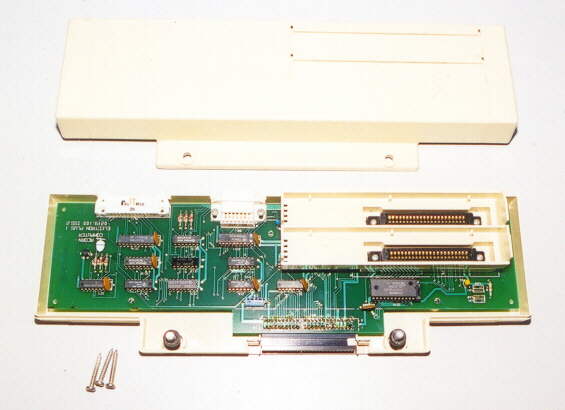
The top cover can now be lifted up and away, revealing the inner workings.
Lift the ROM cartridge bay clear then unscrew and remove the 4 screws that are situated
either end of the ROM cartridge connectors.
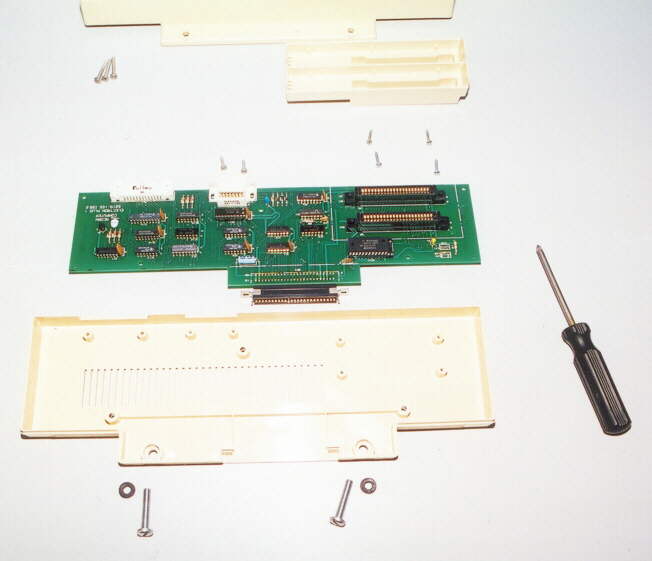
The main PCB can now be lifted clear. Also pull out the 2 large securing screws
at the from of the case, they are held in place by the 2 rubber washers.
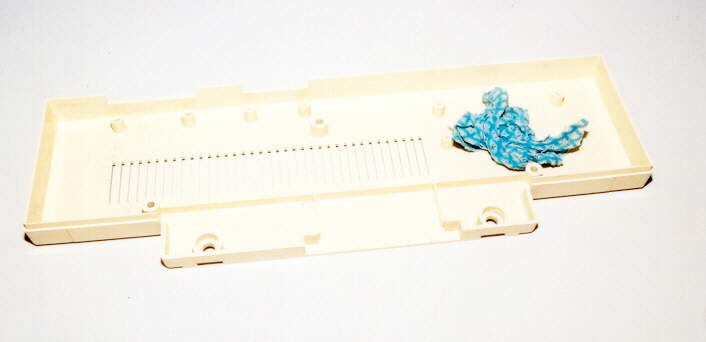
Wipe the inside and outside of the base with a clean damp cloth.
Its all it will need to remove any built up dust.
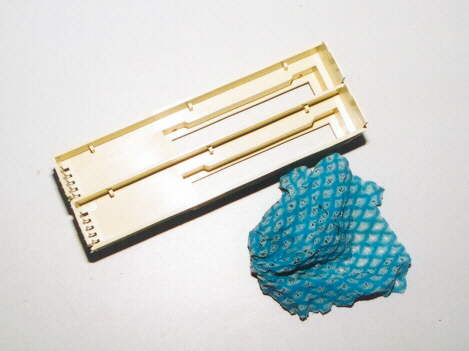
Do the same with the ROM cartridge seats.
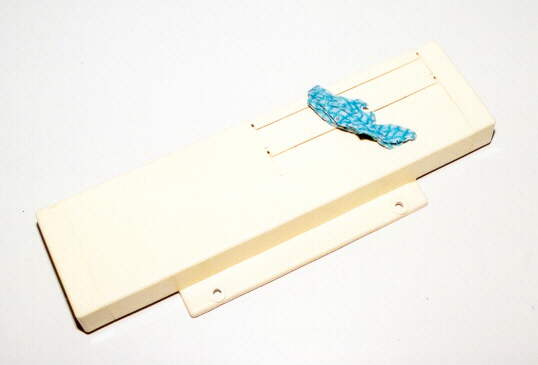
And likewise with the top case. If dirt is hard to wipe from the top, wring the damp cloth out
onto the case and let the water stand for 5 minutes, that will ease the dust and grime free.
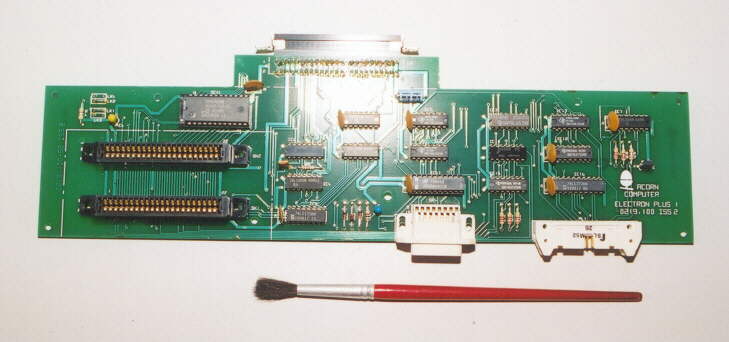
Dust the mainboard using a paintbrush and a vacuum hose, thats all it will need.
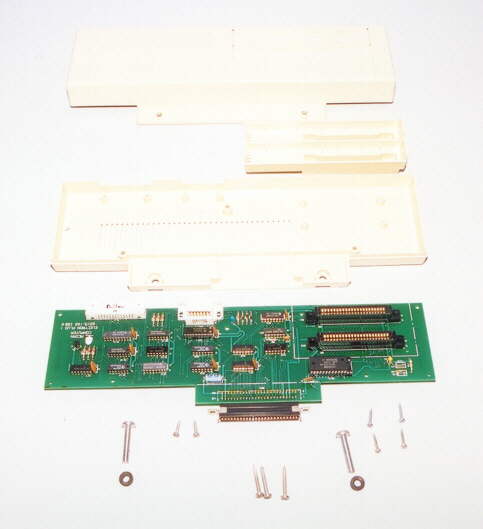
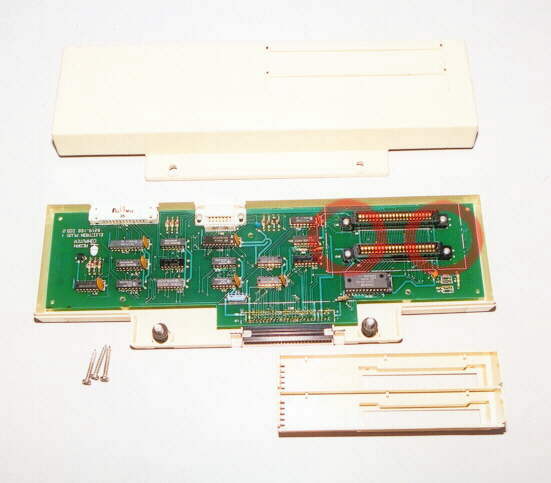
All the components cleaned and laid out ready for re-assembly.
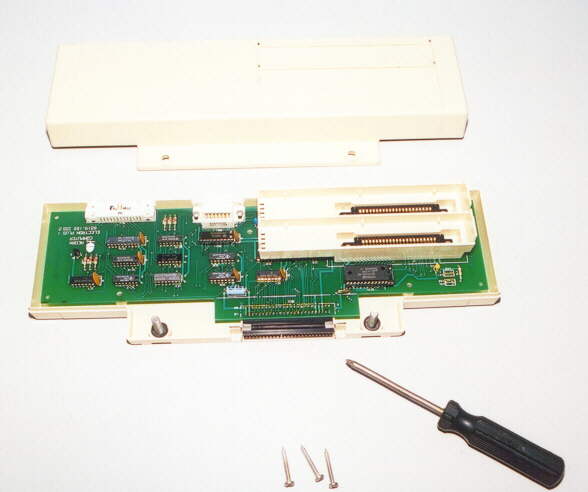
First re-fit the PCB to the case and secure with the 4 screws around the ROM cartridge slots.
Place the ROM Cartridge seat back over the top of the slots. Push the securing bolts back into
place with there rubber washers. Then finally replace the top cover and re-secure with 3 screws.
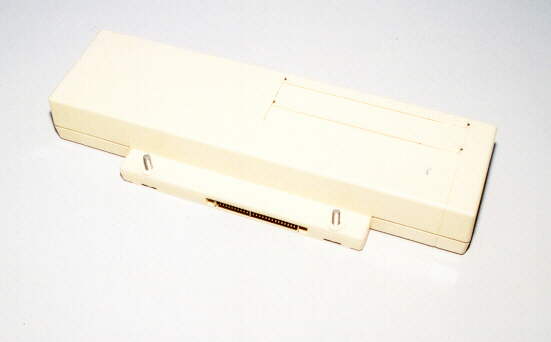
The finnished Plus1 unit ready for re-attatching to an electron.