Master 128 CMOS Battery Pack Replacement.

M128_Batt_Repl_1.jpg - 31Kb
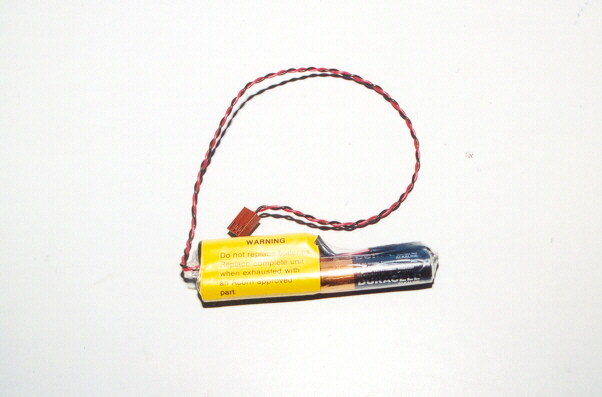
The standard Acorn CMOS Battery pack for the BBC Master 128 doesn't last forever,
and as its a sealed unit replacements are obsolete, so follow this for a cheap alternative.

M128_Batt_Repl_2.jpg - 32Kb
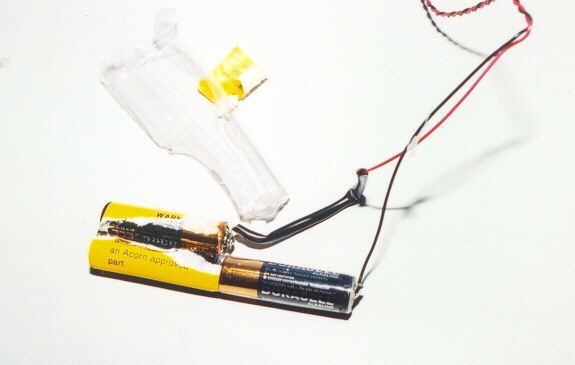
Using a craft knife cut the shrink-wrap being EXTREMLY! careful as corrosive elements may be present.
Next Unsolder the two leads from each end. Dispose of the batteries in the proper manner.

M128_Batt_Repl_3.jpg - 33Kb
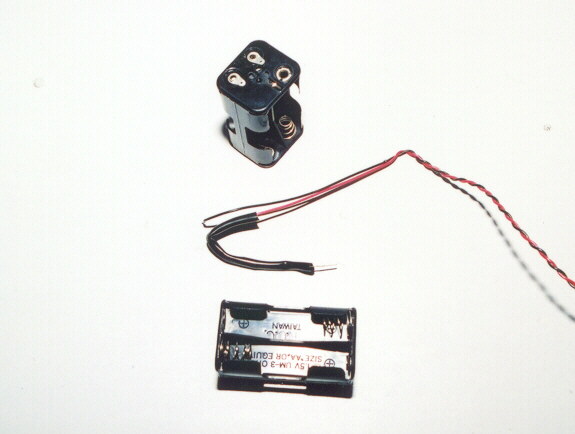
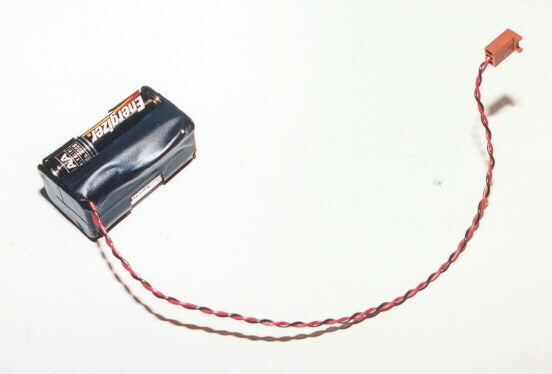
From a Model shop or similar purchase a 4 AA-cell battery pack Mine cost approx 60 Pence each.

M128_Batt_Repl_4.jpg - 29Kb
On the solder-tag end of the pack, attatch the black wire as shown.
And the red (containing the Diode pack) as shown.
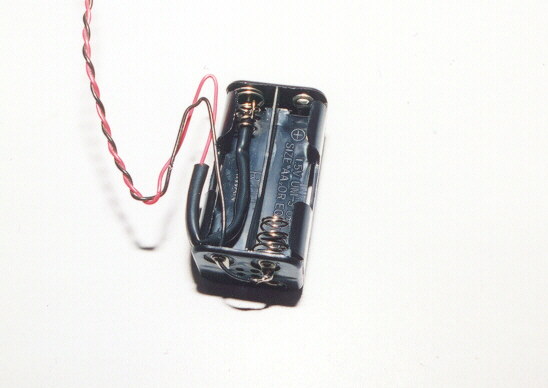
The wiring is stored in this bay while the other 3 are still in series.

M128_Batt_Repl_5.jpg - 28Kb
Fold the wires neatly inside, and using black electrical tape seal off the bay containing the wiring.
This just makes the installation more presentable. Next install 3x 1.5v AA batteries.

M128_Batt_Repl_6.jpg - 28Kb
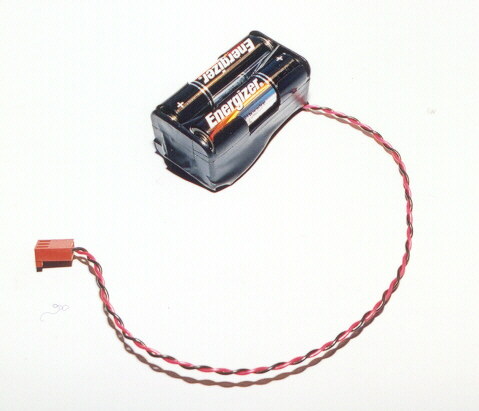
Another view of the Pack.

M128_Batt_Repl_7.jpg - 148Kb
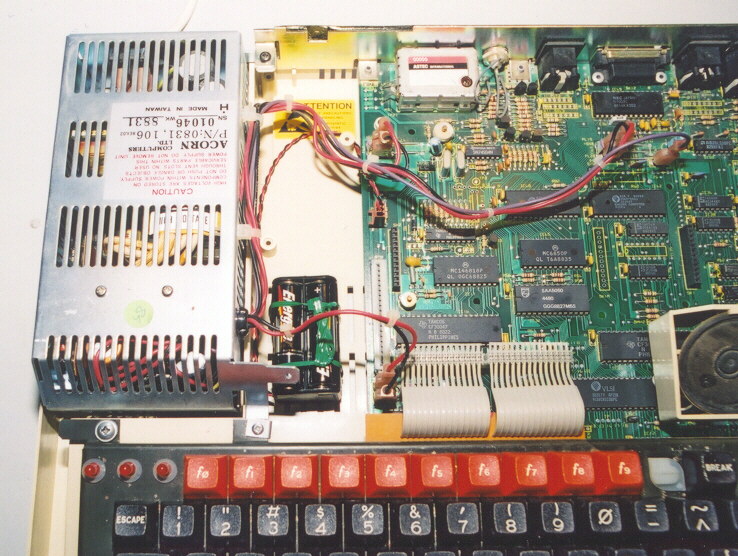
As I used "square" packs it will no longer fit to the left of the keyboard, so I fit to the
space between the PSU and Mainboard, secured to the case through the vents with wire.

CMOS Initial Configuration proceedure.

Power up the computer whilst holding down the "R" key. Keep the key down
until the message CMOS RAM reset, press BREAK to continue is displayed.

Press CTRL + SPACE + BREAK and the following will be displayed;


Acorn MOS

This is not a Language

*_

If this is "not" displayed or you dont have a " *_ " cursor then
press CTRL-F-BREAK and you will see it.

Now enter the following pressing RETURN an the end of each line;


*CONFIGURE BAUD 4
*CONFIGURE NOBOOT
*CONFIGURE CAPS
*CONFIGURE DATA 4
*CONFIGURE DELAY 50
*CONFIGURE NODIR
*CONFIGURE INTUBE
*CONFIGURE FDRIVE 0
*CONFIGURE FILE 13
*CONFIGURE FLOPPY
*CONFIGURE IGNORE 10
*CONFIGURE LANG 12
*CONFIGURE MODE 7
*CONFIGURE NOTUBE
*CONFIGURE LOUD
*CONFIGURE PRINT 1
*CONFIGURE REPEAT 10
*CONFIGURE SCROLL
*CONFIGURE TV 0,1
*INSERT 0
*INSERT 1
*INSERT 2
*INSERT 3
*INSERT 4
*INSERT 5
*INSERT 6
*INSERT 7
*INSERT 8
*INSERT 9
*INSERT 10
*INSERT 11
*INSERT 12
*INSERT 13
*INSERT 14
*INSERT 15

Now press CTRL + BREAK and you should be up and running.

You can also at this point set the time with TIME$ but as the MOS
is not Y2K compatible its not really worth it.


If you have arrived here from a Search Engine
Click the link below to go to the Classic Acorn Home Page
Everyone else use the Navigation Section on the Left
<---------------------------------------------------

Home