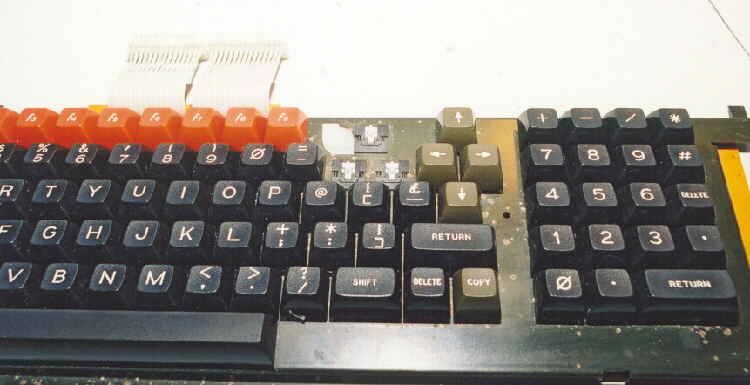
An intermittant BREAK key is causing trouble on this Master 128.
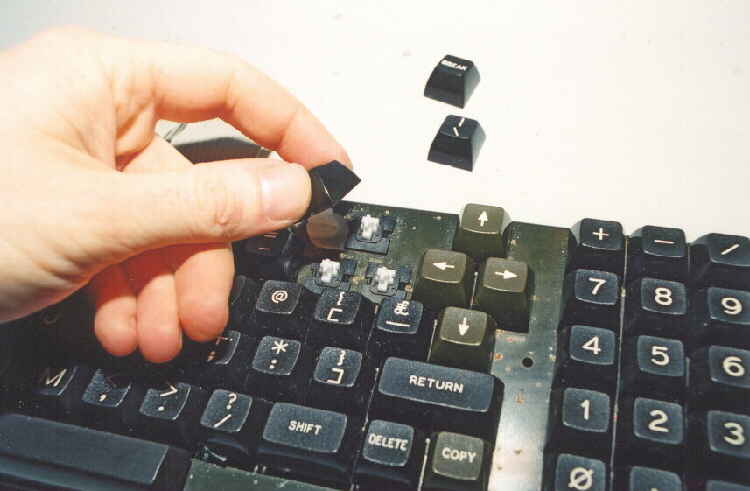
Probably just needs a clean. So first remove keys close to the faulty key for ease of access.
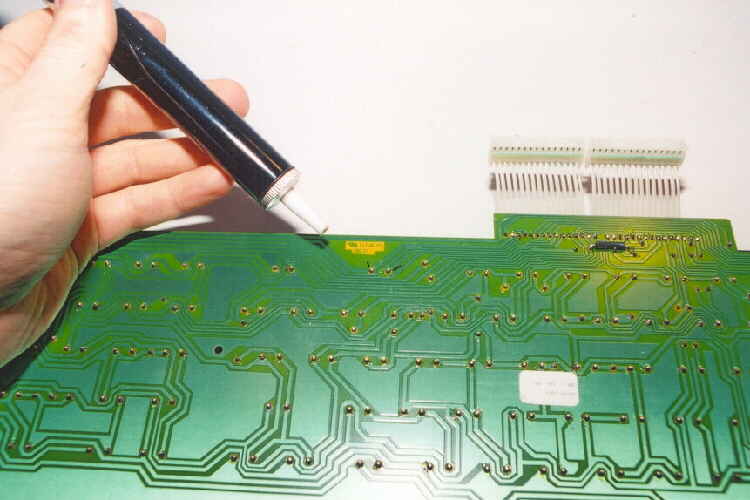
On the PCB side, identify the joints relevant to the key being repaired and de-solder them.

Moving back to the top-side, push a small screwdriver under the keyswitch to give some upward pressure,
then with another screwdriver push the securing clips in and the key will pop up.
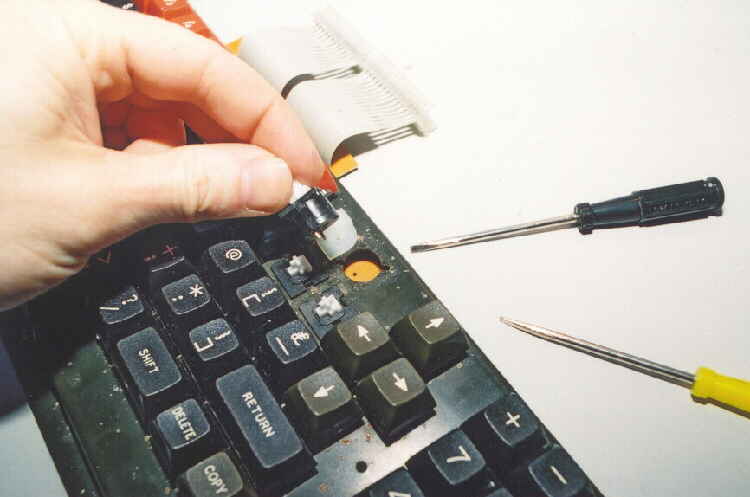
Lift the keyswitch clear of the board.
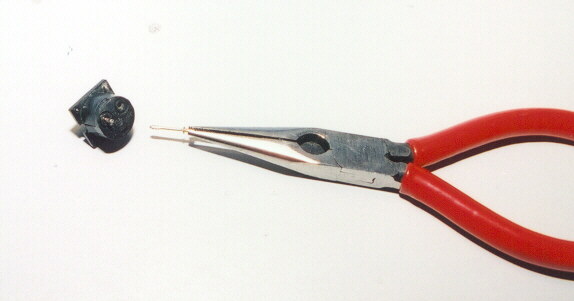
To dis-assemble, using some pliers grip each pin on the base in turn and "unscrew" them.
Next part the 2 halves of the switch with a thin blade. Note some switches are glued together.
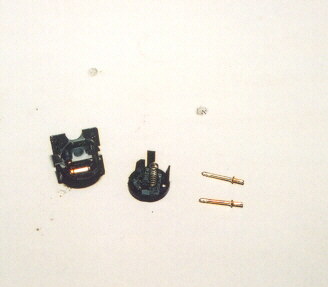
Once parted, make sure not to loose the spring or any other parts.
Note how it came apart. Dont "rush" into any job.
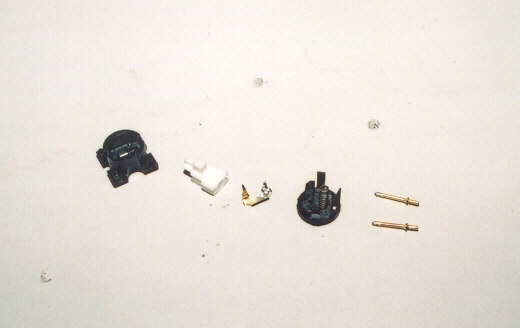
With the switch stripped, clean all parts with an alcohol based cleaning pen and re-assemble.
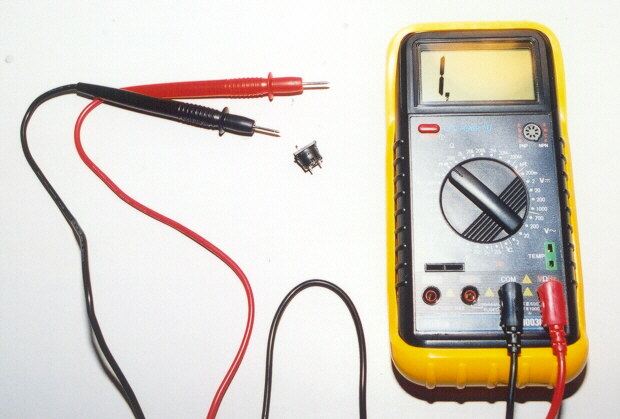
Before re-fitting to the Keyboard chassis it is best to test the switch using a multi-meter.
It will save time if the fault was not remedied during strip-down.
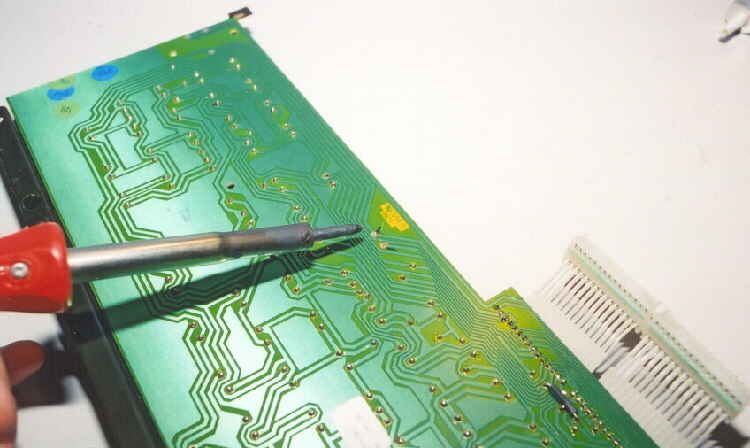
Push the switch back into the chassis and then on the PCB side re-solder the joints.
Finally re-fit the keys and hopefully you will have a fully functional keyboard again.