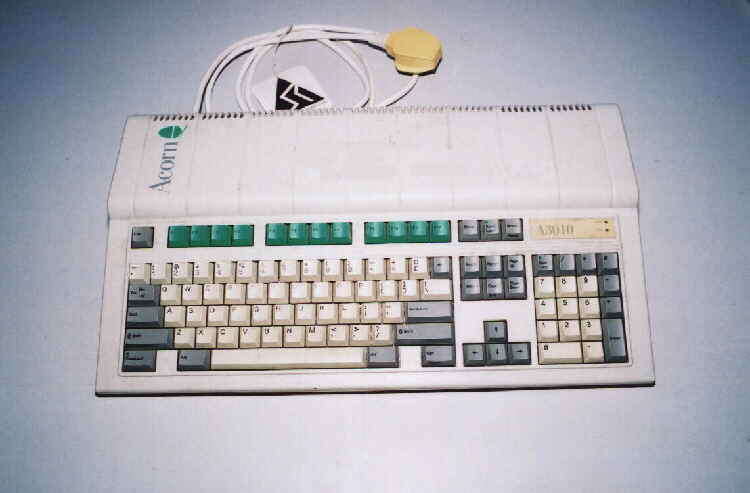
A reasonably clean Acorn A3010. But were going to make it alot better.
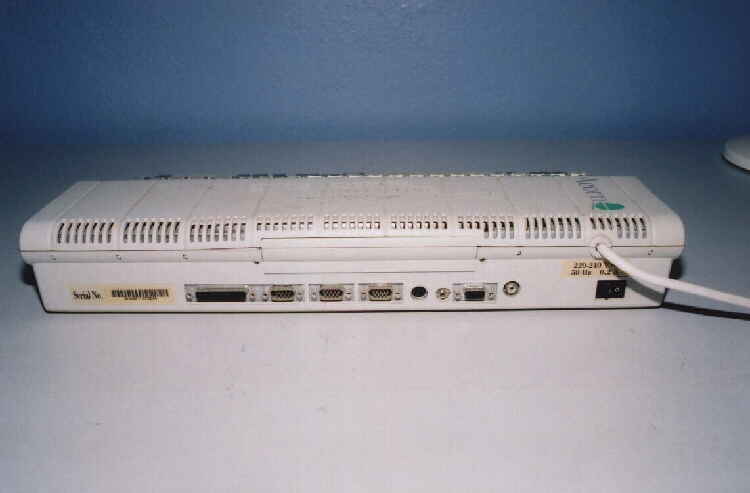
A view from the rear of the case showing expansion connectors and blanking plate in podule position.
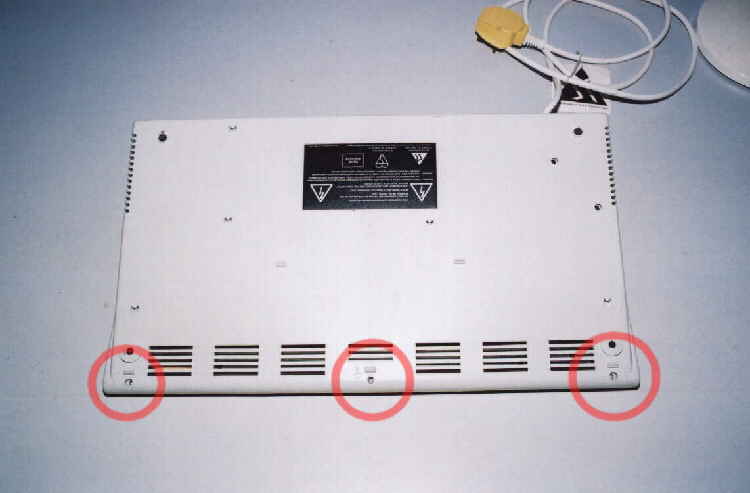
To remove the top cover, first remove the 3 screws from the underside of the computer.
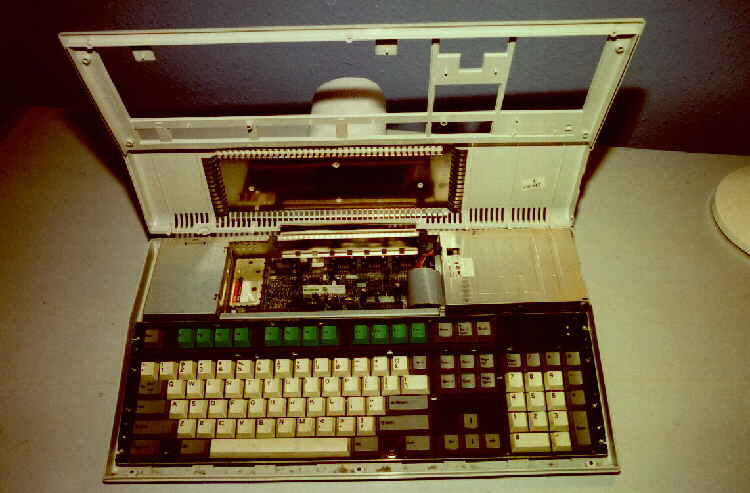
Once removed the top cover can be lifted upwards but be careful where it unclips at the rear.
Its a bit tight and care will be required to make sure you dont crack the case.
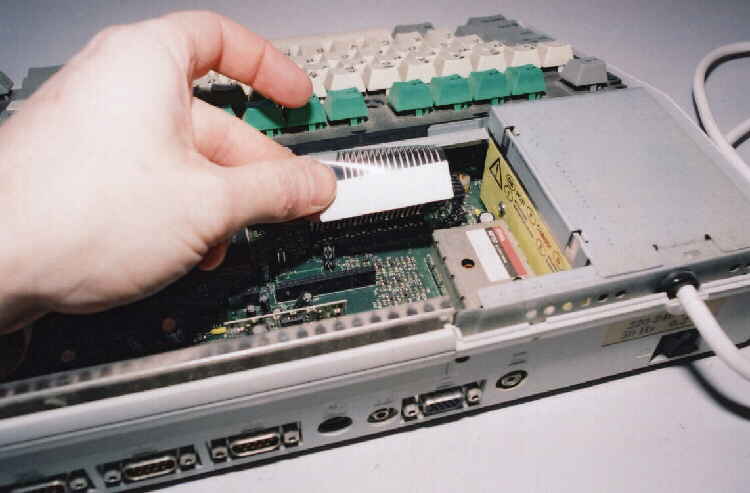
A difficult operation this, but grip each keyboard ribbon in turn at each end
and pull them up out of there sockets.
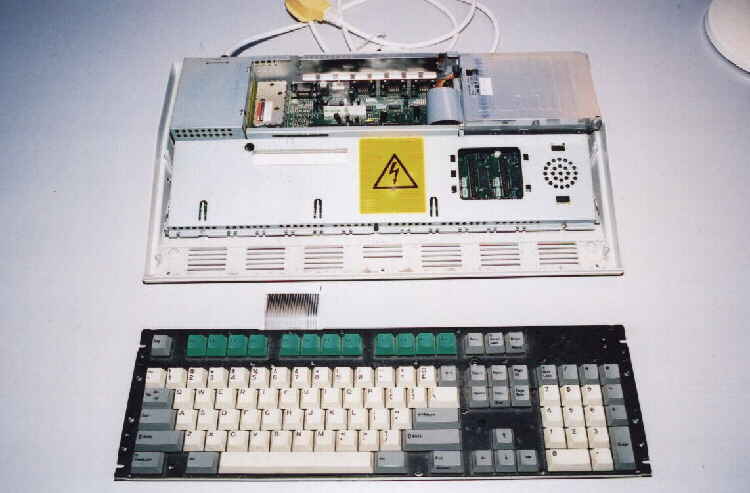
The keyboard can now be lifted away from the main case. When you lift away,
feed the connector ribbons through the slot in the metal casing.

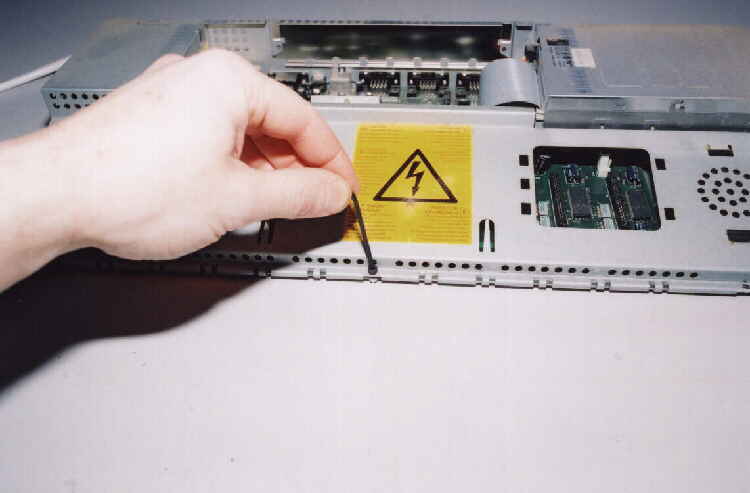
Undo the cap-head screw under the power supply with an allen-key (hexagon wrench).
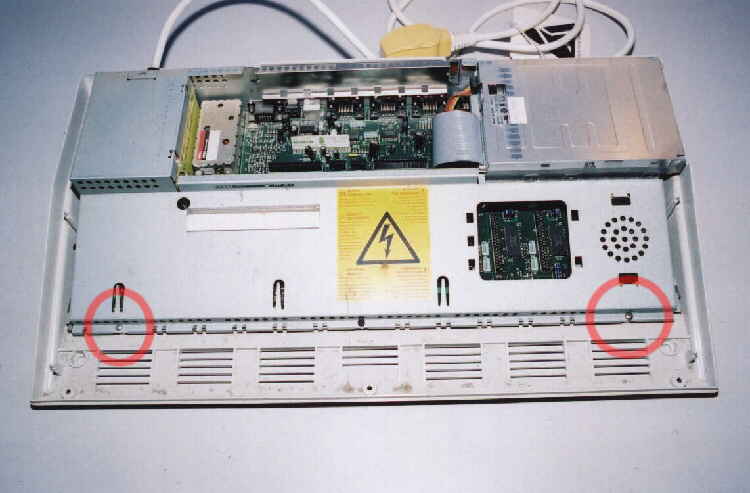
Remove the 2 screws at the front of the metal casing, these secure the chassis to the case.
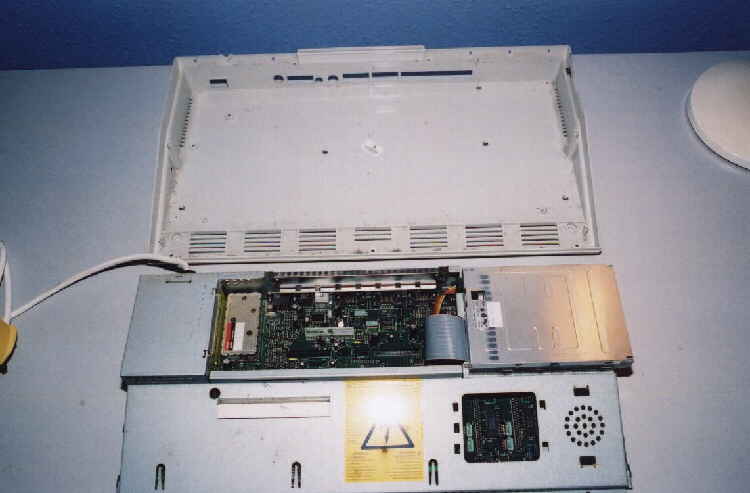
The chassis can now be slid forward approx a quater of an inch,
then lifted upwards to release it from the case.
To seperate the 2 halves of the chassis, undo the hexagon bolt, front centre,
the top half of the chassis can be slid forwards to unclip it.
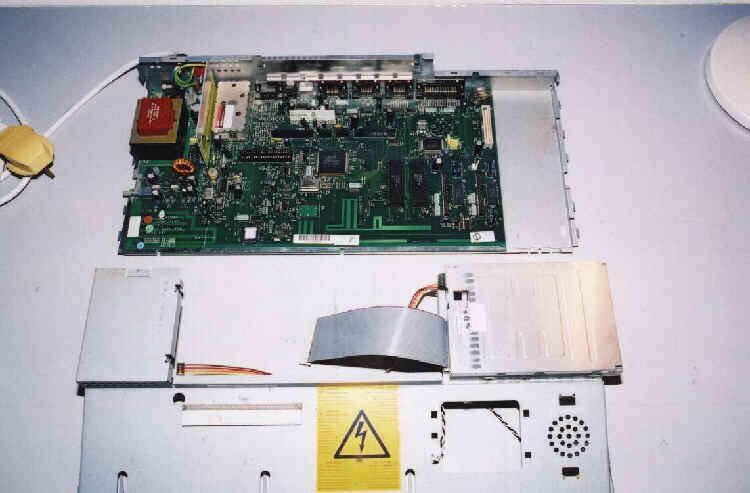
As you lift the top chassis up, disconnect the power and data ribbons from the Floppy drive,
also the small lead that goes to the Speaker.