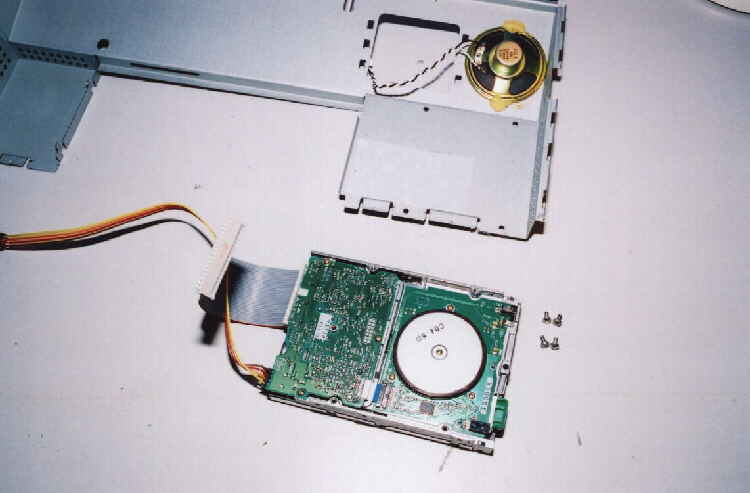
The disk drive is seperated by removing the 4 securing screws on the underside of the top-chassis.
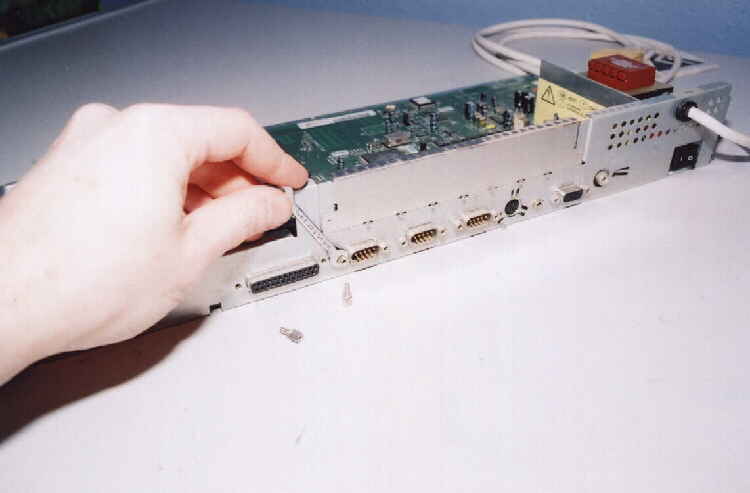
To remove the mainboard you will need to first undo all the small hexagon bolts
on the rear connectors, also the locking ring on the Audio out.
The mainboard can then be slid forward and lifted clear after unplugging
the mains cable from the Power supply area of the Mainboard.
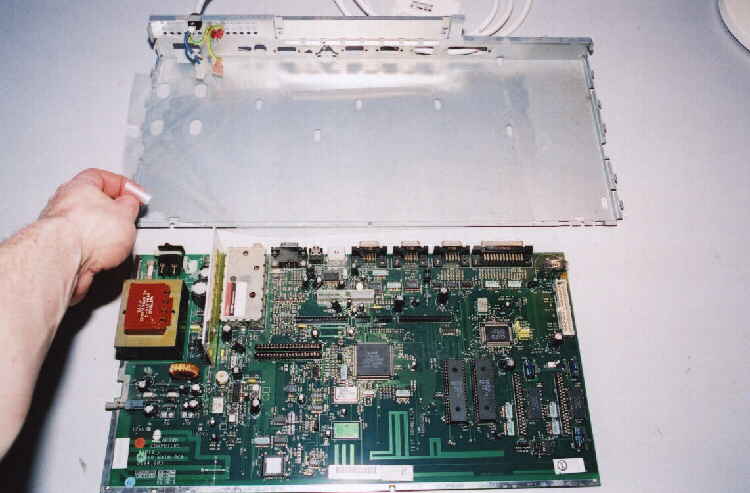
This is the mainboard with dust still attatched. Clean it with a small paintbrush
and a vacuum cleaner hose. Be careful not to damage anything.
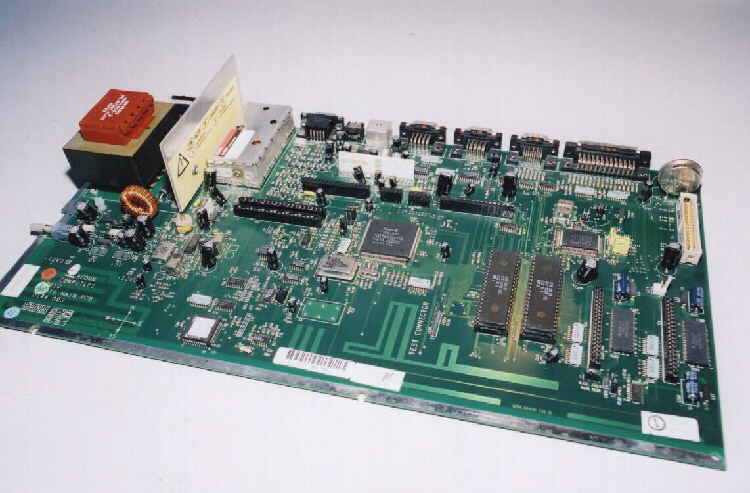
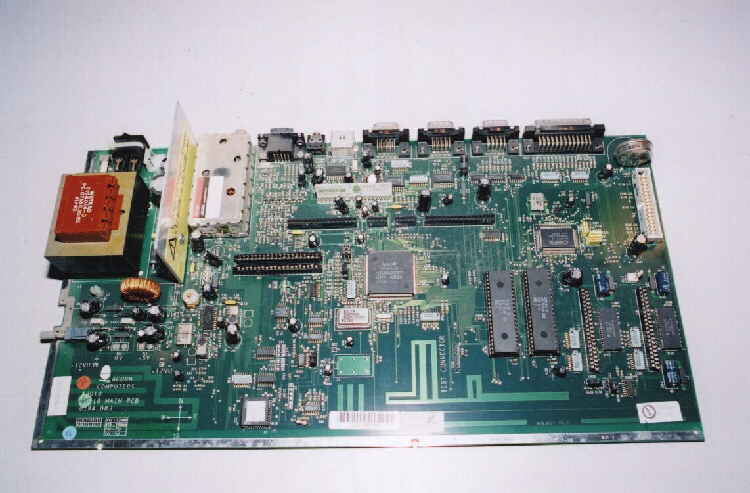
The completed mainboard, looking factory fresh. Whilst its out the machine take a second or two
to make sure the main OS ROMS are pushed fully home.(2 large IC's bottom right)
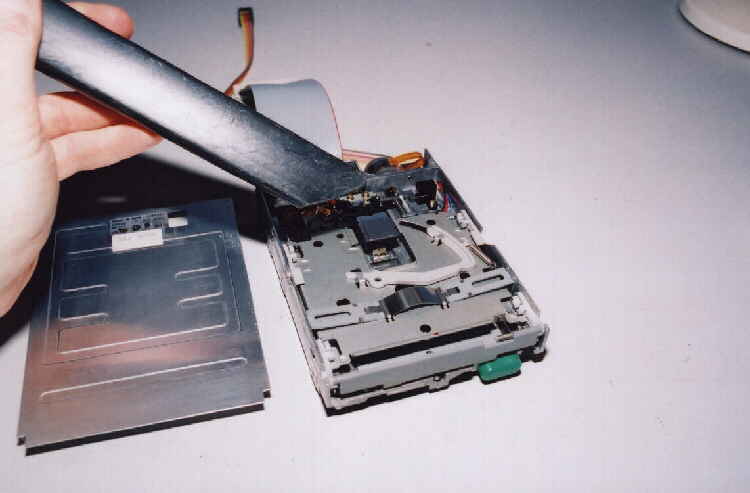
Unclip the lid of the Floppy disk drive, and as before use a brush and vacuum hose
to remove all dust and hair.
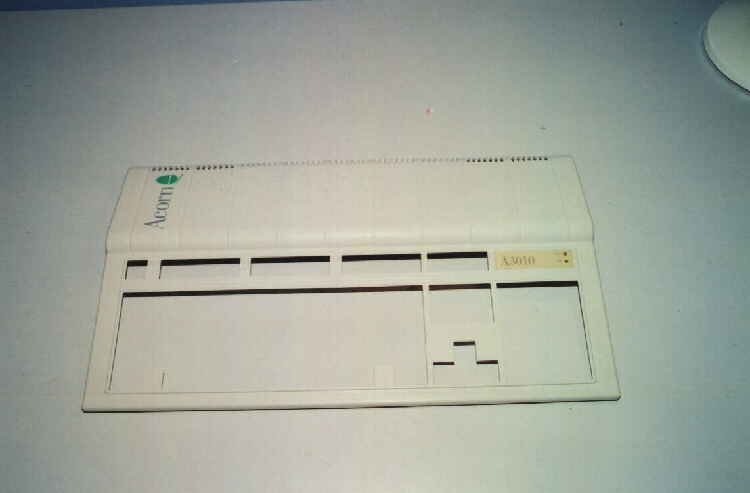
Clean the case with damp cloth. Use NO detergents,abrasive or chemical cleaners.
Do not use nail varnish remover as it will MELT your case.
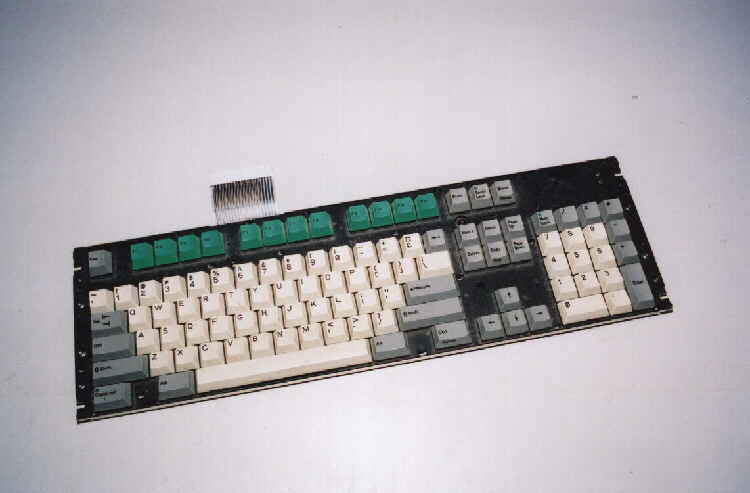
A dusty keyboard unit ready for a clean.
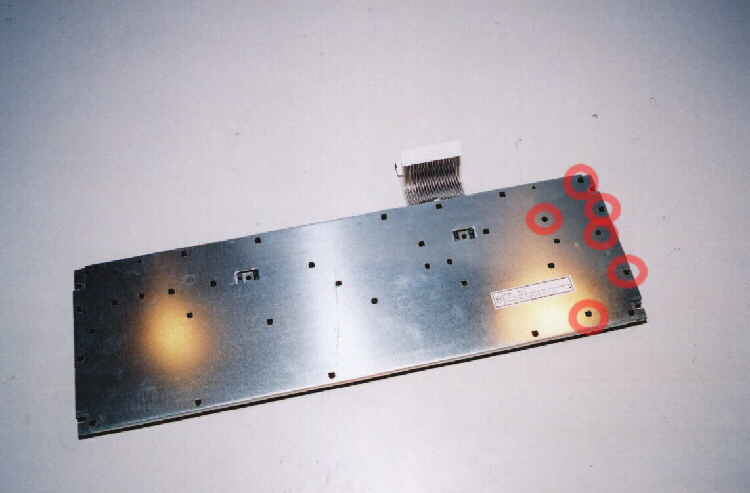
Firstly, work from the back. Unclip the metal backing plate by undoing the clips.
Work from 1 end to the other.
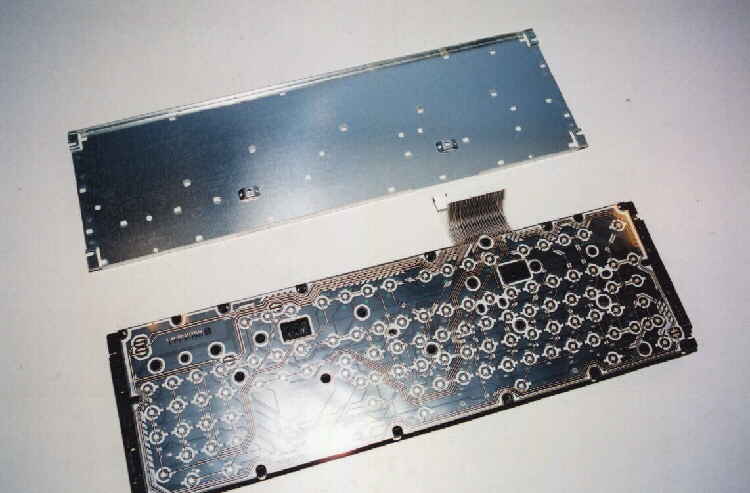
With the backing plate removed the keyboard membrane is exposed.
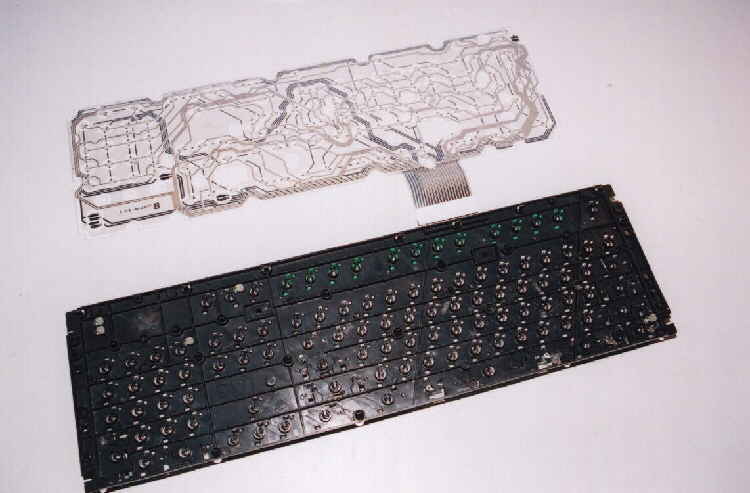
Lifting away the membrane reveals all the dust. At this stage pick out the LED's and store them safely.