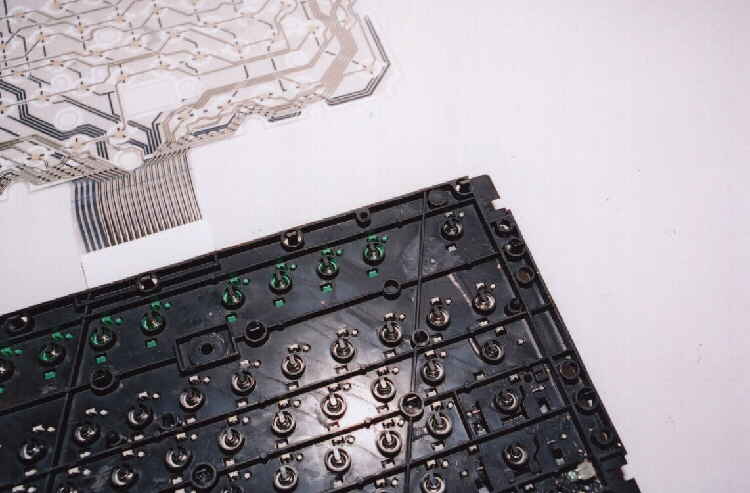
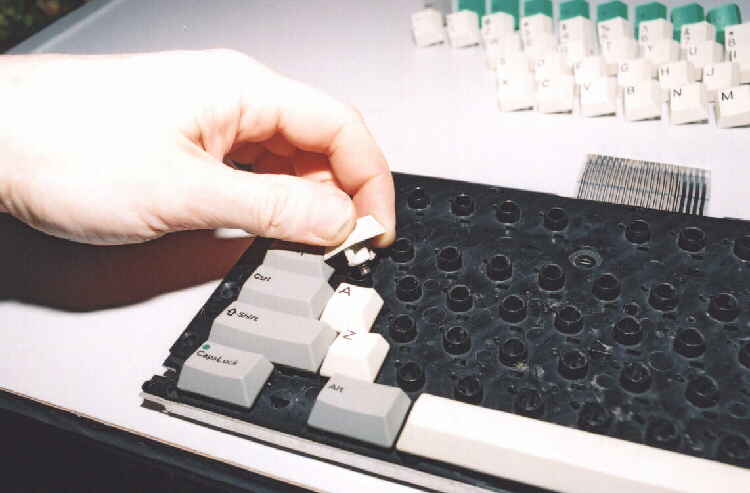
The keys are now removed by pulling slightly on the keys and unclipping from the rear.
Its a tedious job but worth it in the end.
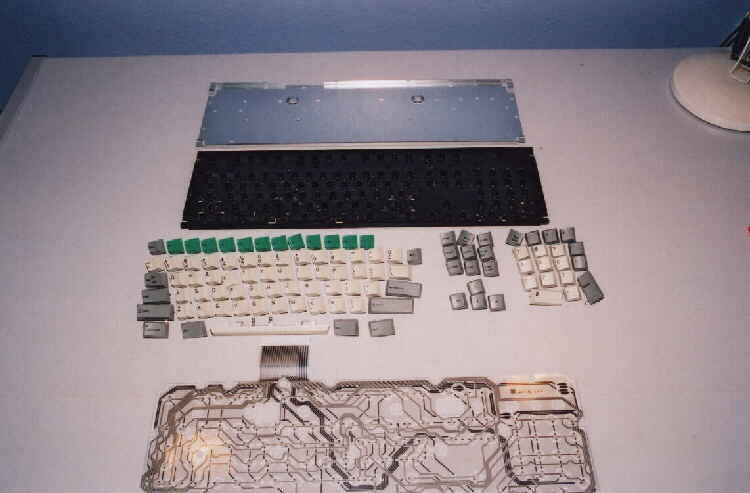
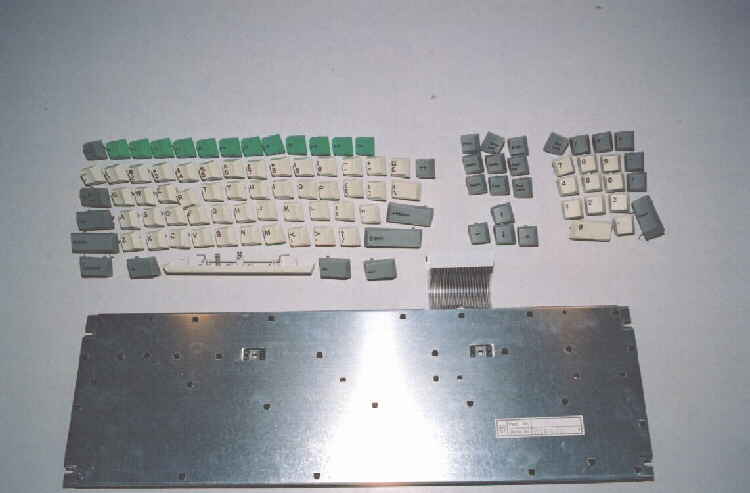
All the component parts of the keyboard. Dust everything, wipe the membrane with a damp cloth.
And wipe all the keys. They will come up like new.
To re-assemble, first fit the LED's.
Remember the yellow one goes top left (lower), all the rest are green.
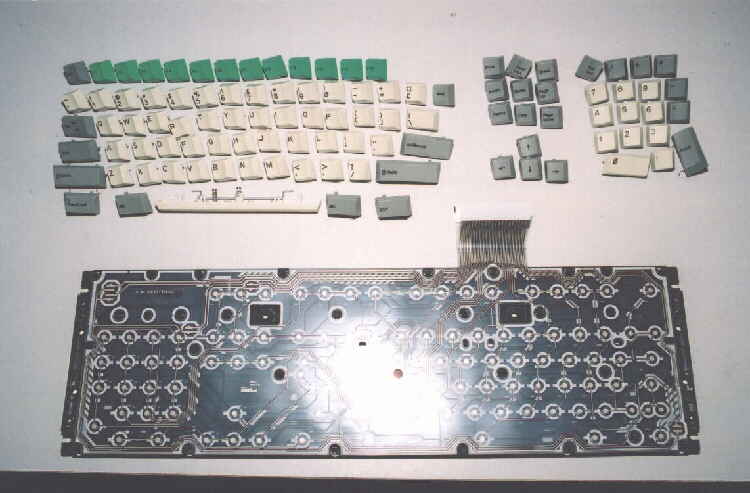
Next place the Membrane onto the board. Slide it left/right/up/down
and you will feel it locate itself.
Next place the Metal backing plate on top. There are some locating dowels,
just press down from one end to the other to snap it back together.
Finally replace the keys. Just put them back in there respective holes and pressing down
will give a short "click" to say there locked in place.
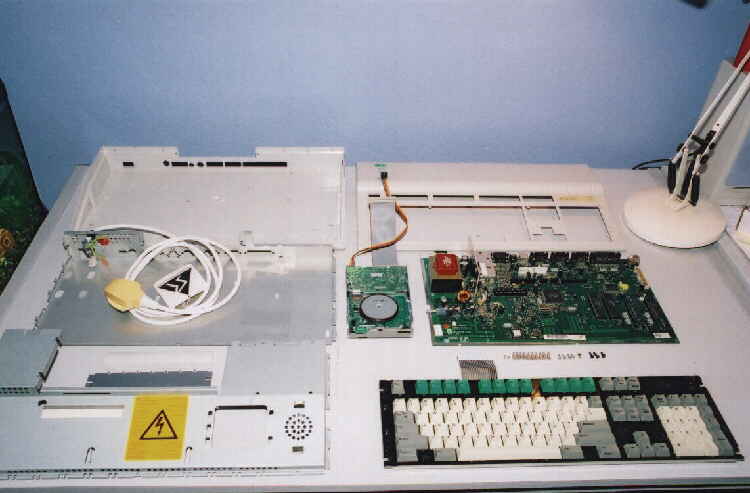
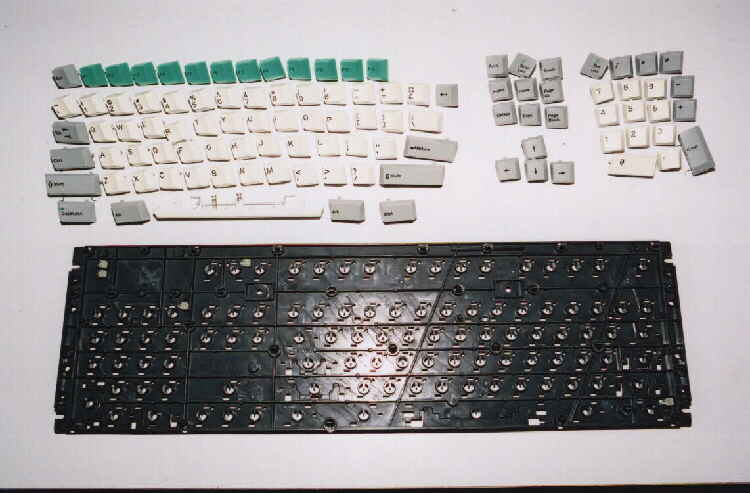
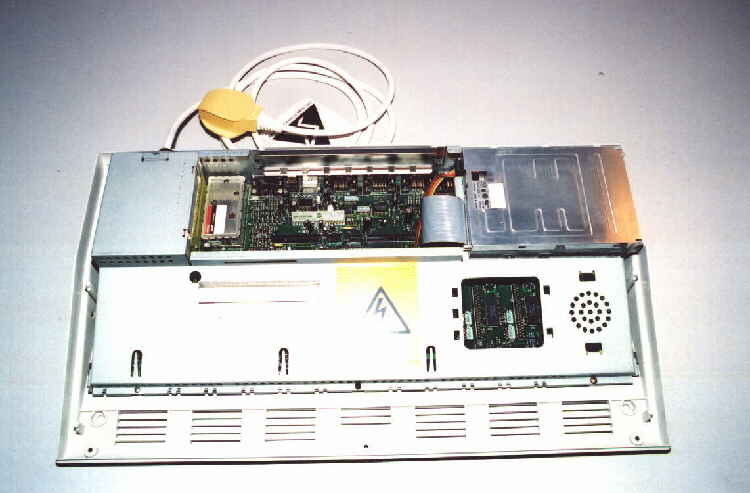
All the component parts of an A3010 cleaned and ready for final assembly.
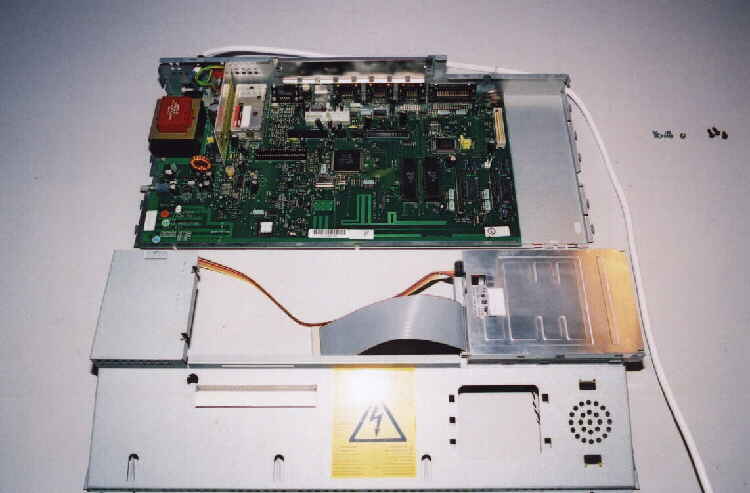
Assembly is the reverse of above. Fit the mainboard, do up the bolts.
Fit the floppy drive to the top chassis. reconnect speaker and floppy
cables and clip the chassis together. Do up bolt.
Place chassis in lower case. Slide to the rear to lock. 2 front screws and 1 under PSU.
Refit the lid by securing at rear first, then lower and do the 3 screws underneath.
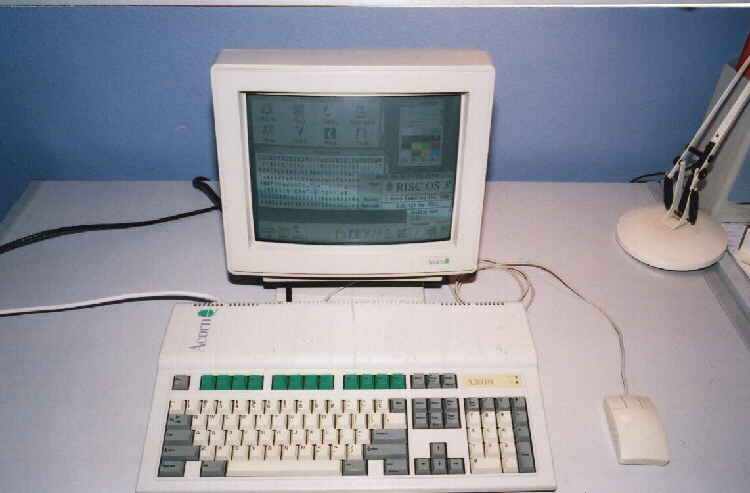
The final Assembly powered up and looking just like new. Probably 3 hours work total.