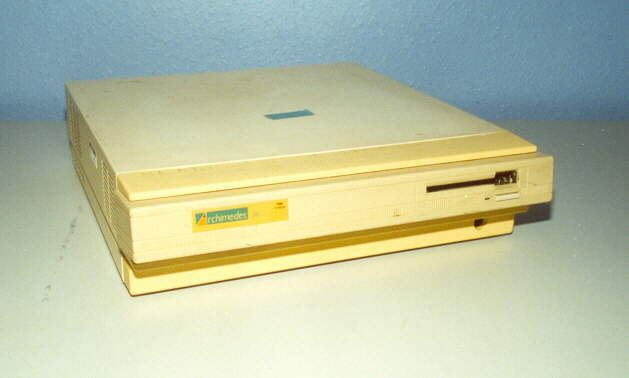
A filthy and slightly yellowed A310 in need of a good cleanup.
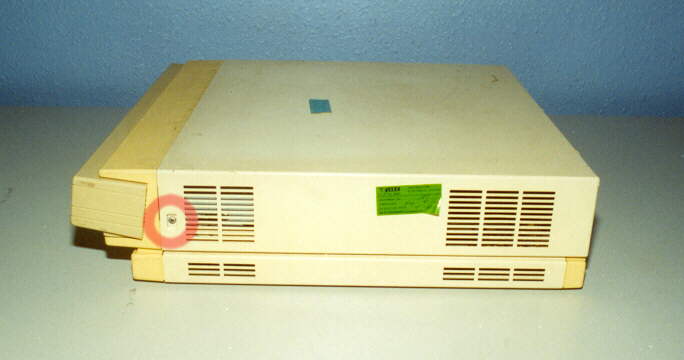
First, remove the top cover by unscrewing the two screws at either side of the case.
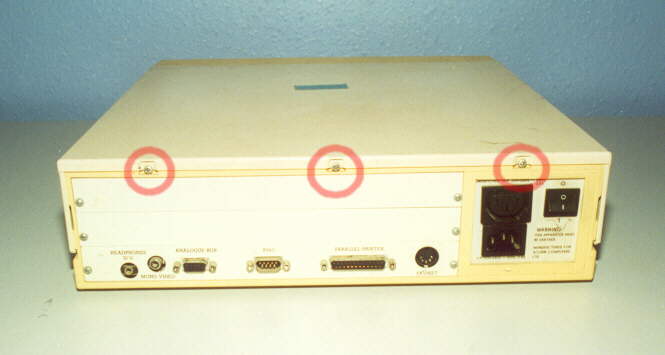
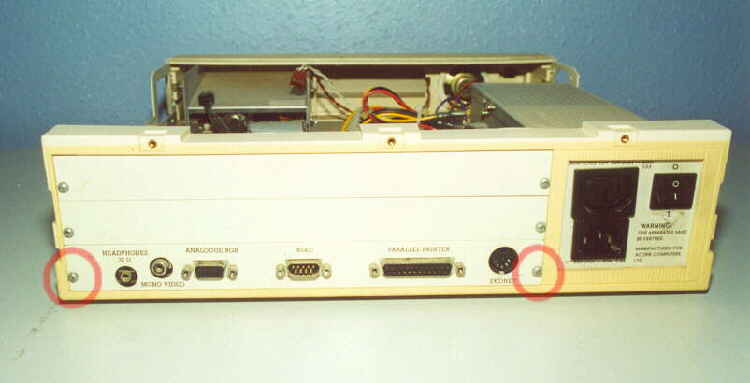
Next, remove the 3 screws from the rear panel, this will allow the top cover to be slid off to the rear.
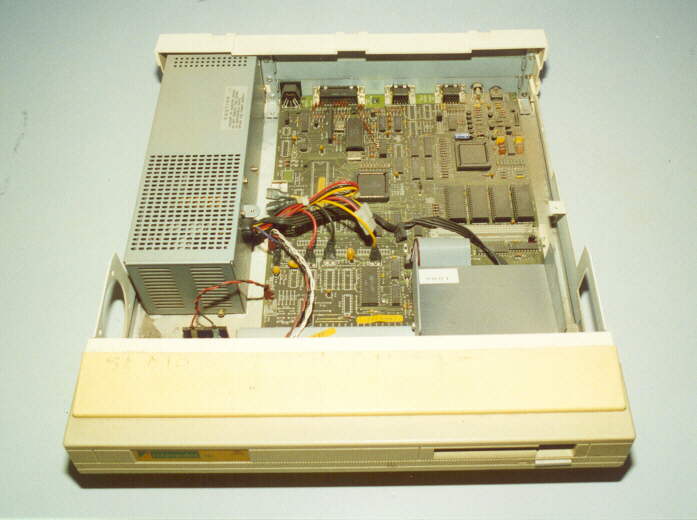
Inside reveals a very dusty interior. Unfortunatly this machine has no interesting upgrades inside.
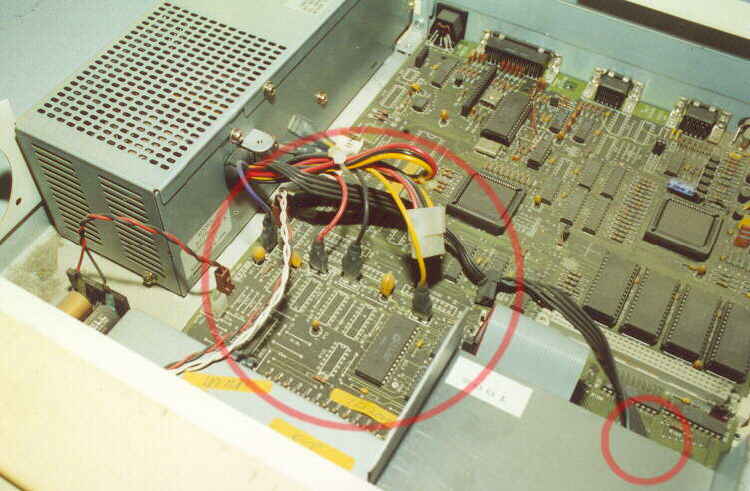
Next make a note on paper as to where all the power, disk drive, battery pack and front panel leads go.
Then disconnect them.
At the rear of the case, unscrew and remove the 2 screws which hold the mainboard in position.
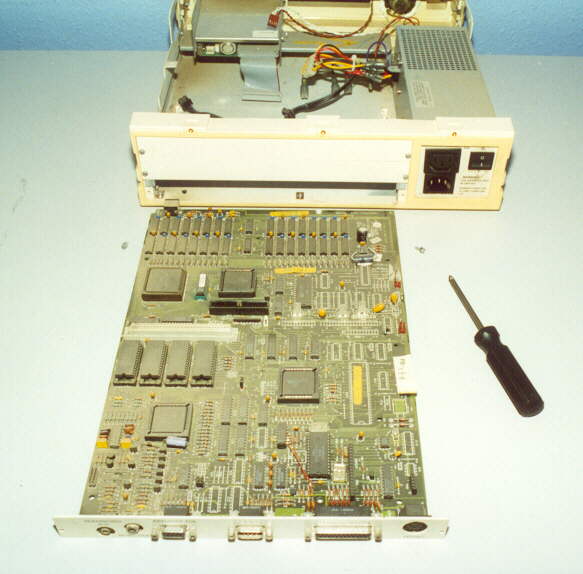
The mainboard can now be withdrawn to the rear. When you get about halfway out, it may "stick".
This is due to a support post in the centre of the pcb catching on the case,
so just wriggle the board to get it out.
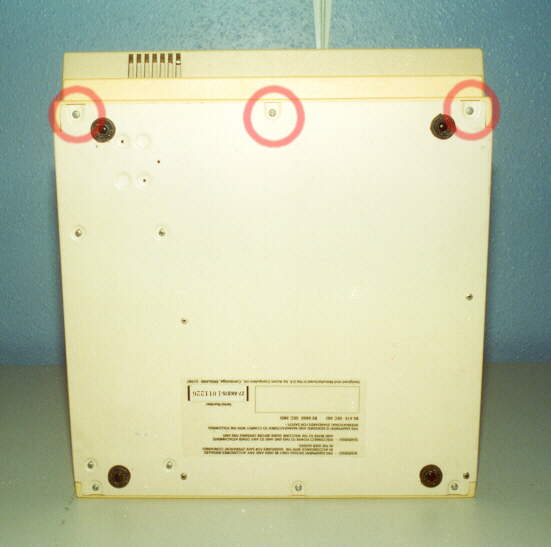
The front panel comes off by first removing the 3 self tapping screws on the underside.
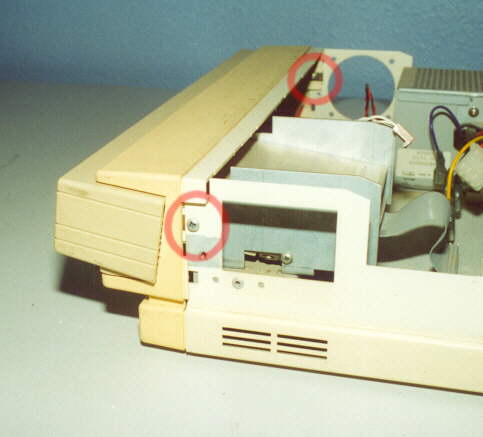
Followed by the 2 screws shown here.