The front panel can now be lifted clear.
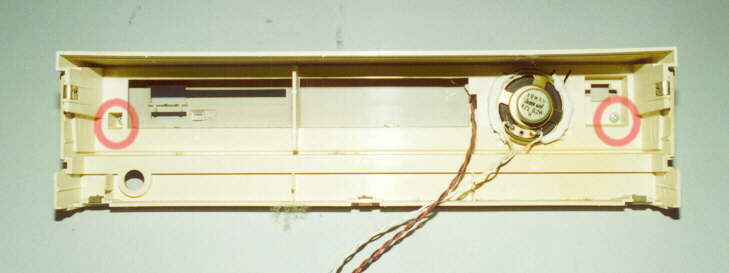
To seperate the two halves of the front panel, remove the 2 self tapping screws shown.
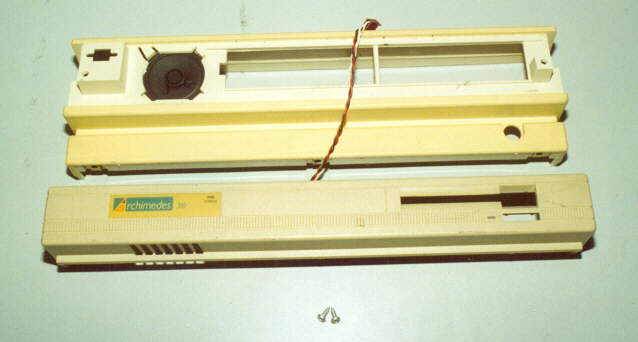
The front panel can now be given a good clean, using only damp cloth.
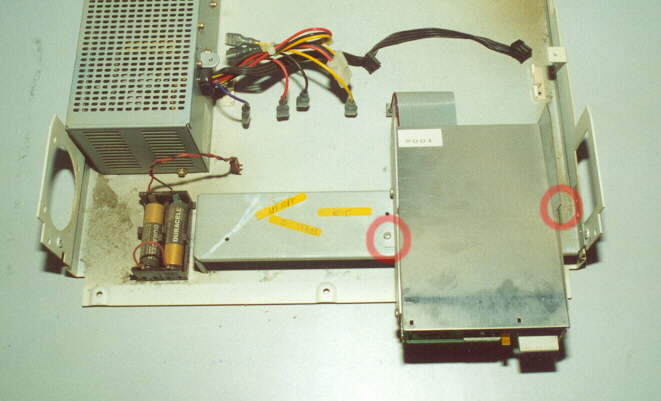
To remove the Floppy Disk Drive chassis, unscrew the 2 screws highlighted.
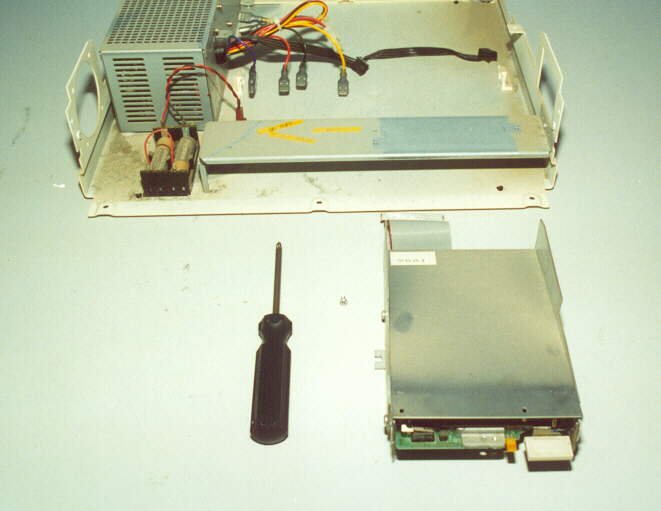
The assemble can now be lifted clear.
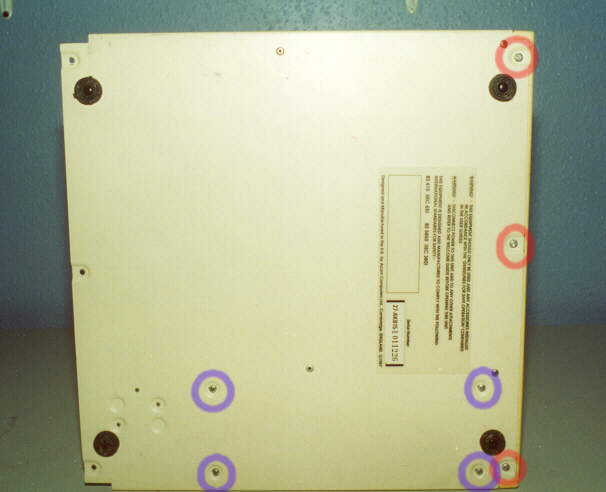
To remove the back panel remove the 3 screws highlighted in "RED".
And to remove the PSU unscrew the 4 screws highlighted in "PURPLE"
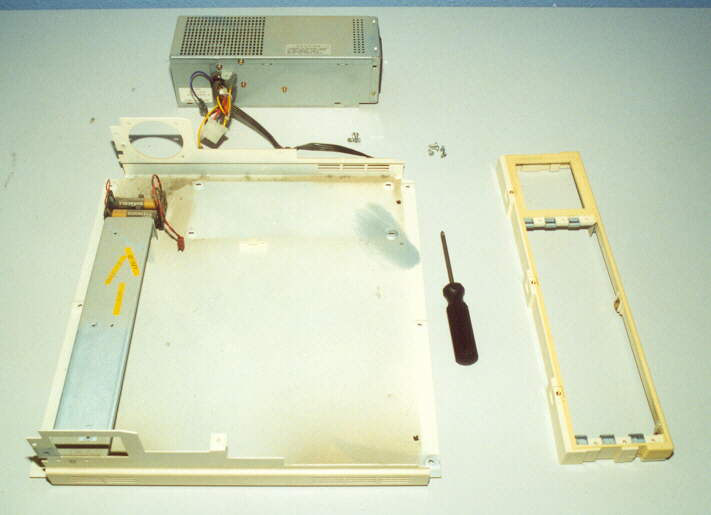
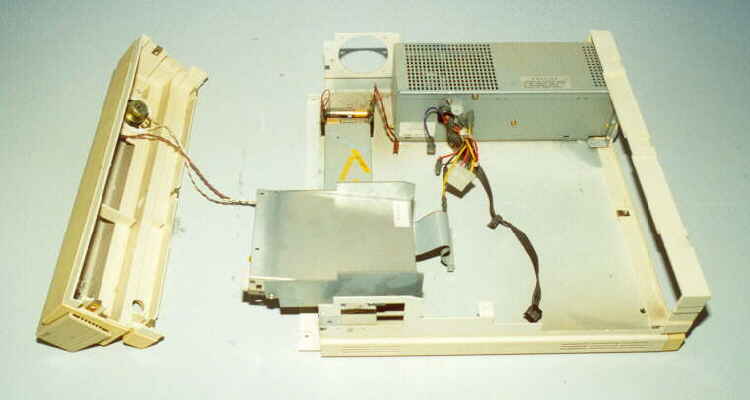
This picture shows the parts seperated.
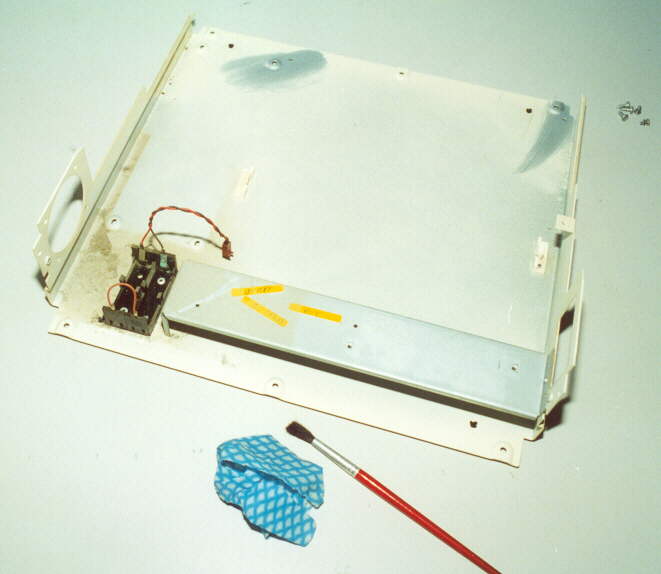
Clean the inside of the chassis by first vacuming the interior then wiping with a damp cloth,
followed by drying. The battery pack is riveted to the chassis so just clean it up as best you can.
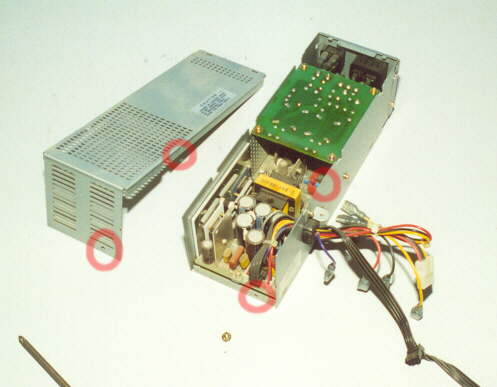
The PSU just needs a dust out, it comes apart by unscrewing and removing the 2 screws shown.
Just use a vacum cleaner hose and small paintbrush to clean it.