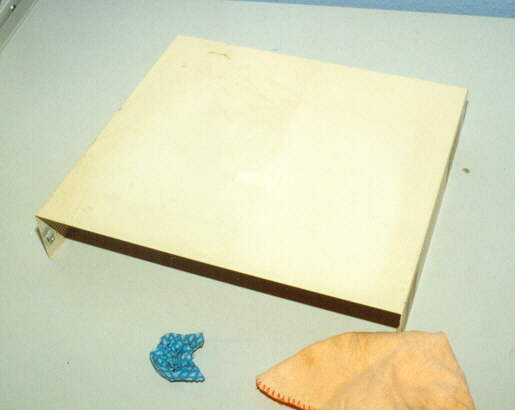
With a wet cloth, soak the outer casing. let the water soak into the dirt for a while
then wipe with damp then dry cloths to clean. The right hand side in this picture has been done.
It doesnt really show up well unfortunatly as the flash was to strong.

Seperate the Disk Drive from its chassis by removing the 2 screws on either side.
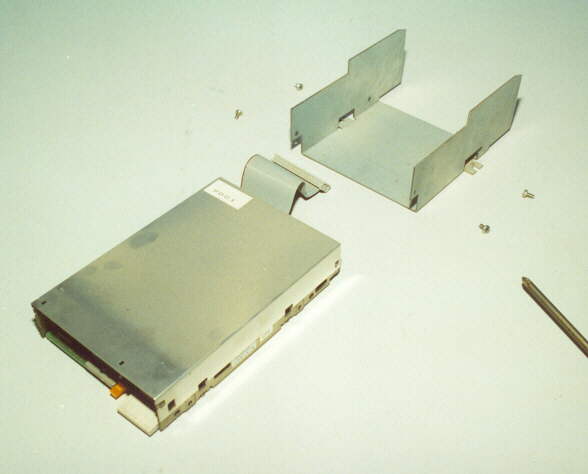
The drive will now lift clear.
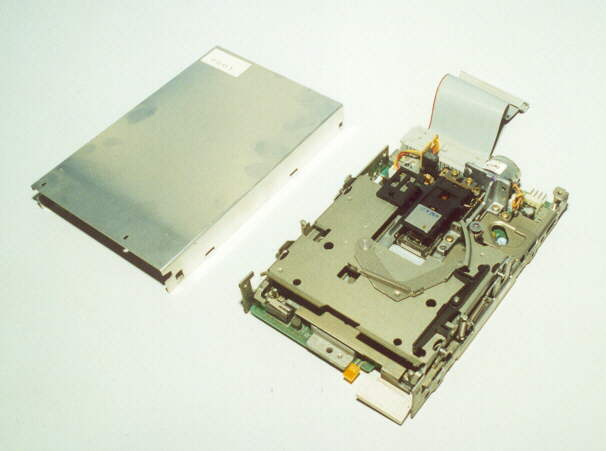
The top cover on the drive can be unclipped to alow cleaning.
Use a vacum cleaner hose and paintbrush. These drives are always going to be filthy,
as there is no "door" on the front to prevent dirt getting inside. (bad design)
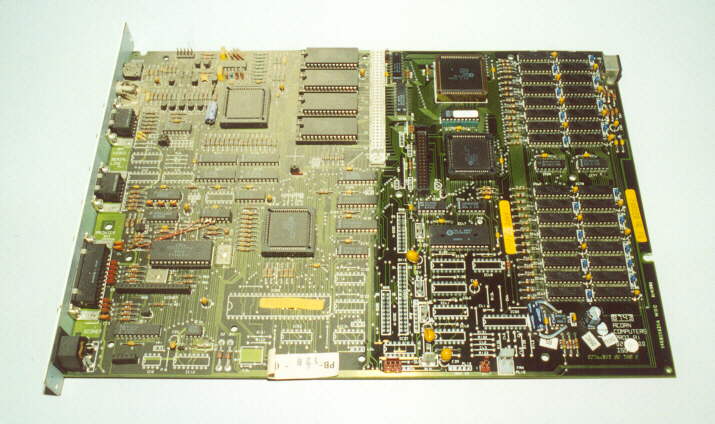
Clean the mainboard with a vacum cleaner hose and a paintbrush.
The difference is clearly seen in this photo.

The mainboard fully cleaned, just like new.
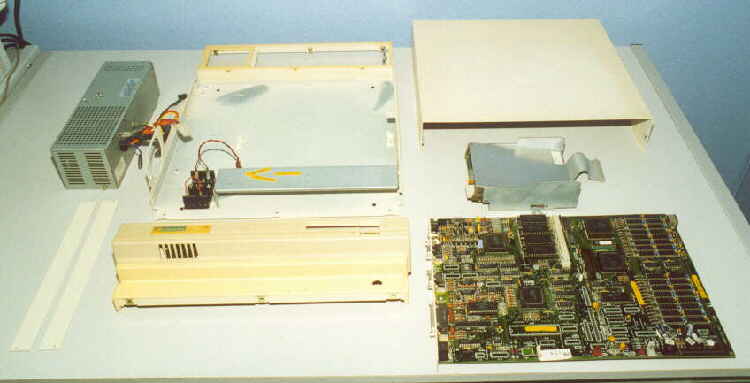
All the parts cleaned and laid out ready for re-assembly.
Just do the reverse of above to put it back together.
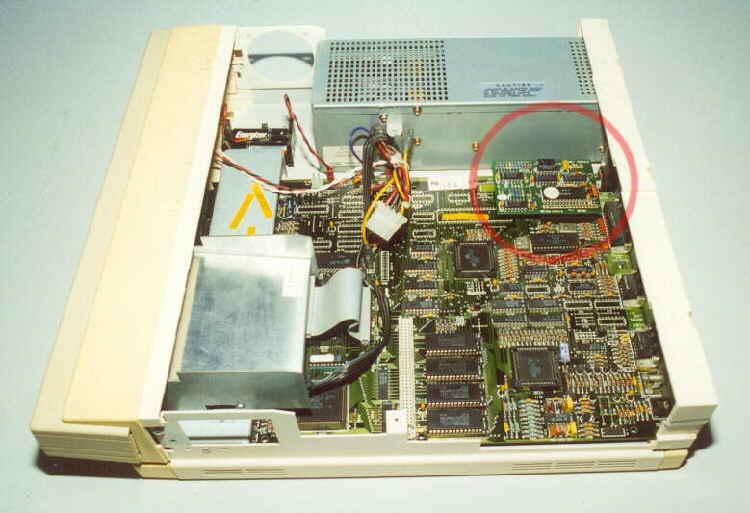
The A310 re-assembled. I have fitted new batteries so hold down the "R" key when
powering on to reset the CMOS Ram. Also I have upgraded the unit to Econet (see highlighted section)
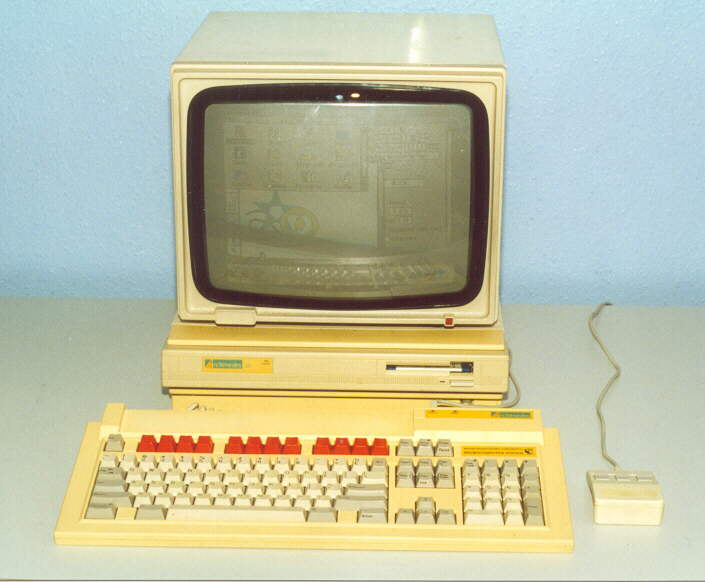
The complete Assembly fully working. Its a bit yellowed but it works, thats the main thing.