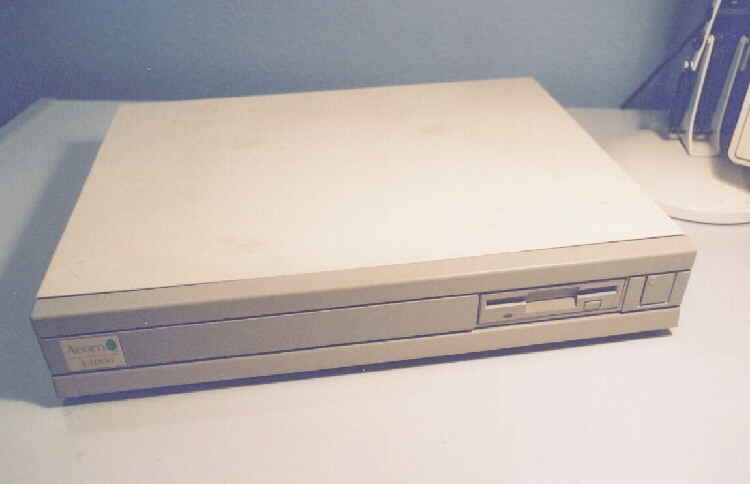
A typically grubby looking Acorn A4000 Base unit that requires a service.
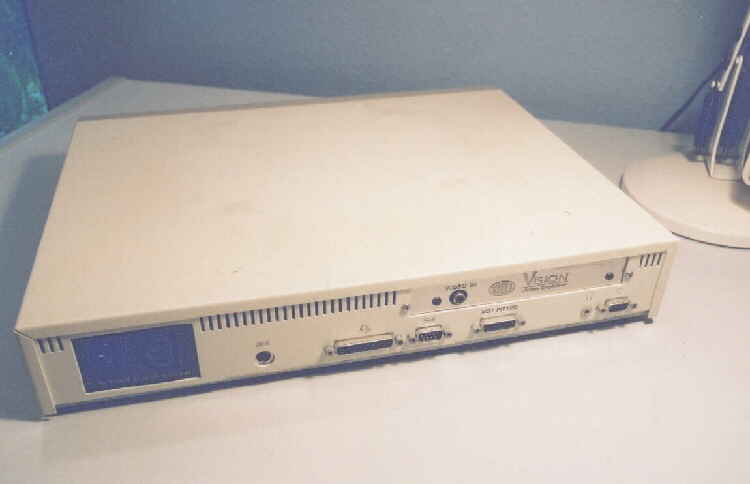
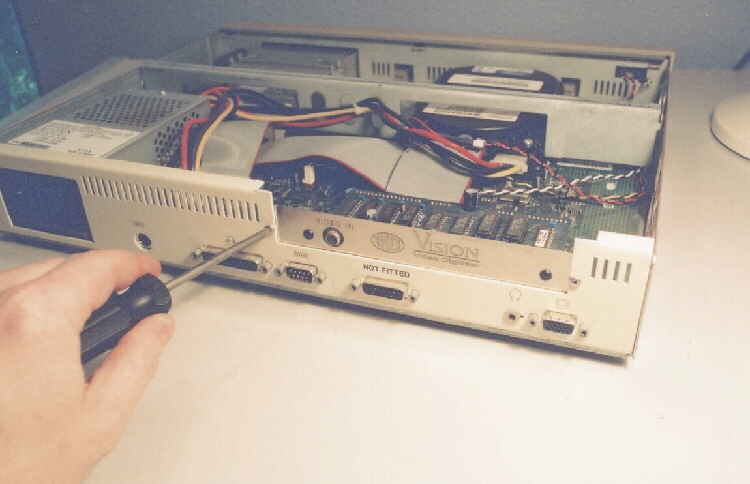
A view of the rear of the unit, showing ports and a Video Digitiser Podule.
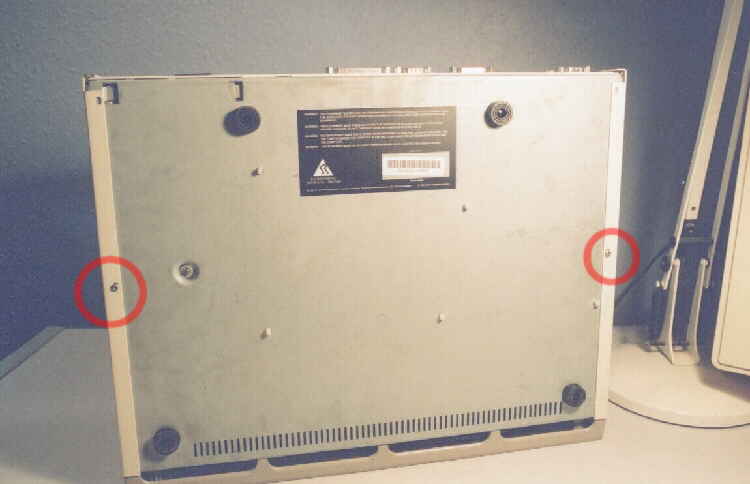
To remove the top cover, unscrew and remove the two securing screws, centre left and right.
This allows the lid to be slid towards the rear and off of the unit, revealing many years of dust.
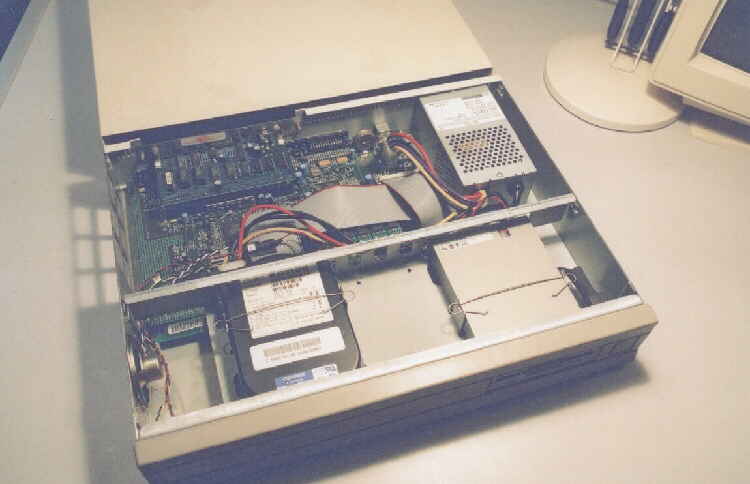
Next remove the Podule securing screws. If no podule is fitted the you can remove the
screws which secure the blanking plate in position.
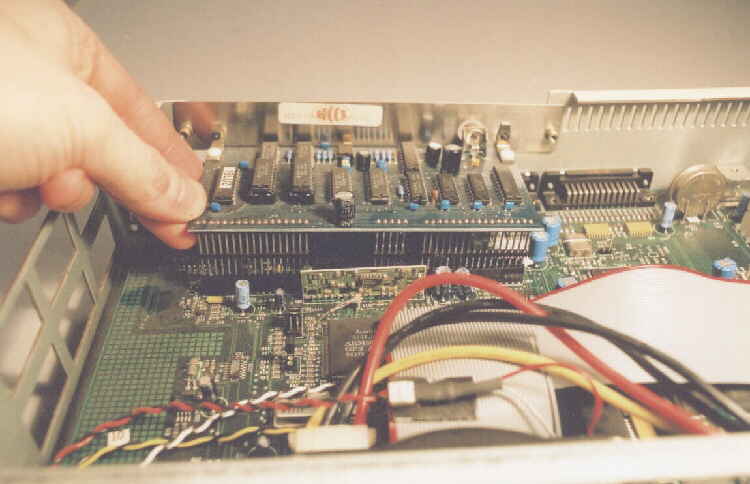
Now, CAREFULLY! lever the podule upwards by using pressure ONLY! where the connectors
go into the mainboard, NOT pressure from the rear.
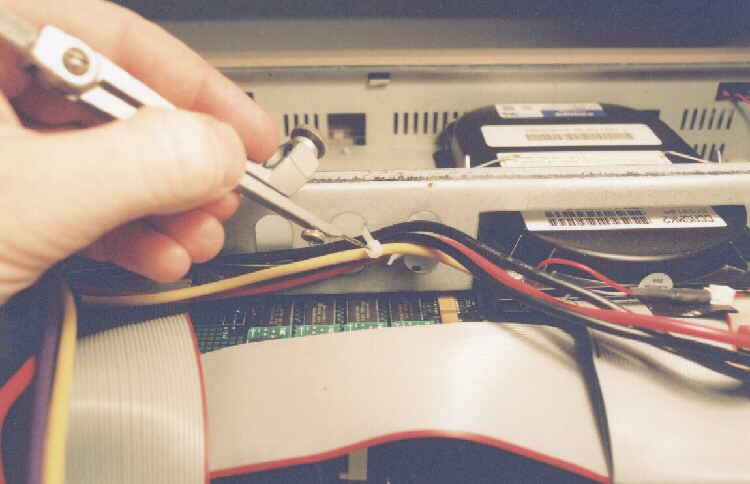
The drive power cables need to be un-attatched from the chassis, you can either cut the plastic tie
or like me, unpick it for re-use. I like originality so the original goes back on.

Disconnect the power connector to the mainboard along with the Floppy Drive Ribbon
and Hard Disk Ribbon cable. Take care as theres not much room for large hands.
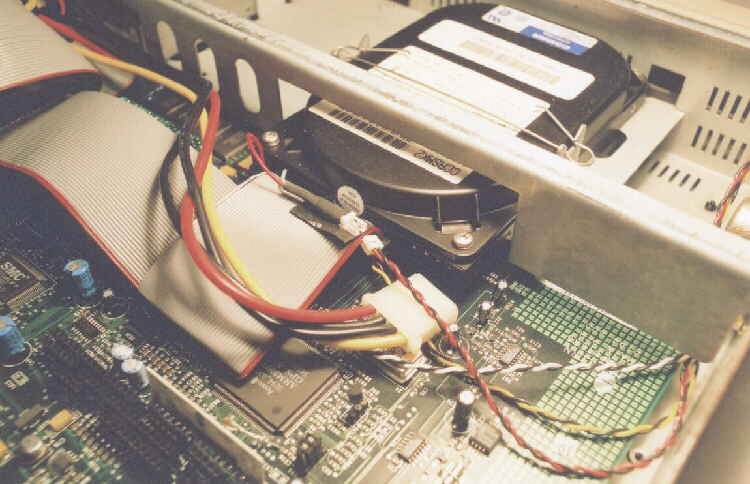
Pull the power lead out of the rear of the Hard Disk Unit, also seperate the red/black lead
which goes to the Hard Disk Activity LED on the front panel.
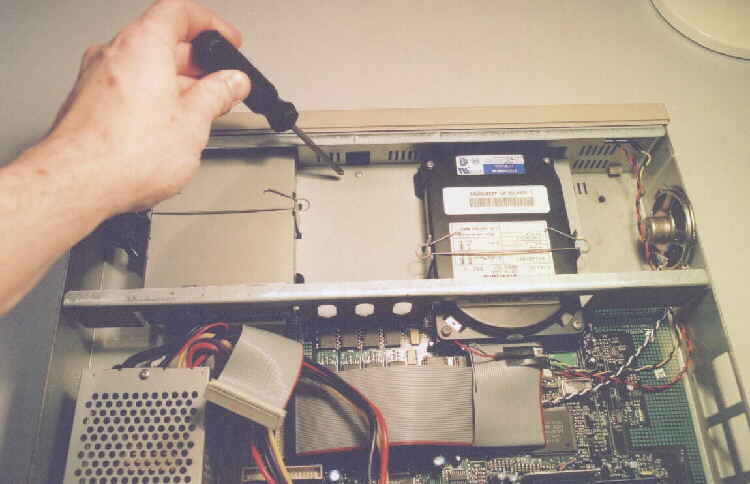
Undo and remove this single screw which secures the Drive sub-chassis to main casing.
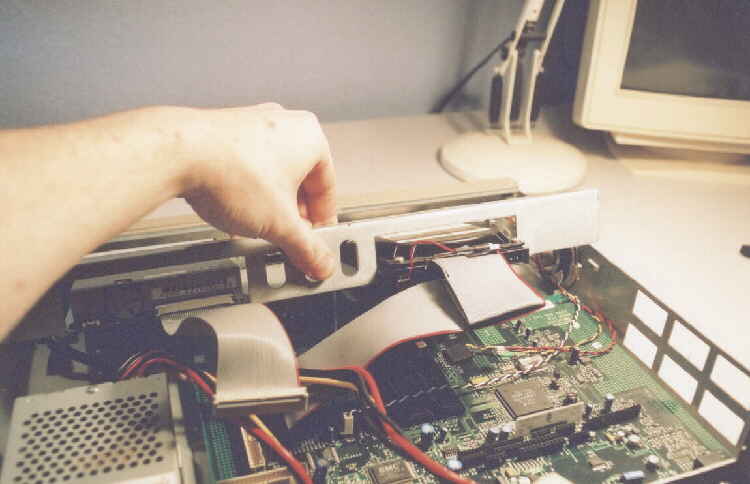
The Drive sub-chassis can now be lifted upwards and withdrawn to the rear of the Unit.
Make sure no cables "snag" on anything during removal.