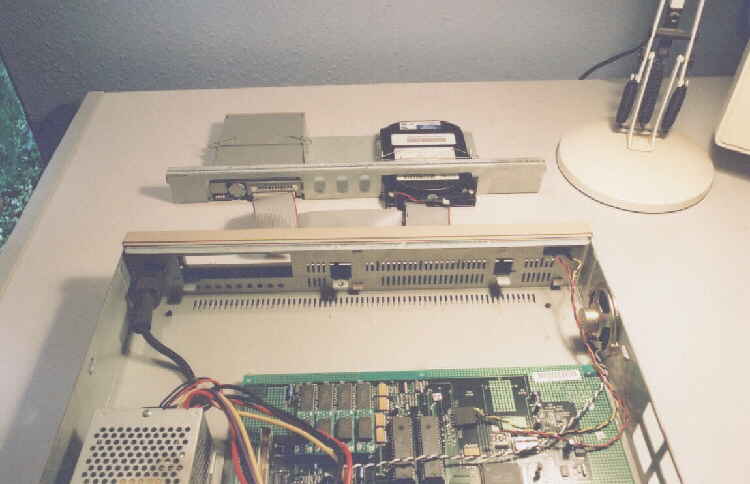
This image shows the Drive sub-chassis removed from the main base unit.
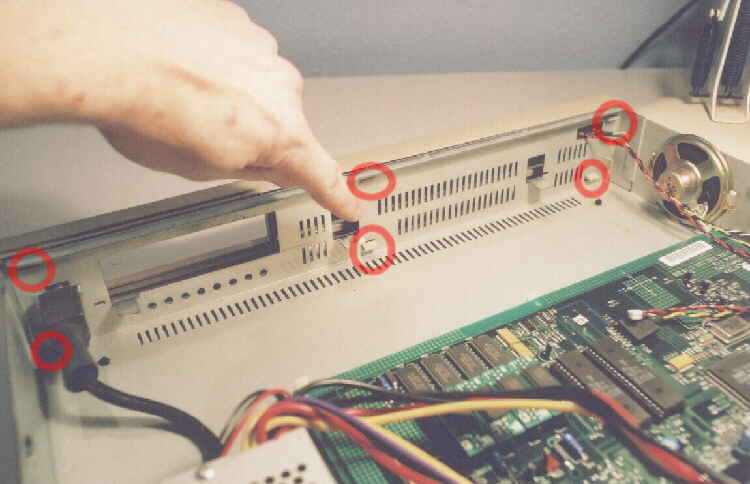
To remove the front panel, unclip the 6 plastic latches. There are two at each end
and two in the centre. Start at one end and pull out slightly to stop it poping back into position.
Before totally withdrawing from the Base Unit, disconnect the final cable from the mainboard,
noting its position for correct re-assembly.
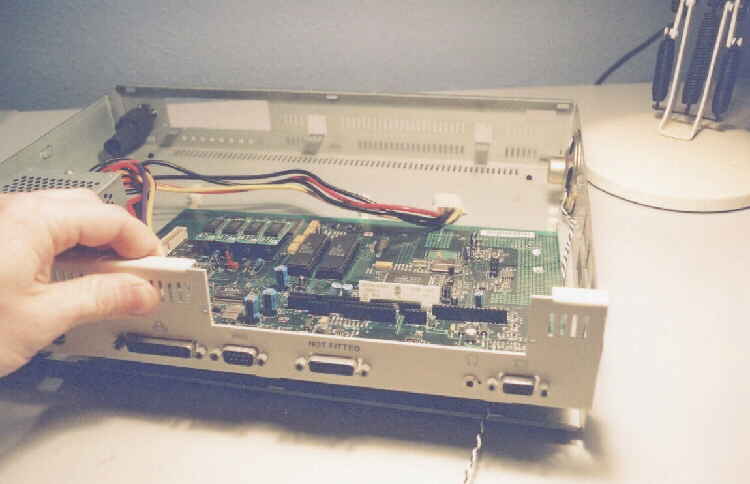
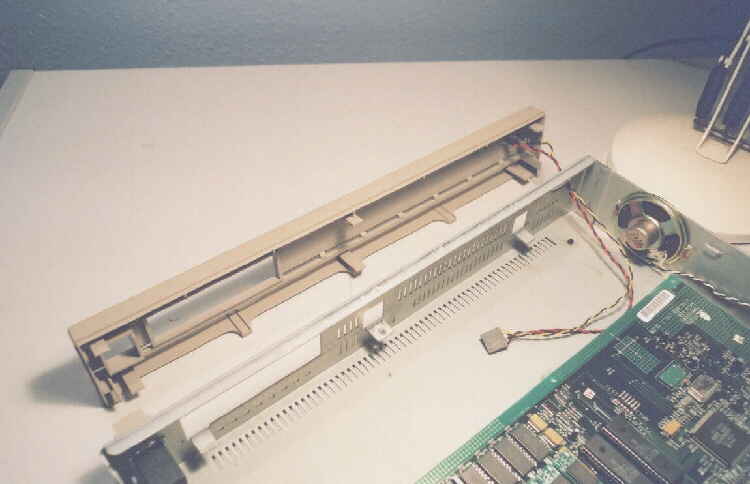
Disconnect the speaker cable then, grip the rear panel, lift upwards and withdrawl the Mainboard
to the rear of the unit, again making sure no PSU cables "snag" anything on the way out.
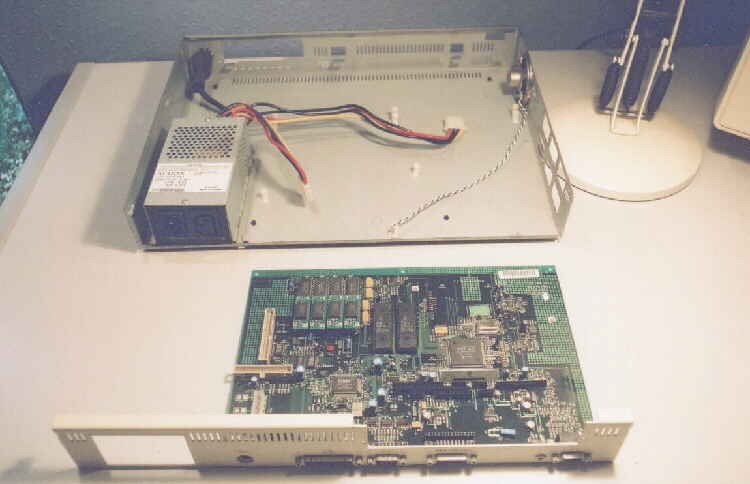
You should now have a relativly empty chassis and mainboard parted as per image.
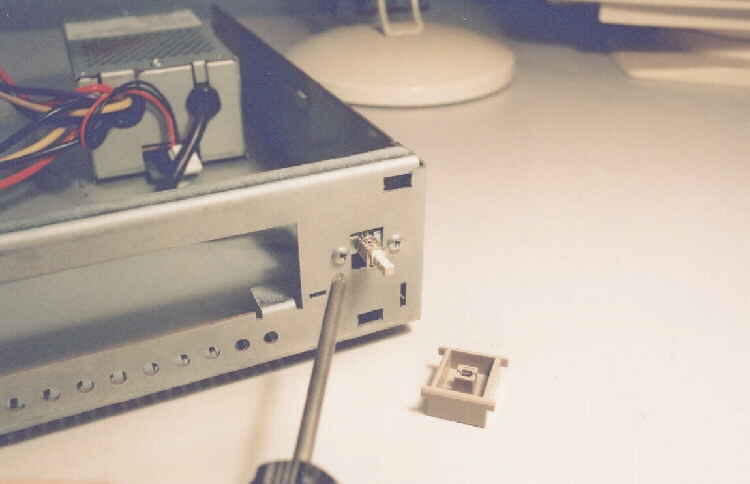
Next on the fron panel, pull off the power switch button, noting which way up it came off.
Then unscrew and remove the two screws that hold the power switch in place.
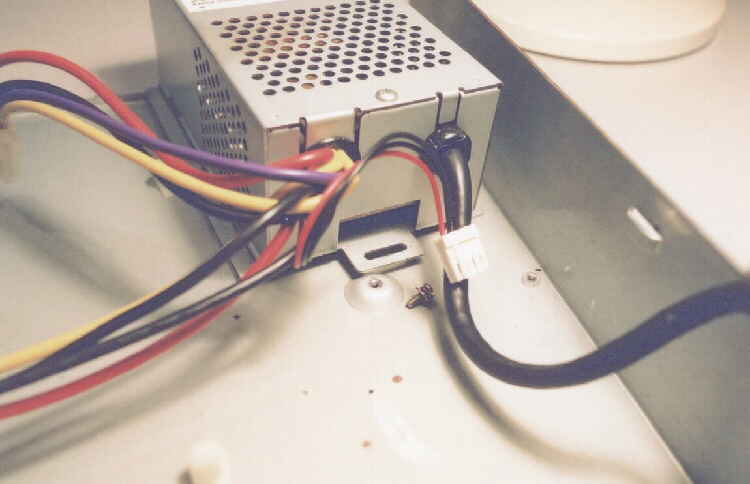
Undo and remove the single retaining screw for the Power Supply Unit.
This can now be withdrawn from the chassis.
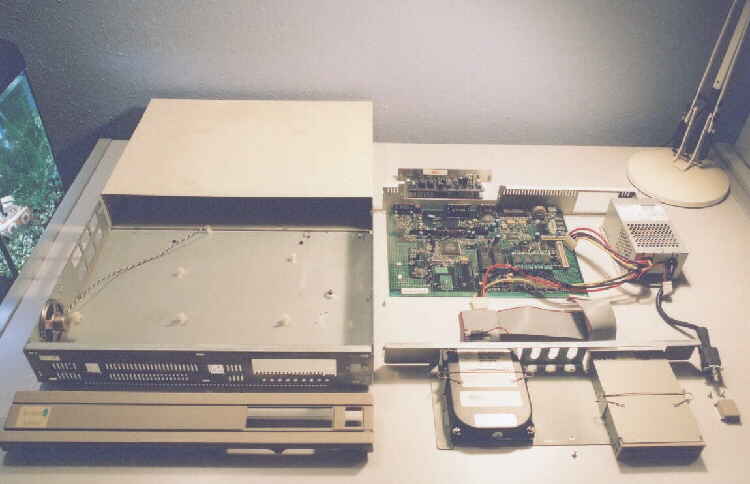
All components laid out and ready for cleaning. Exteriors with damp cloth
and interiors with a paintbrush and vacuum cleaner.
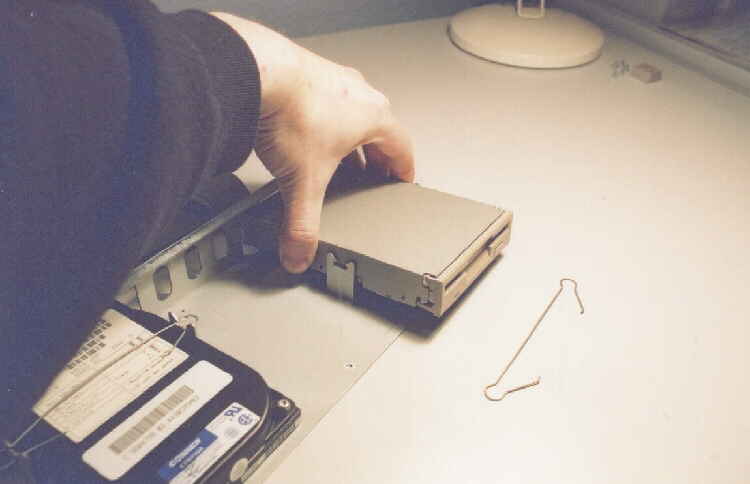
Individual drives can be removed from the sub-chassis by simply unclipping the spring clip
that holds it in place. Carefully re-seat drives on location dowel holes and NOT on there electronics.
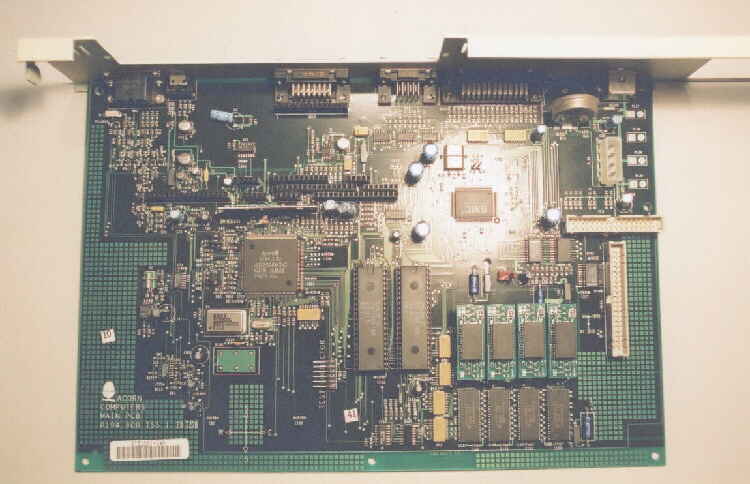
The Mainboard after cleaning, just like new. Finally re-assemble the unit in exact reverse order of the above.
This unit will give many more years service and not look out of place.