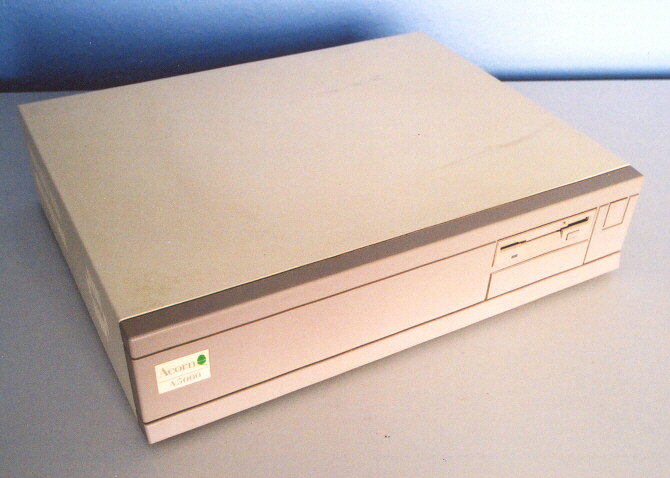
An Acorn A5000 4Mb base unit ready for a cleanup, these were once the flagship
of the Acorn range of 32bit computers.
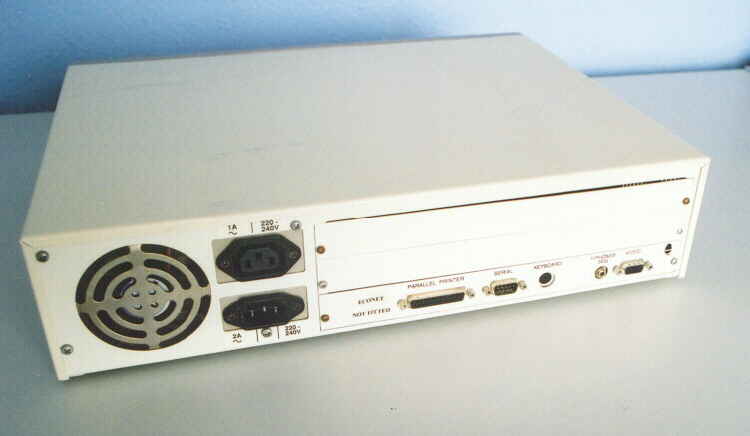
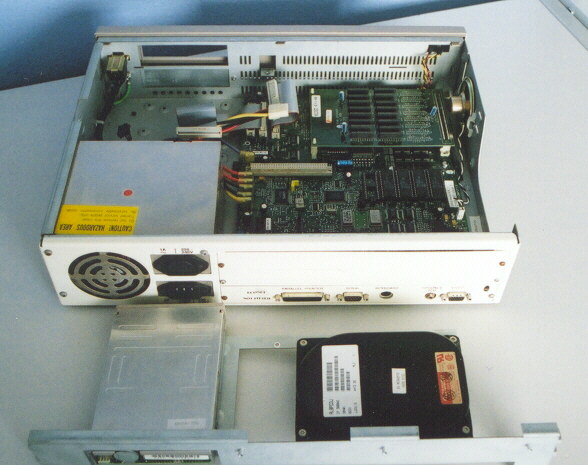
A reference shot of the rear of the unit, showing power sockets, rear mainboard connectors
and blanking plates over backplane.
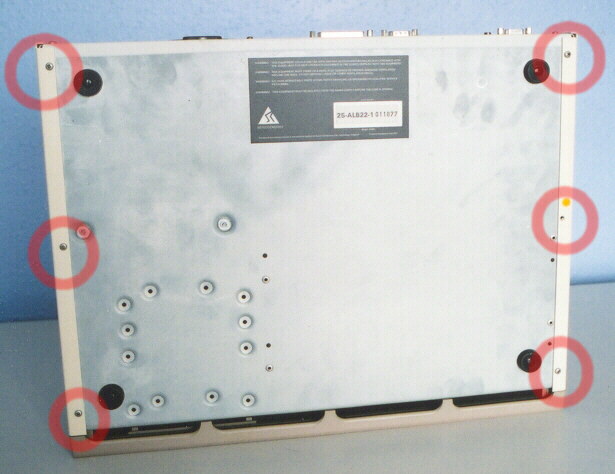
Unscrew and remove the 6 screws indicated in the base of the unit.
This allows the top cover to be slid off towards the rear exposing a dirty interior.
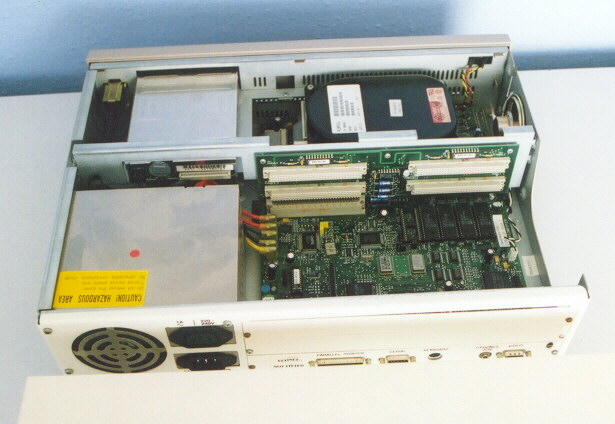
PSU fans do there job at keeping the unit cool, but also suck in all manner of dirt and grime.
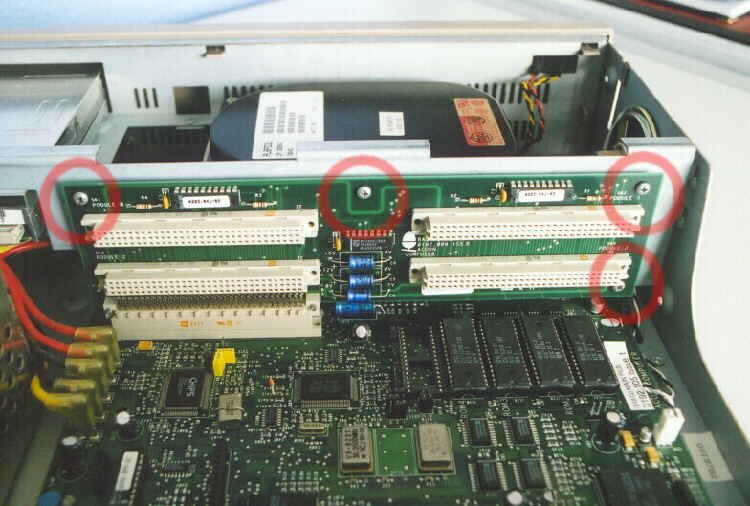
Next remove the 4 screws in the backplane raiser card. Take care not to slip and damage anything.
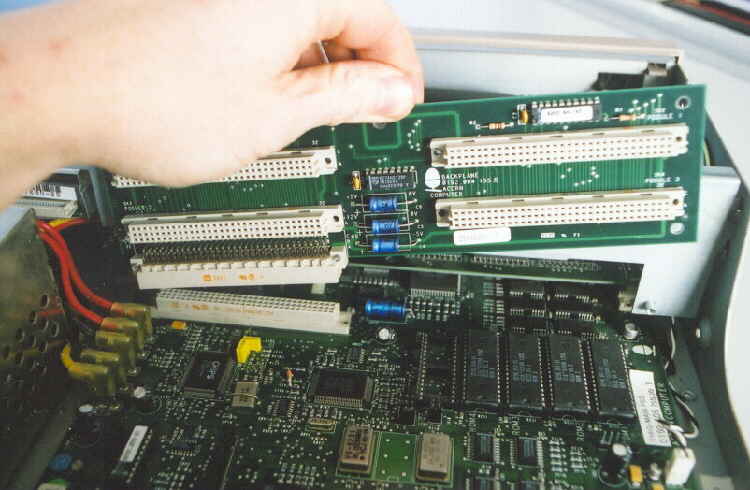
With all screws removed, ease the card up at each end, a bit at a time,
until it becomes free of the mainboard connector. Then lift free.
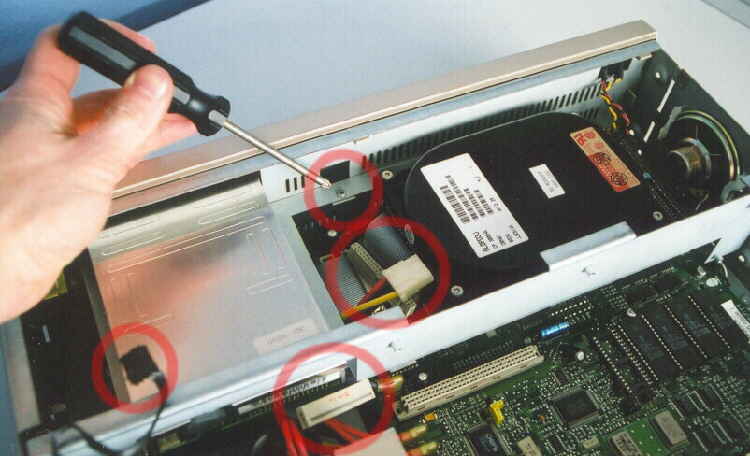
Next pull out the power and data cables to the Hard Disk Unit, followed by power and data cables
to the Floppy drive. Then remove the single screw indicated to release the drive chassis.
The drive chassis can now be lifted upwards at the rear,
then pulled rearwards to draw it out of the main chassis.