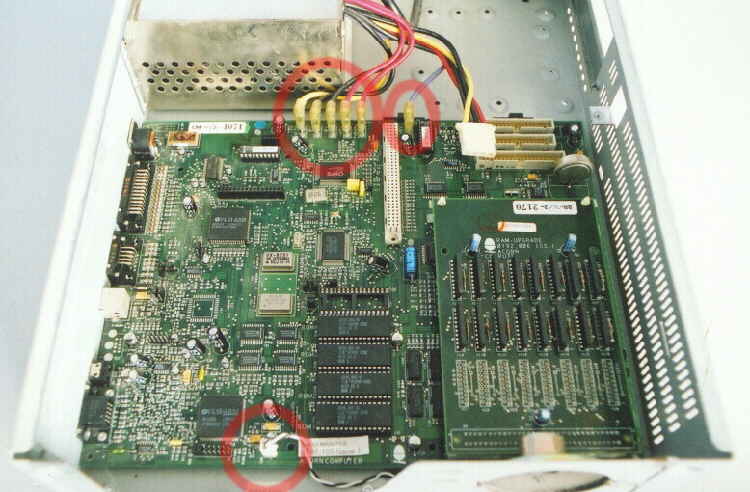
Next pull the Front-panel LED connector from the mainboard.
Its a bit of a squeeze if a Memory upgrade is fitted like in this case.
Next spring the 6 clips that secure the front panel.

The Front panal can now be removed, taking care to feed the LED cable through the
hole on the front of the main chassis.
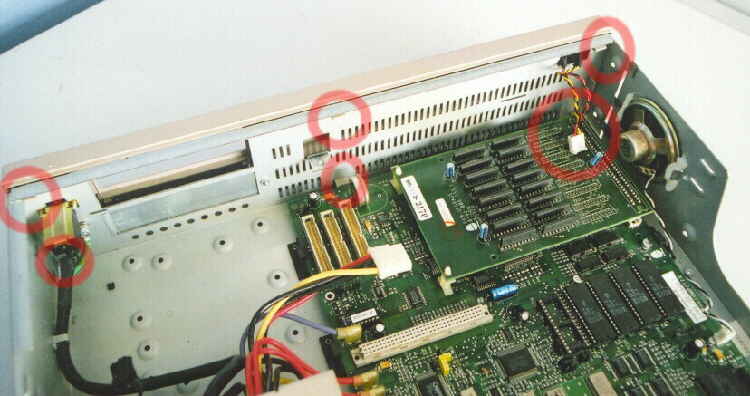
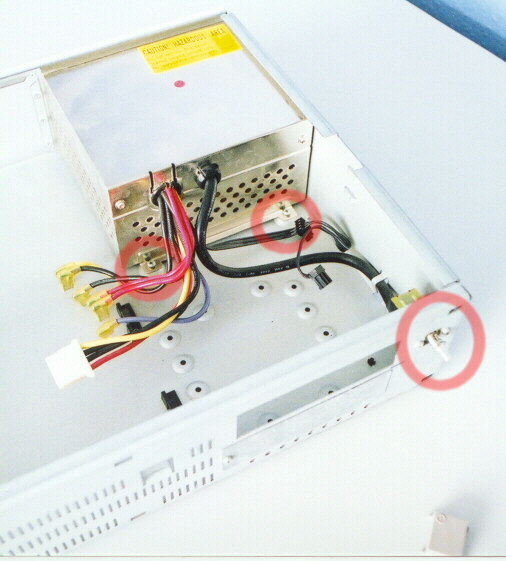
Next pull off the 6 power leads, noting where they came from. Also the lead to the internal speaker.
Remove the blanking plates at the rear, 4 screws. Followed by the 2 screws that hold
the mainboard in place. The mainboard can now be slide out to the rear of the unit.
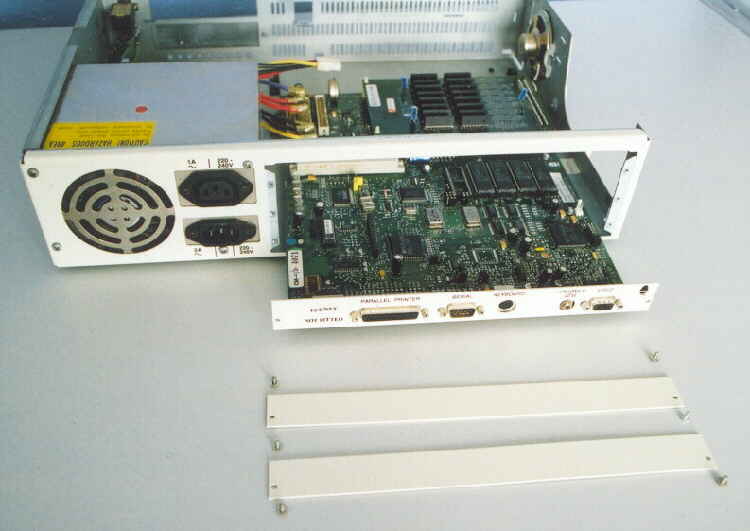
To remove the PSU, pull off the power button, noting which way up it went. Remove 2 screws
that hold the switch in place then 2 screws on the PSU, it can then be lifted free of the chassis.
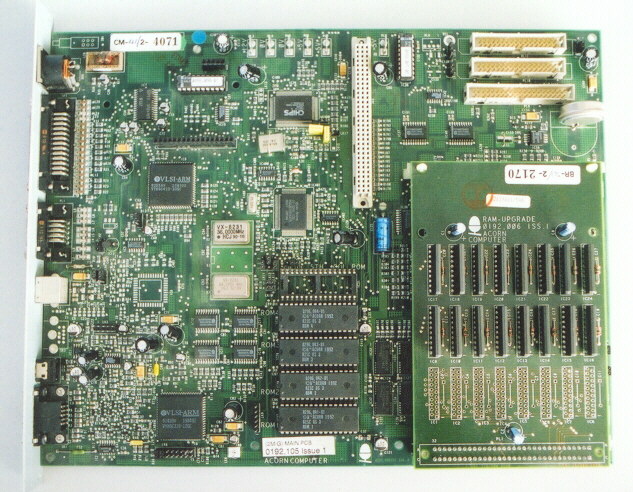
An image of the mainboard after a good clean.
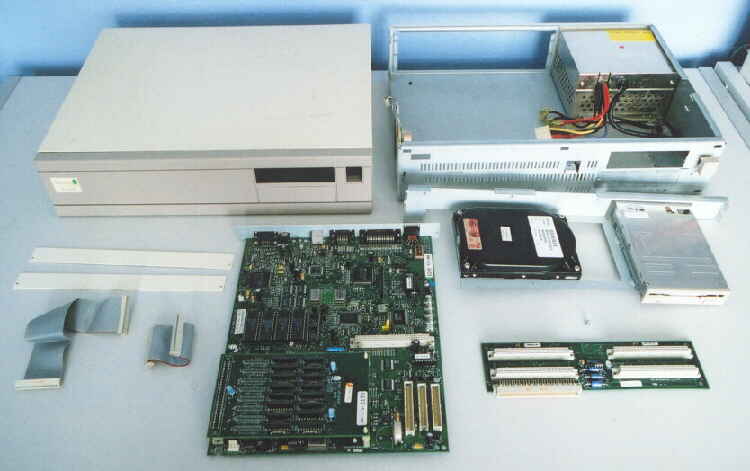
All components cleaned ready for re-assembly. Clean internals with a brush and vacuum cleaner hose,
external surfaces with damp cloth ONLY!. Re-assemble is reverse of above.
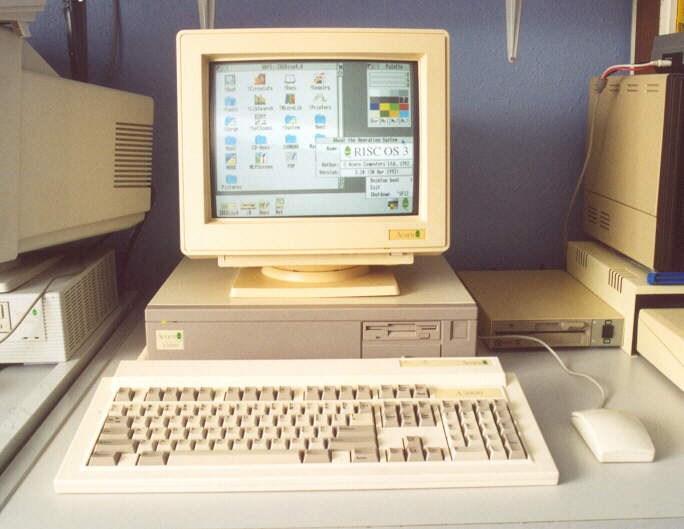
A reference shot of this fine computer up and running.