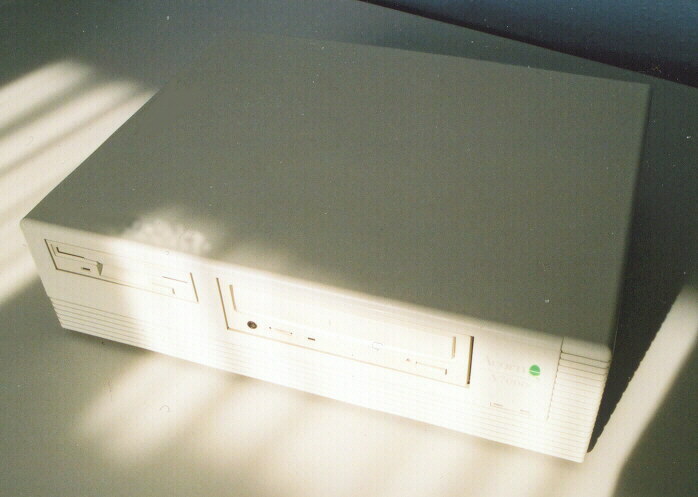
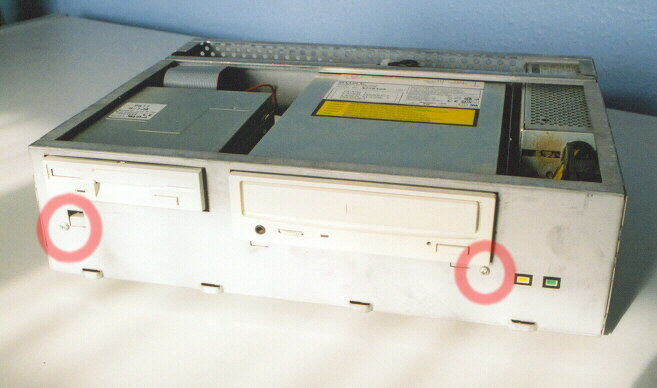
The Acorn A7000, basically a "cut-down" RISC-PC. This one has CD-ROM.
With limited expansion it was either a CD-ROM or a single rear podule, not both.
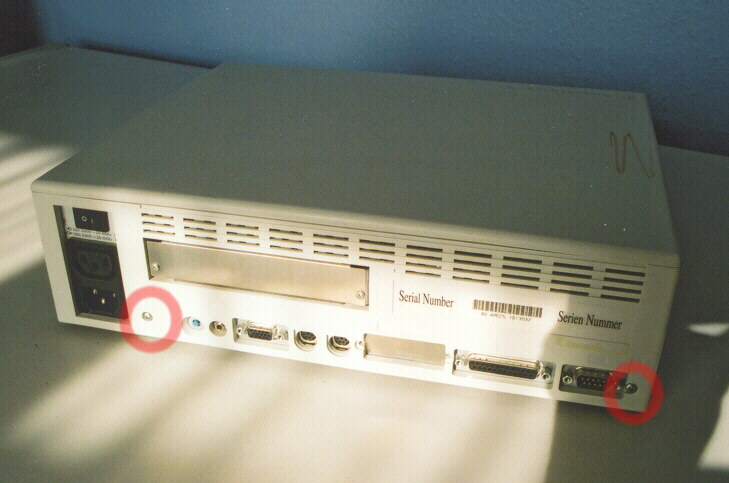
Rear View of the A7000, showing Podule blanking plate.
First step, unscrew and remove the 2 screws shown at either side.
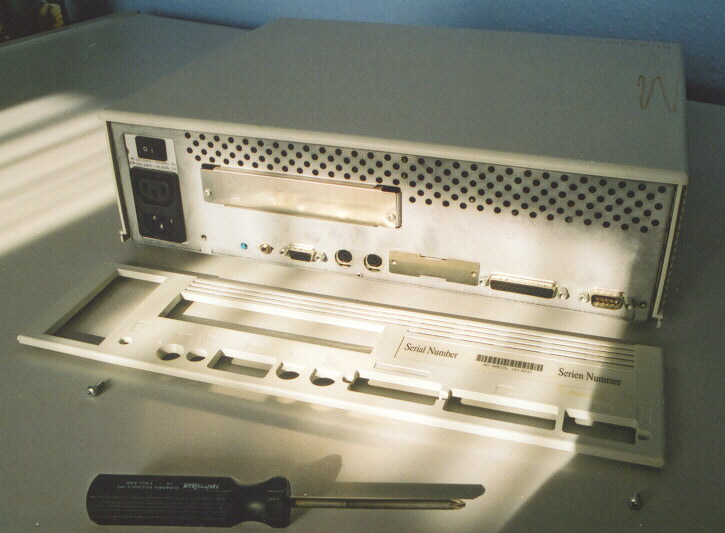
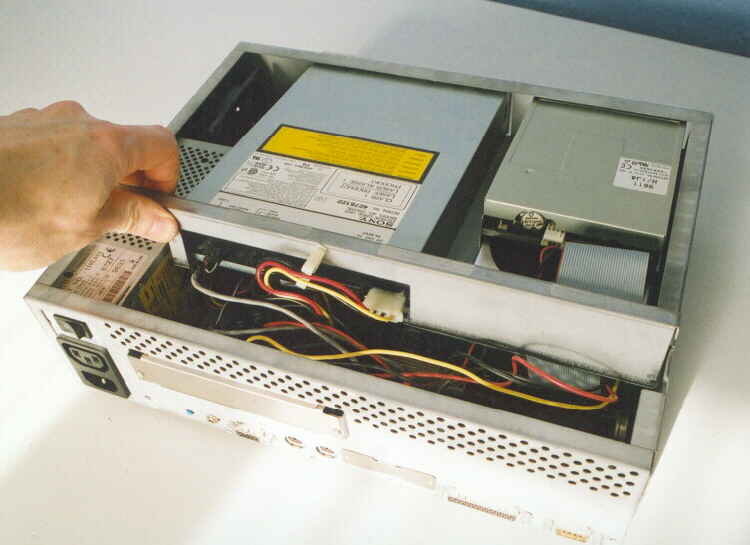
This allows the rear plastic panel to be removed.
The Plastic case can now be pivoted forwards and lifted up and away from the chassis
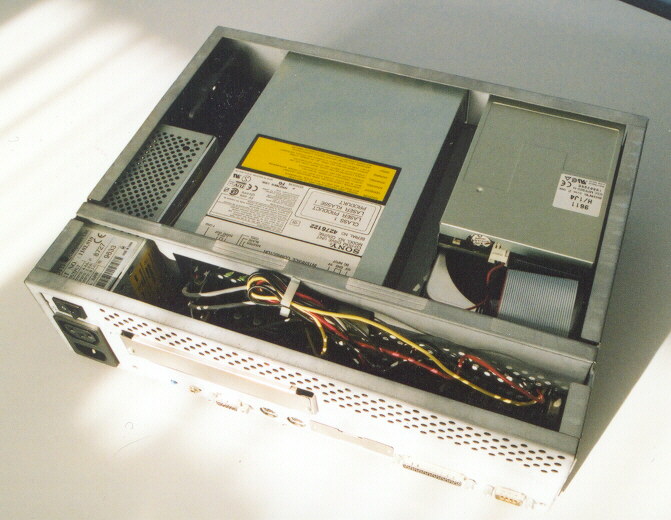
revealing a "compact" interior.
Next remove the 2 screws on the front panel, this will release the drive chassis.
The Drive chassis can now be lifted up at the rear, pulled backwards an up out of the Chassis.
Dont pull to far as cables are still attatched at this stage.
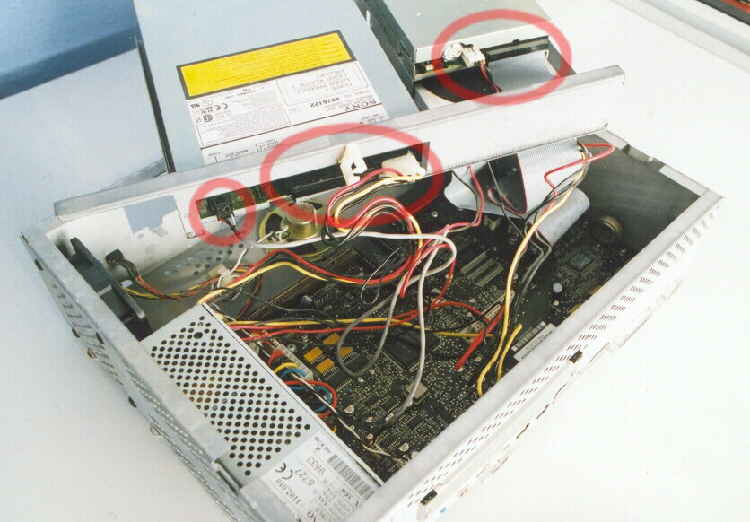
Next disconnect all leads from CD-ROM, Hard Disk Drive and Floppy Disk Drive.
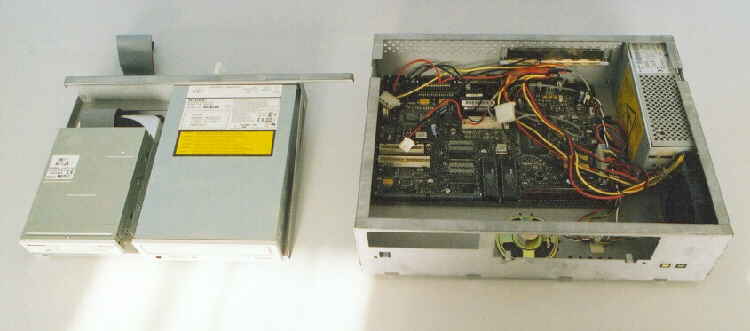
The drive chassis can now be lifted clear.
Be careful when putting this down as the Hard disk is on the bottom with Electronics exposed.