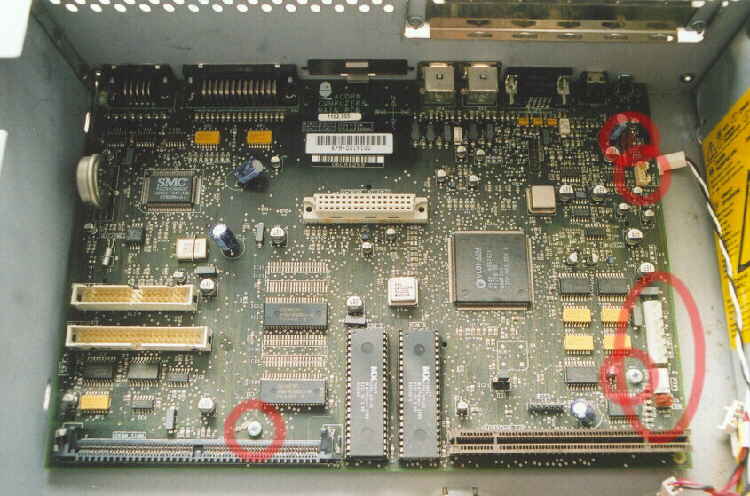
Next remove all power and other cables from the mainboard, noting where they came from.
Next remove the 2 screws which retain the mainboard. Note the dust build-up on the PCB.
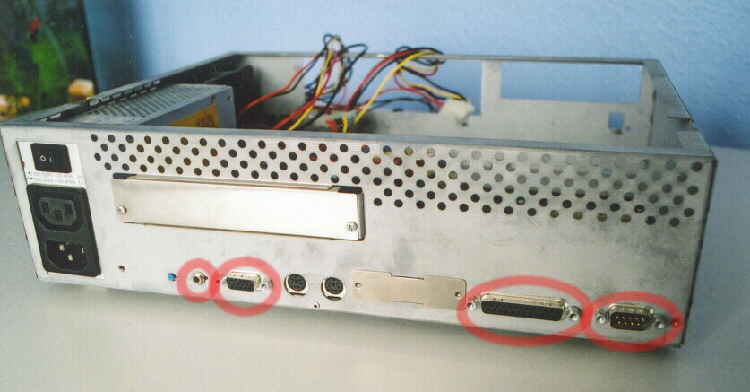
Next job is to remove all the securing bolts around the rear connectors with a small spanner.
Dont forget the lock-ring round the audio out jack.

The mainboard can now be lifted clear of the chassis and put somewhere safe.
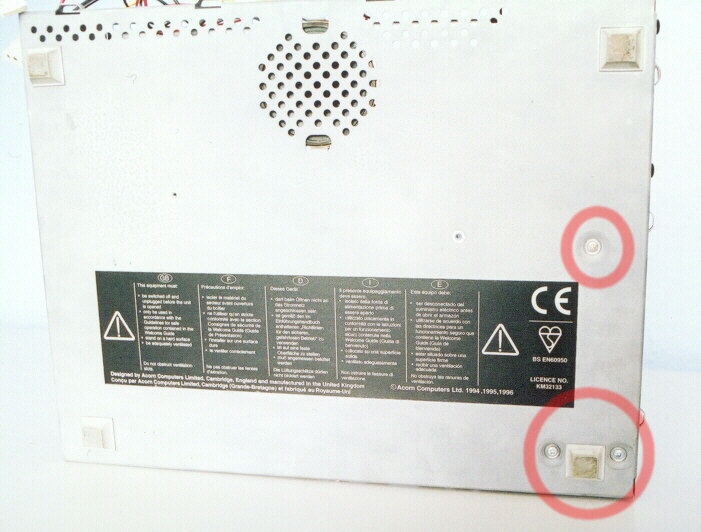
To remove the Power Supply Unit, unscrew and remove the 3 screws in the base of the chassis.
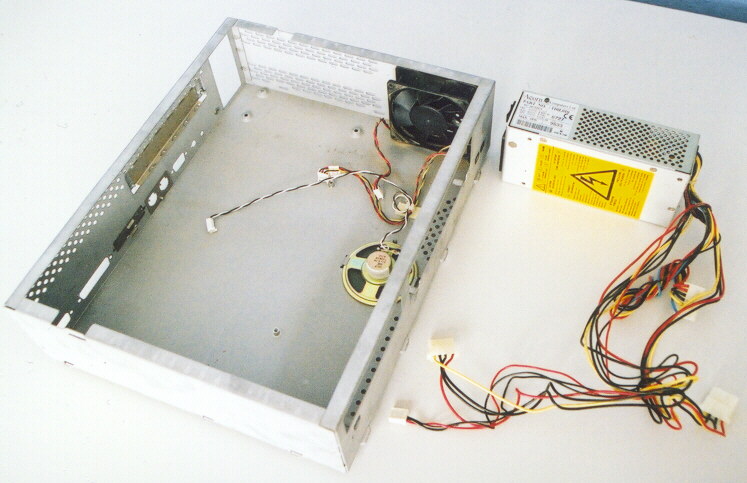
The PSU can now be lifted clear.

As with all my other stripdowns, clean interiors with a brush and vacuum cleaner hose.
Externals with damp cloth ONLY.
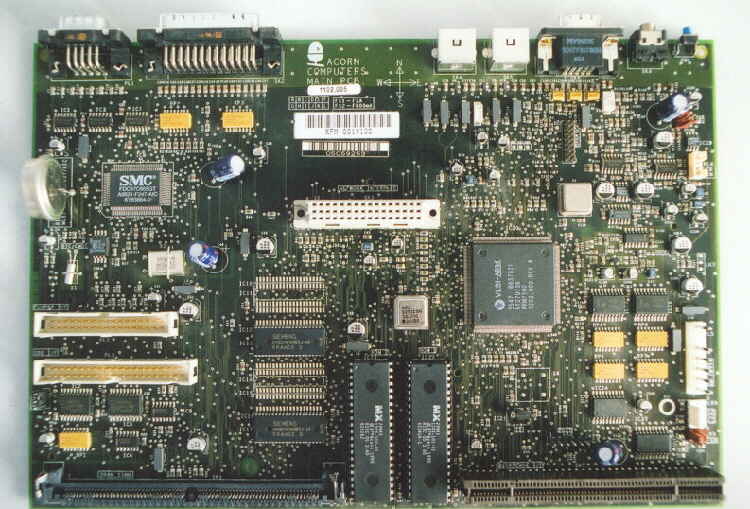
A closeup of the mainboard after a good clean. Always with these 32bit mainboards
check the condition of the battery for sign of leakage and replace if needed.
Re-assemble in the reverse of the above.
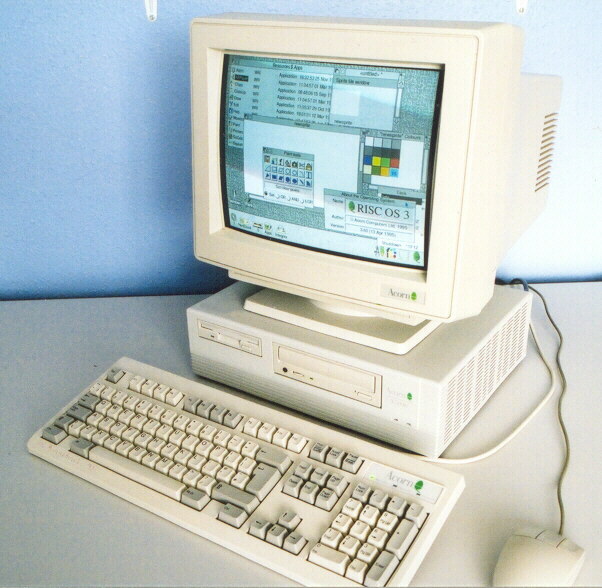
Add monitor, keyboard and mouse and enjoy what is a jem of the Acorn brand.