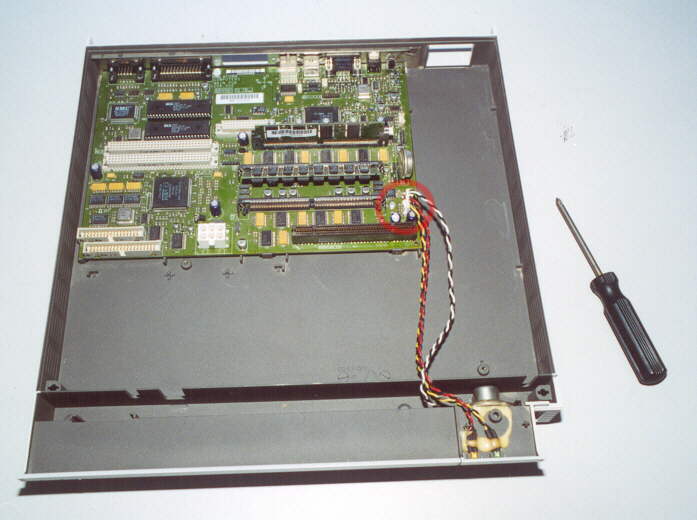
First, re-fit the mainboard to the base, reconnecting the loudspeaker and front panel cables.
Dont forget the single screw which secures the mainboard in position.
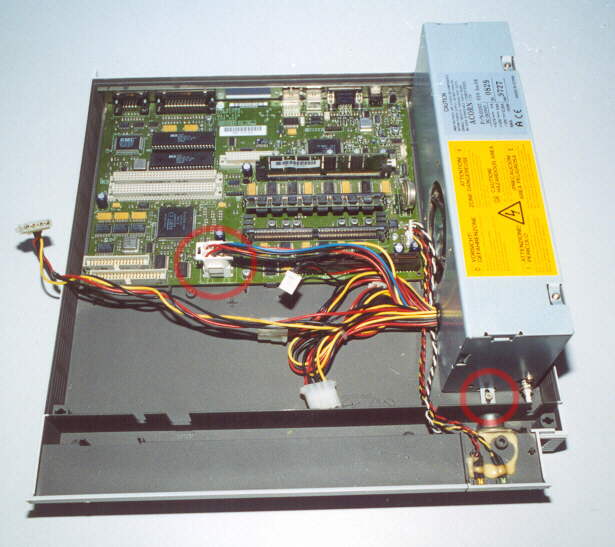
Now re-fit the Power Supply Unit, securing it with its single screw after pushing it fully to the
rear of the unit. Re-attatch the power plug to the mainboard at this stage.
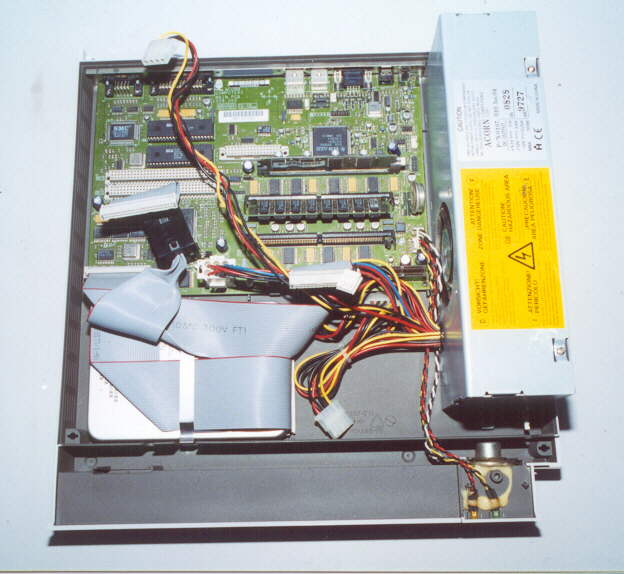
Re-fit the Hard Disc, and re-connect the ribbon cables for it and the Floppy drive to the mainboard.
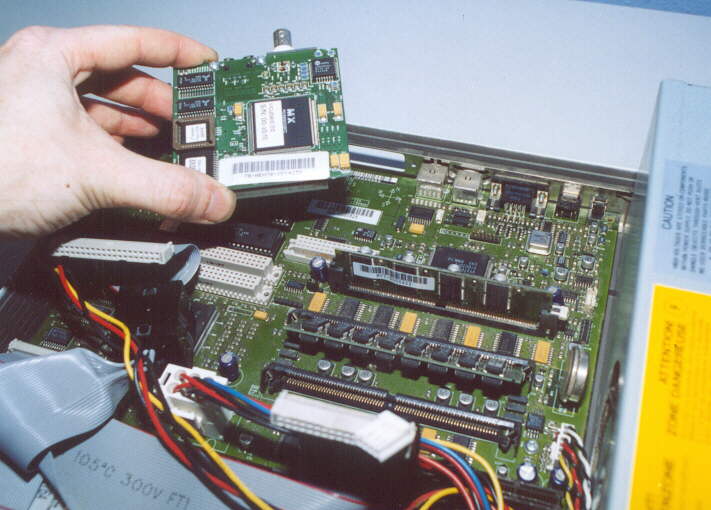
Re-fit the Network card (if fitted) by locating the connectors through the rear panel, then pressing
the interface onto the mainboard, and finally securing to the rear panel with two screws.
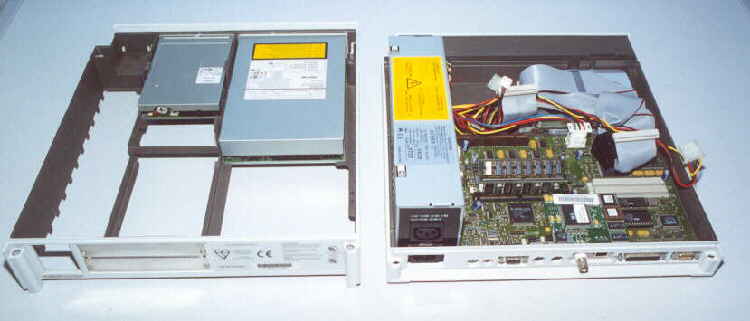
Re-assemble the Floppy and CD-Rom drives into the main "slice" ready for re-fitting to the base.
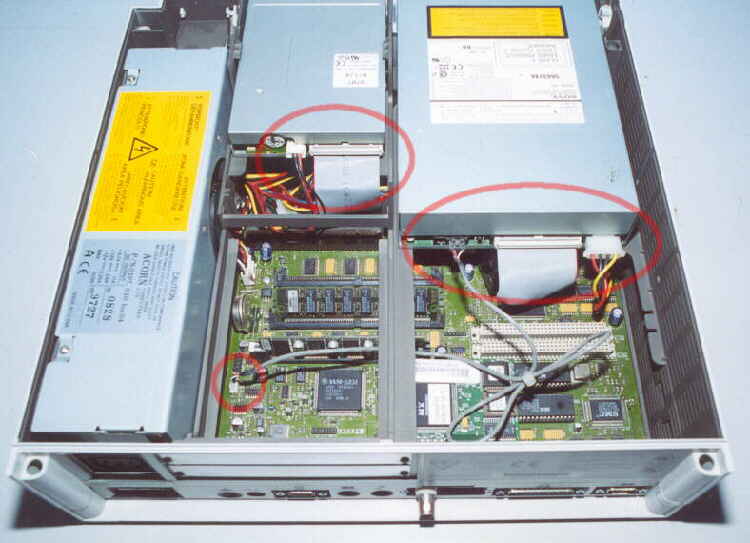
Place the main "slice" on top of the base, making sure no cables are trapped. Re-connect data and
power cables to the Floppy and CD-ROM drive. Also the Audio cable for the CD-ROM.
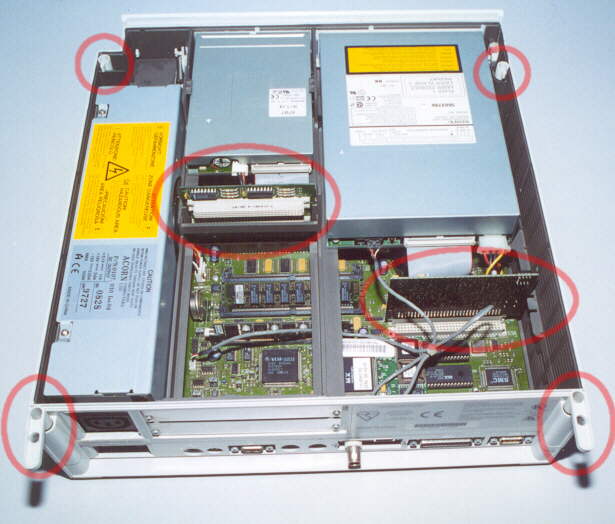
Re-fit the small locking pins to the front of the unit, turning them 90 degrees to lock.
Place the rear pins in position, but do not lock at this time.
Re-fit the backplane riser card and Processor cards to their respective sockets.
Finally refit the top cover and secure with the two rear locking pins.
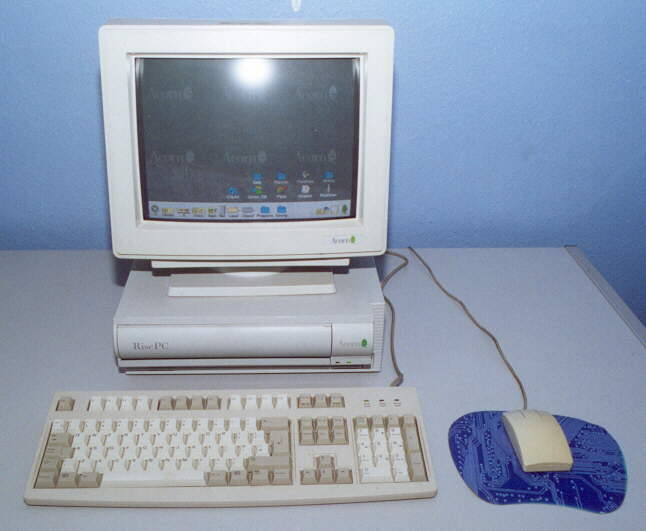
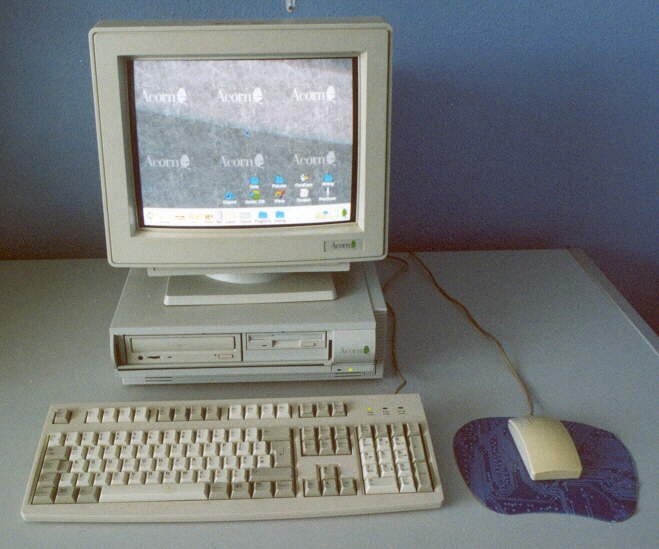
A reference shot of this outstanding machine up and running.
Another shot of the same machine with the Drive access door rolled down.