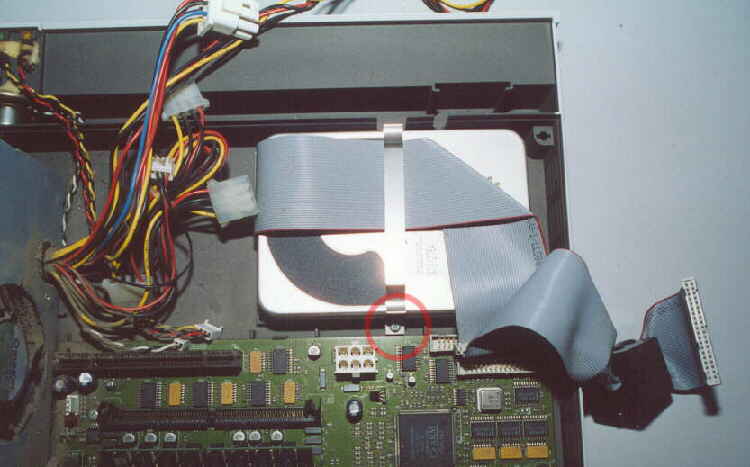
To remove the Hard Disc. Remove the single screw highlighted in RED and lift the clip and Hard Disc clear.
Also, pull off the main power button on the front panel, followed by the single screw which retains the
Power Supply Unit to the base. (Not highlighted but next to where power on button exits from PSU case).
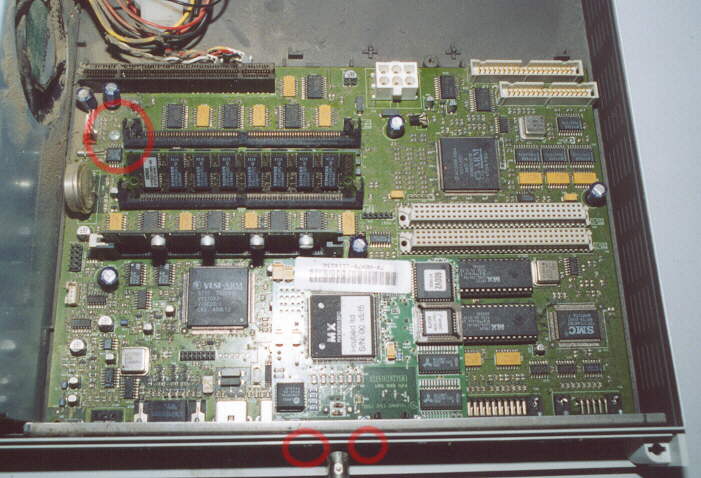
If a Network card is fitted, first remove the two screws on the back panel which secure it in place,
then grip the "forward" end of the board and wriggle it upwards to free it from the mainboard.
Next remove the single screw which secures the mainboard to the base.
The Network card, Power Supply Unit and Mainboard can now be lifted clear of the base.
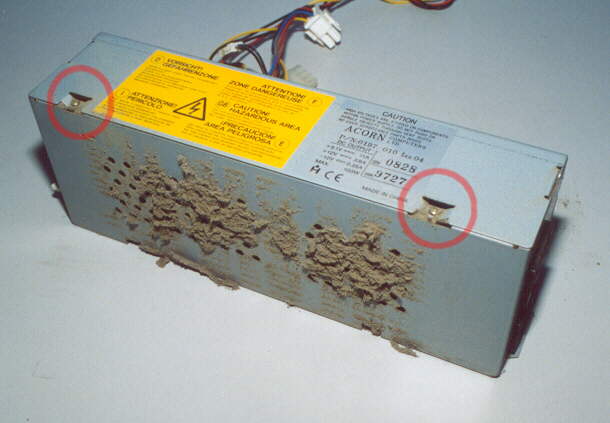
First this to do with the Power Supply Unit is remove all the external dust with a vacum cleaner hose.
Next, unscrew and remove the two screws highlighted.
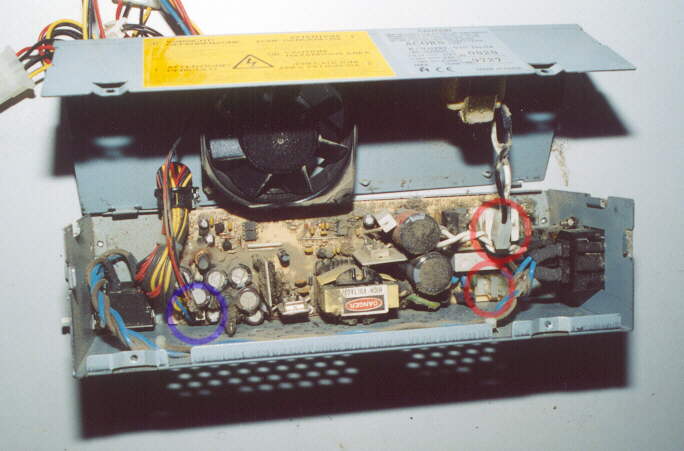
The two halves of the PSU case can now be seperated, NOTE that to fully seperate the two halves,
the fan connector (BLUE) and black and white lead (RED) must also be disconnected.
Vacum out the interior and fit back together.
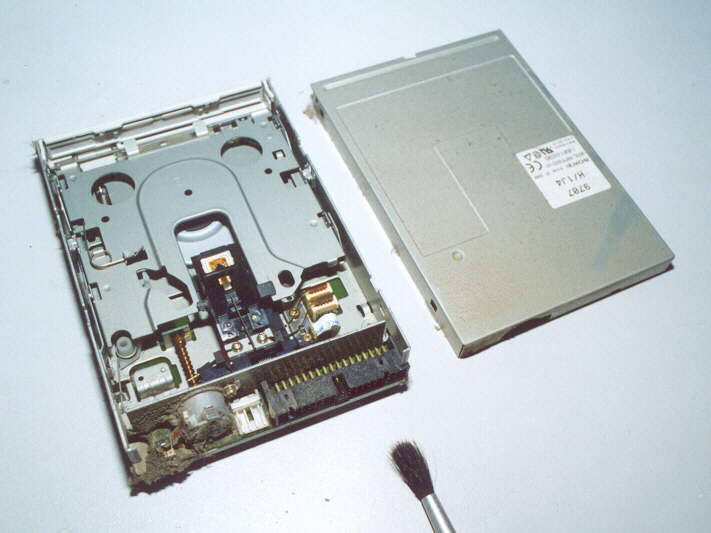
Unclip the lid from the Floppy Disc drive, and using a vacum hose and small paintbrush.
Remove all the dust and dirt from inside.
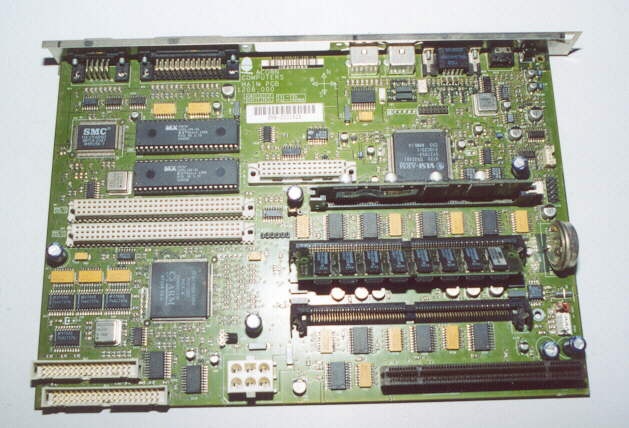
The mainboard is cleaned using the same technique. When done it will look just like new.
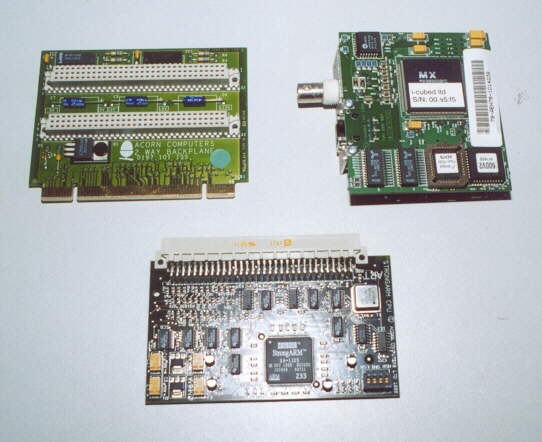
Clean the backplane riser card, Network card (if fitted) and Processor card in the same way.
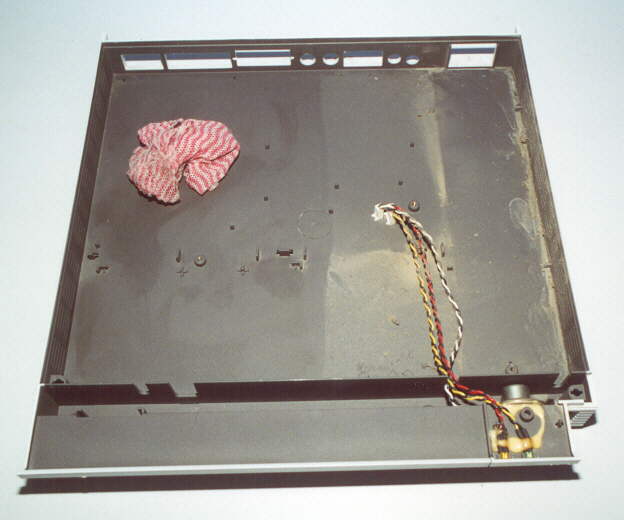
To clean the base, first vacum out all the surface dust, then wipe the entire unit over with
a damp cloth followed by a clean dry one. The same can be done for the main "slice".
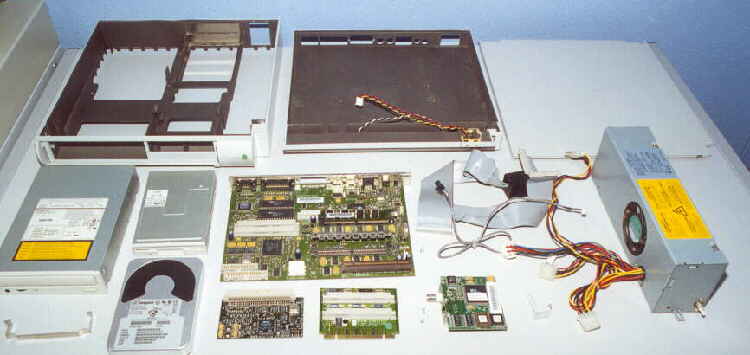
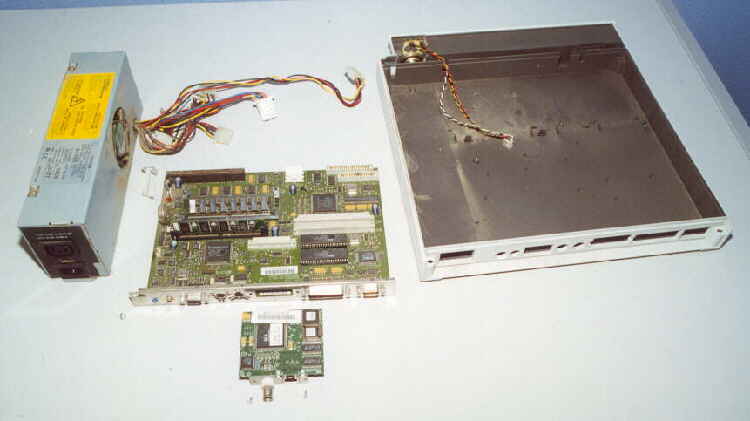
This image shows all the component parts of a RISC PC laid out ready for re-assembly.