A4 Hard Drive Replacement
Page 2
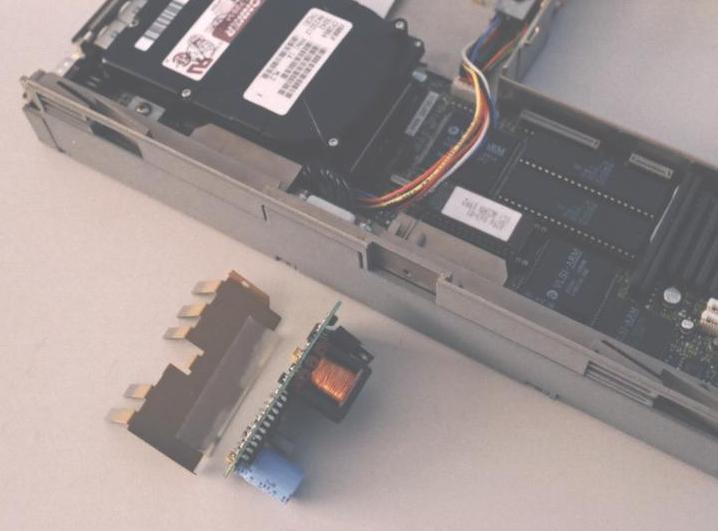
This image shows the shield and power board removed from the base unit.
Take time to note the shields orientation and the connector on the power board.
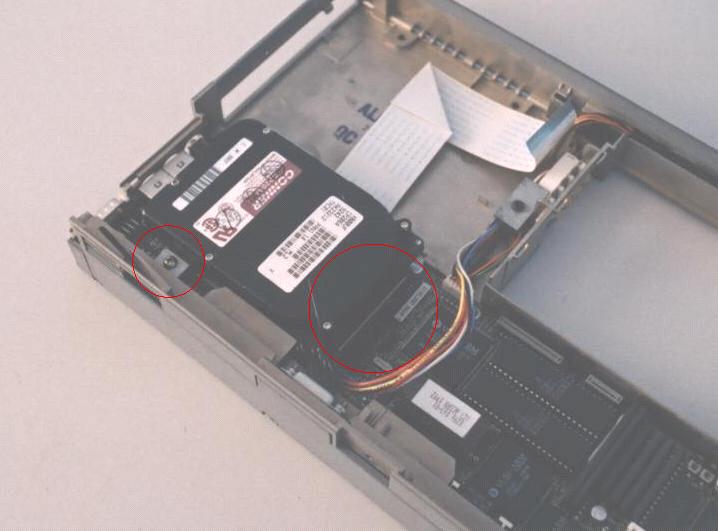
To remove the hard drive and its attatched chassis, unscrew and remove the single screw highlighted.
Next and most difficult, remove the IDE cable from the hard drive. This is really difficult as there
is no slack in the cable, so take your time, working out one side then another.
The Hard Drive and its chassis can now be lifted clear of the base unit.
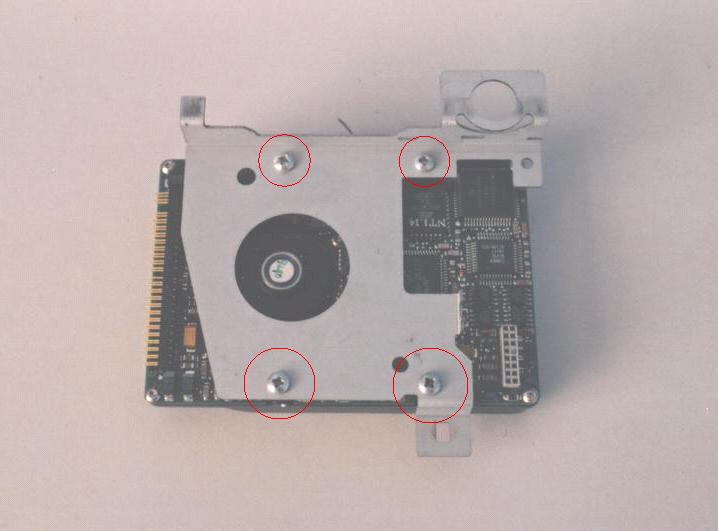
Remove the four screws highlighted to seperate the hard drive from its chassis.
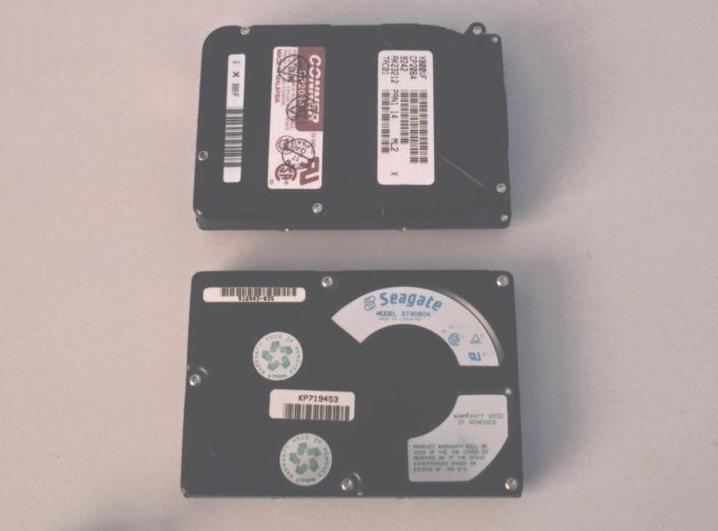
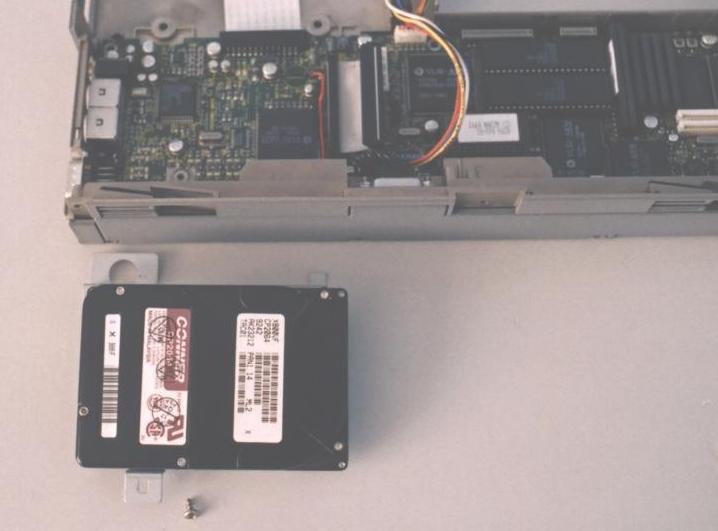
This image shows the old drive (top), original CONNER CP2064 64Mb and the replacement drive (below),
which is a SEAGATE 80Mb unit. Be careful selecting a replacement drive as it must be less than 512Mb
for optimal compatability and its physical size, in some cases could cause clearance problems.
Re-assemble the machine using the reverse of the steps above. Check everything twice to ensure correct
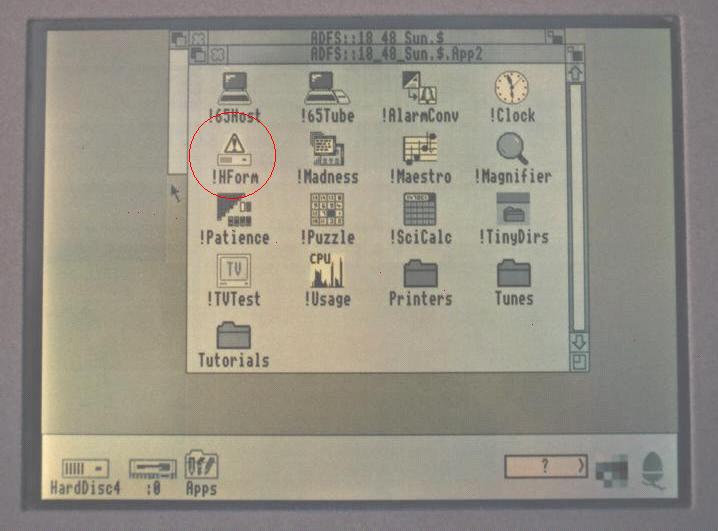
connections and securing screw locations. Power up the machine, and insert your Applications disc
into the floppy drive. We now need to use !Hform to Format the new drive.
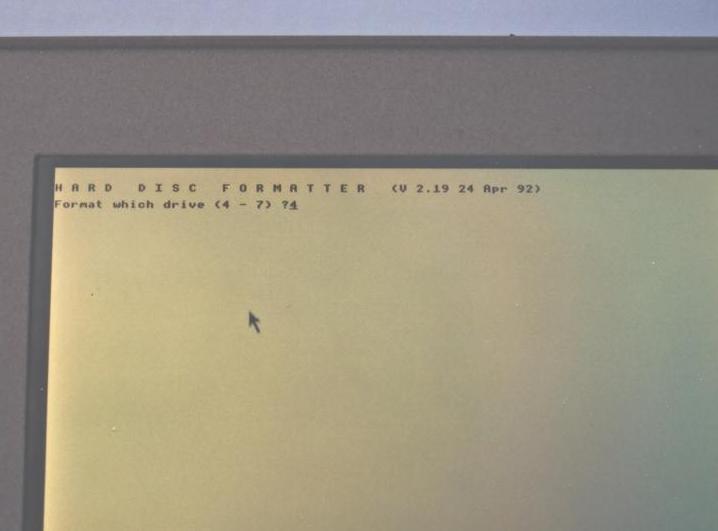
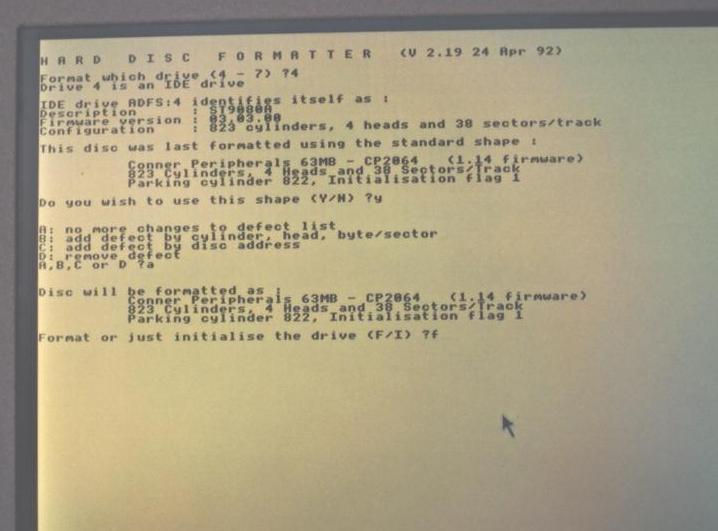
The first thing it asks us is what drive to Format.
In this case as its the only drive in the machine we enter "4" and press Return.
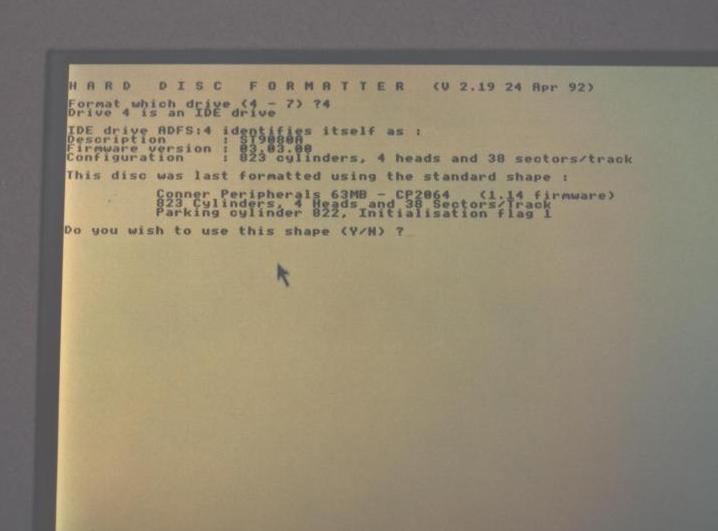
!Hform now reads the drives physical information, reports what it has found and asks as to wether we
would like to accept this disc shape. To which the answer is "y" ie accept the drive defaults.
Next we are required to say wether we want to map out any disc faults, so I choose "a" ie no more changes
to the defect list. It then asks us if we wish to Format or Initialise the drive. On a brand new drive
Initialise it first then Format, but for this occasion I will just format it.
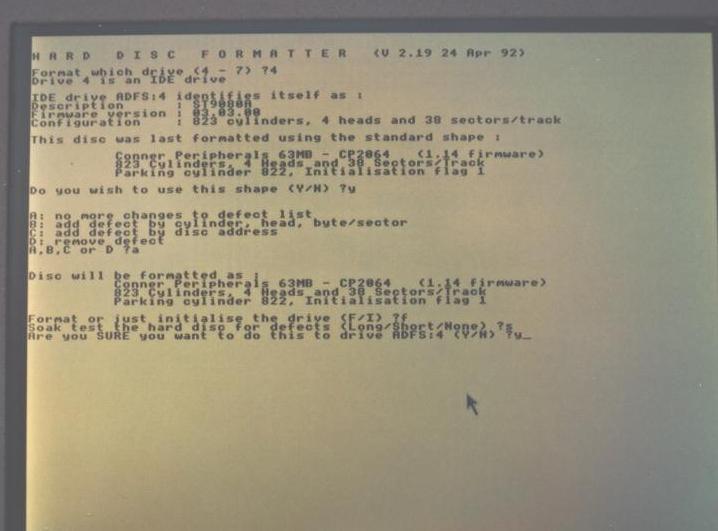
We now get asked if we want a soak test to find any defects, so I choose "short".
and then finally we get the "Do you really want to do this" type message to proceed. So choose "y"
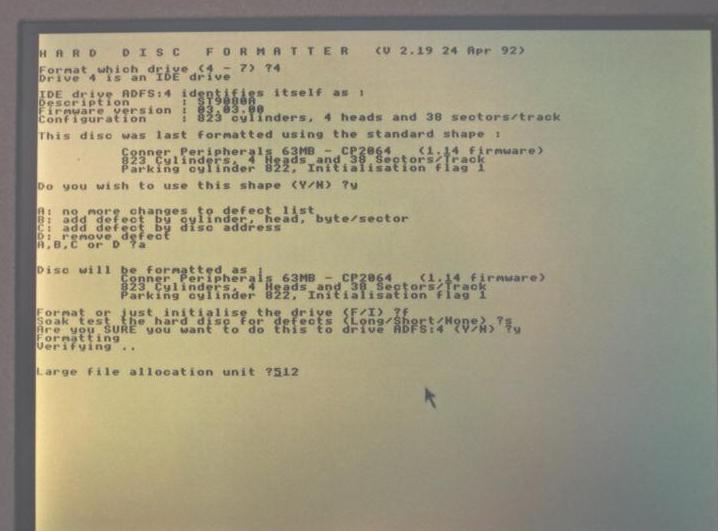
Accept the default LFAU as 512. This is the Large File Allocation Unit value
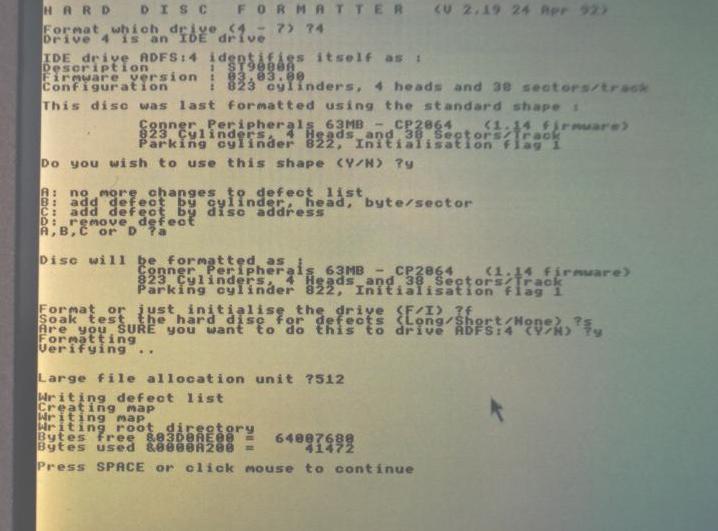
Finally formatting begins and at the end you are shown a summary of the results with the
amount of free space available on the drive. Space will then take you back to the Pinboard.
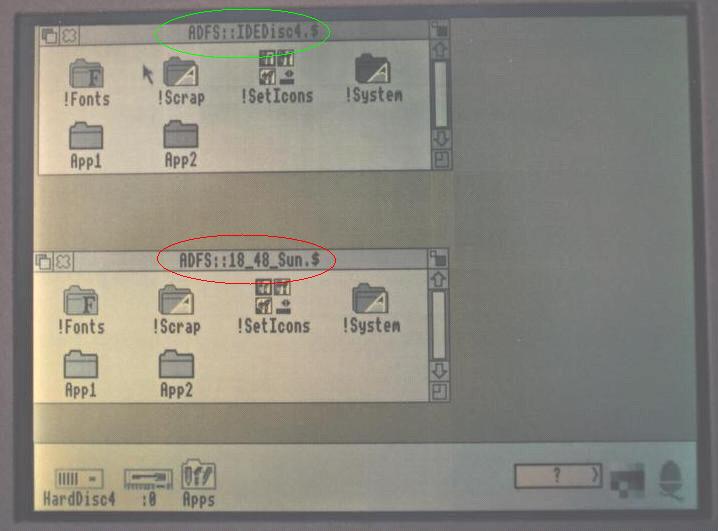
In this last image I have copied the contents of the RISC OS 3 Applications Floppy Disc to the
newly formatted hard drive (green highlight).
The machine is now ready to have a !Boot file made and any other software to be installed.