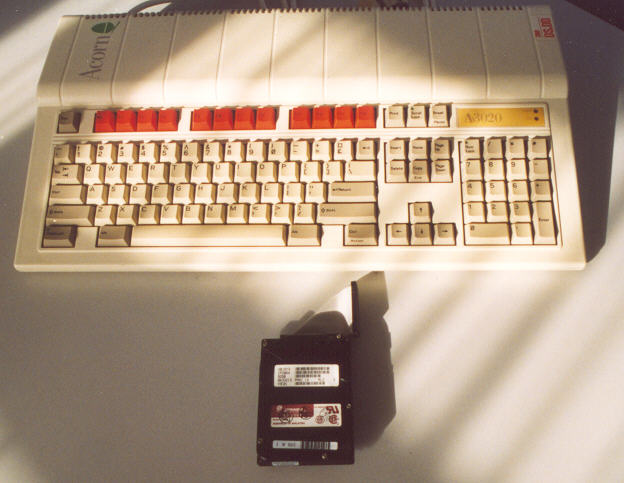
This is a 4Mb Acorn A3020 that is going to be upgraded with a Hard Disk Drive.
The drive to be fitted is a 2.5" from another A3020.
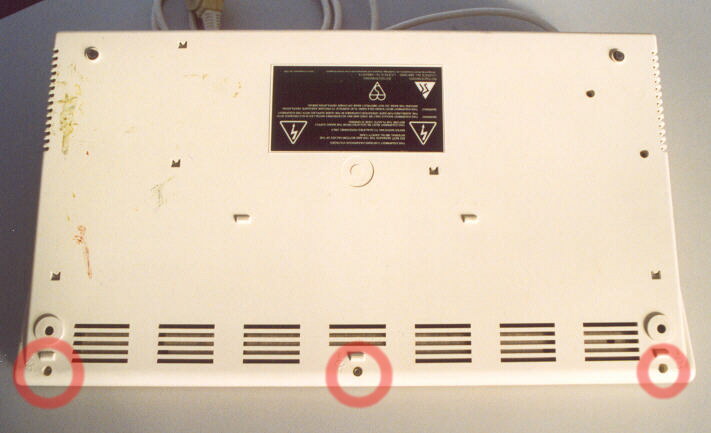
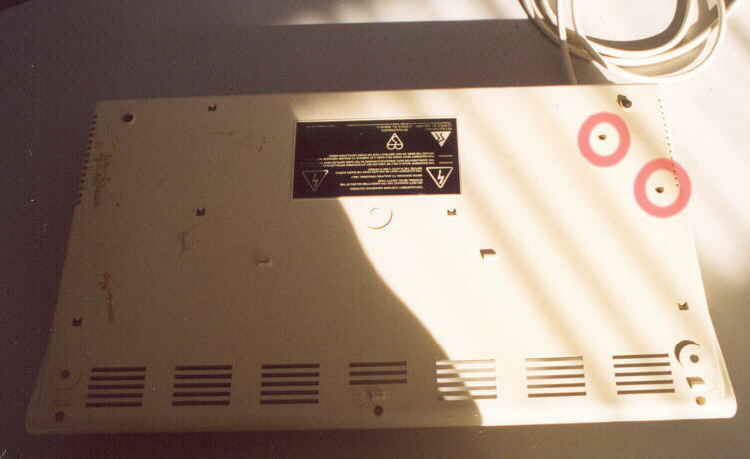
First of all, unscrew and remove the 3 securing screws in the base.
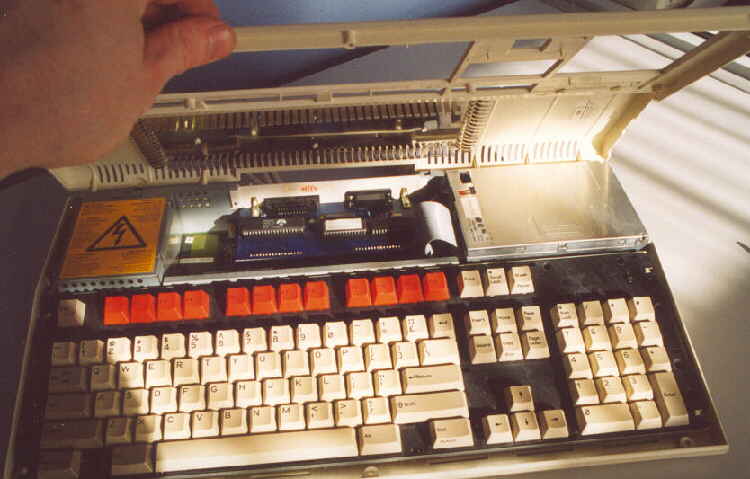
The upper case can now be pivoted upwards and to the rear to release it.
Pull off the keyboard ribbons one at a time. Grip each end of the ribbon and pull up carefully.
Its quite a squeeze for large fingers
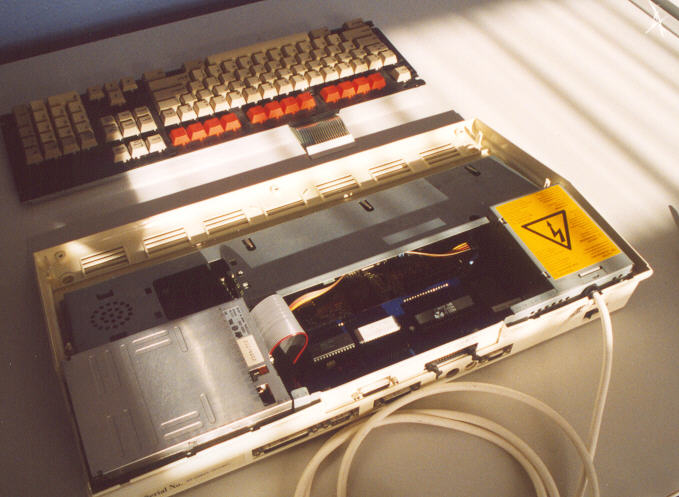
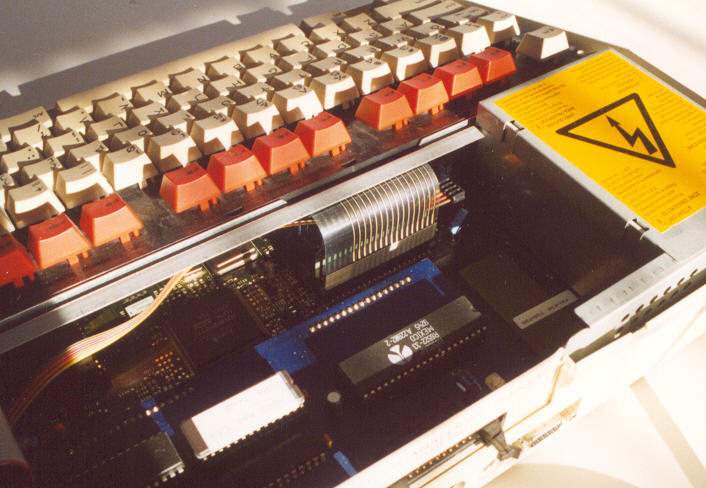
The keyboard can now be lifted away, take care to thread the ribbons through the slot in the chassis.
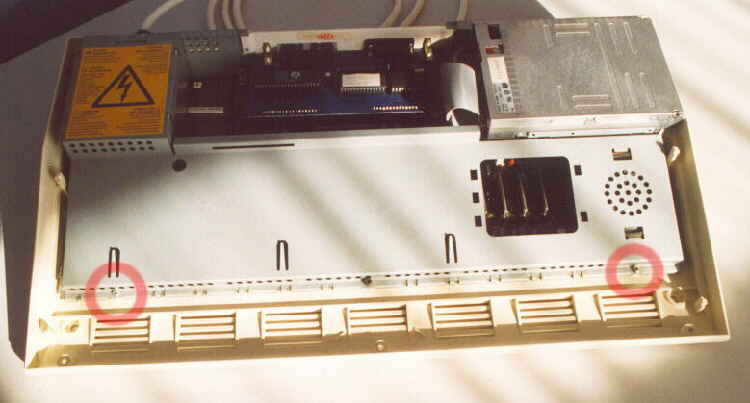
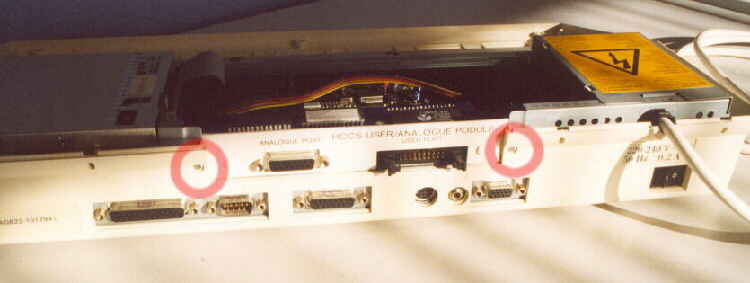
Unscrew and remove the two screws at the front of the chassis.
Turn the unit over and remove the two socket headed screws that hold the PSU in position.
Turning the unit right-side up again, remove any podule securing screws.
If no podule fitted, ignore this step.
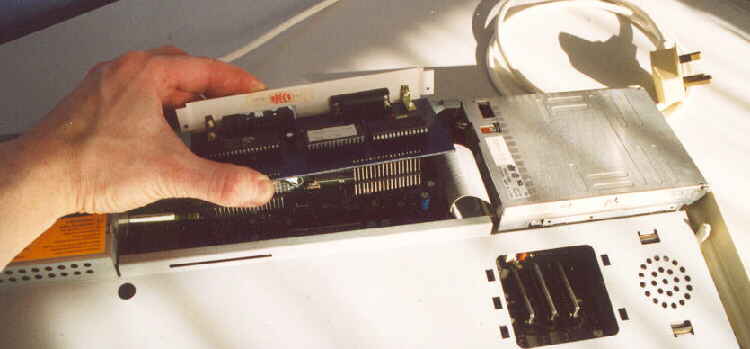
GENTLY!! ease the podule from its connectors on the mainboard.
Everything is really flexible and easily damaged, so take care.
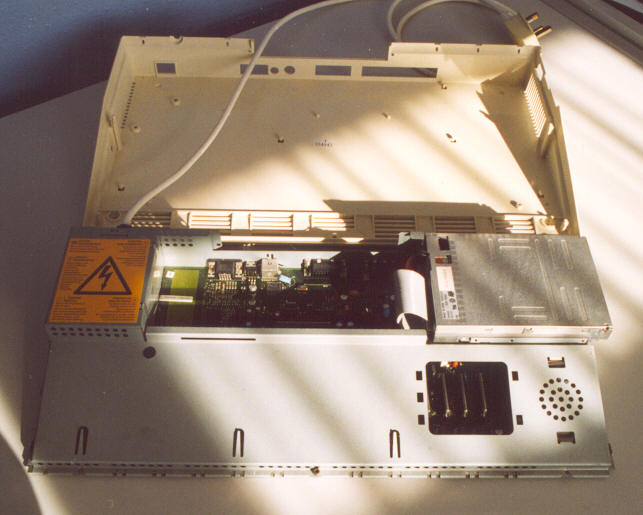
The main chassis can now be slid forward then up and out of the case.