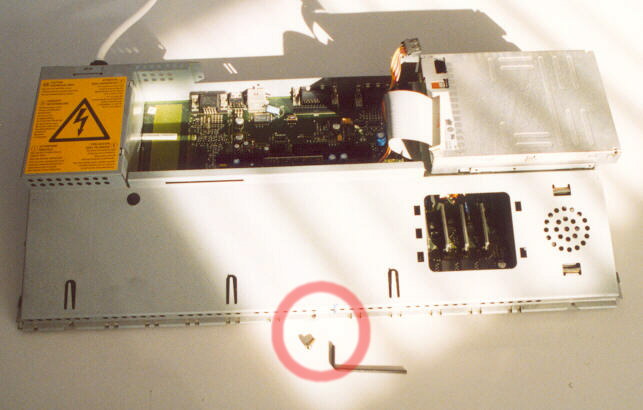
Remove the single cap-head screw at the centre-front.
Then pull the top half of the chassis forward then upwards to part it.
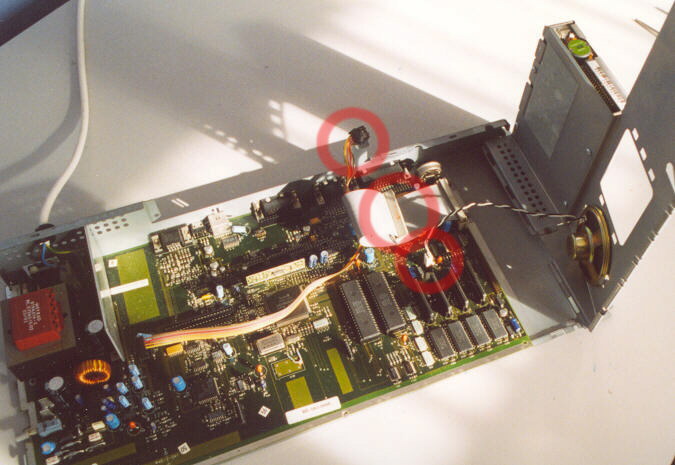
Dont forget to disconnect the power lead and data cable to the Floppy Disk Drive.
Also with the lid open, the lead to the speaker.
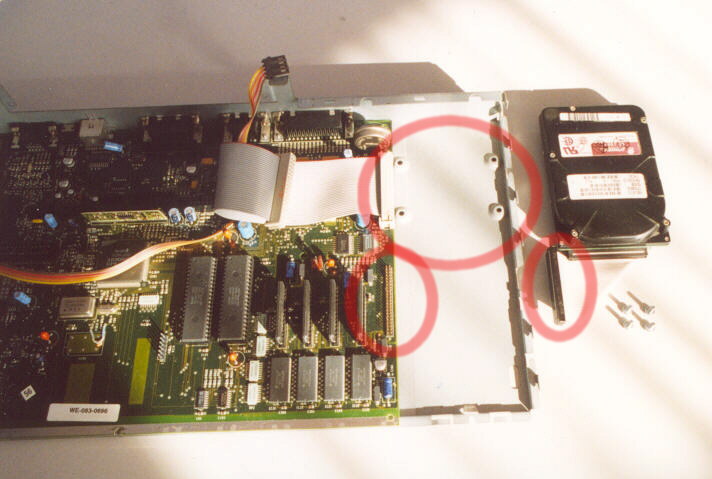
With the new Hard Disk laid beside the chassis, it is obvious where everything goes.
The HDD is secured from below by four screws and the ribbon cable connects as shown.
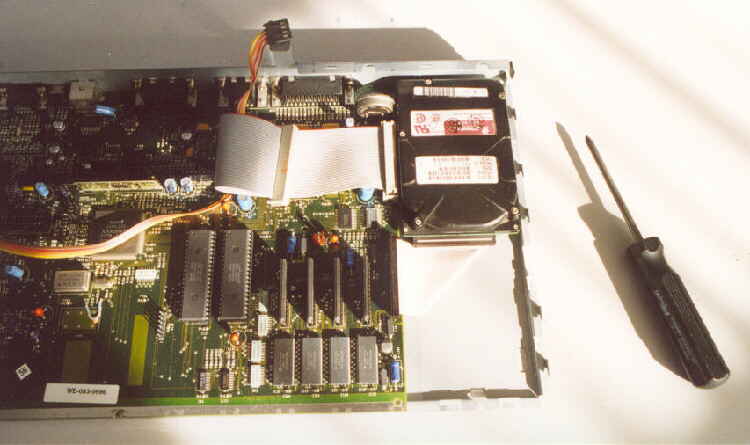
A view of the Fitted HDD.
Re-assemble in reverse of the above.
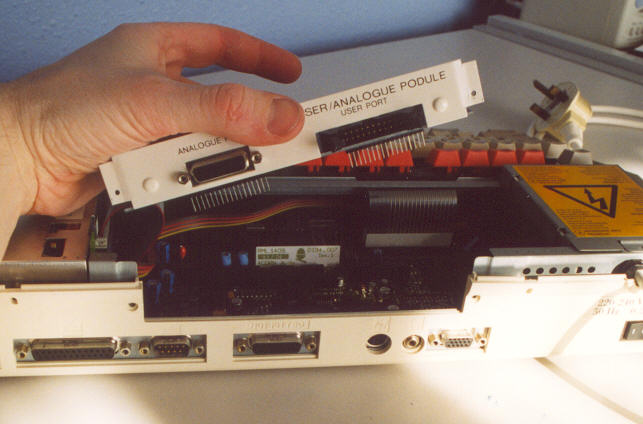
Fit the keyboard ribbons "before" the podule as it will give you more room for your fingers.
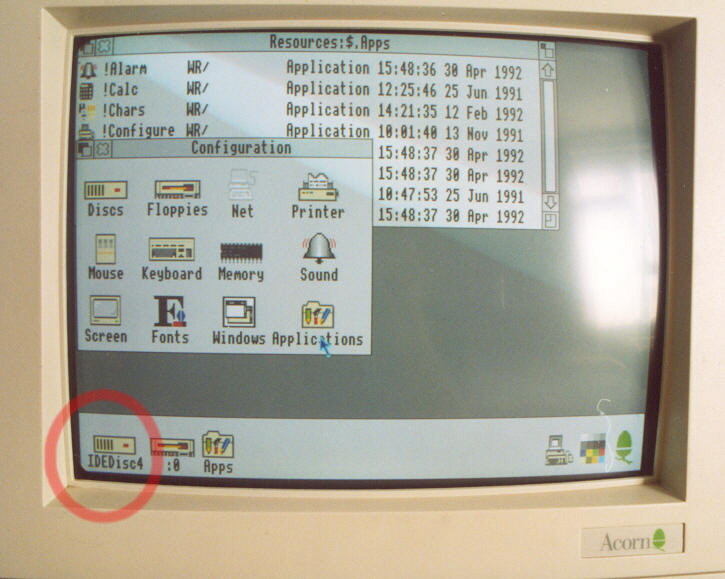
Power the system up. We now have to tell it there's a HDD present.
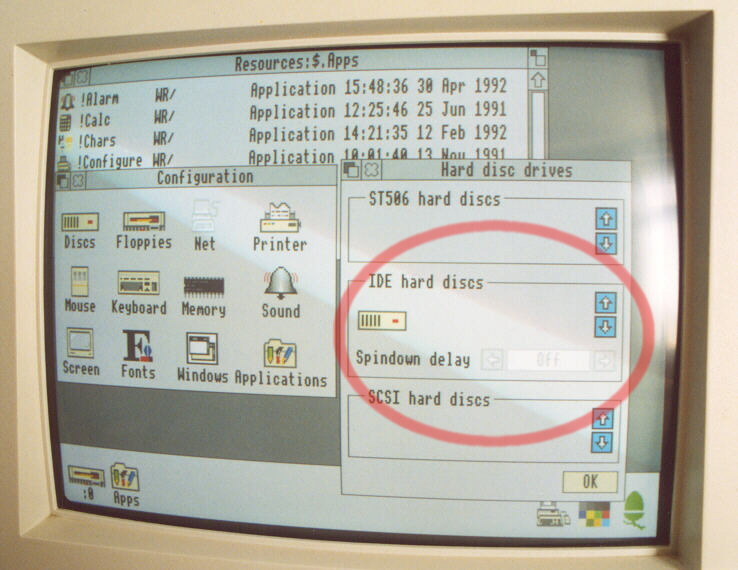
Select Apps-Configuration-Discs. Then using the up/down arrows, add "1" HDD icon
to the display as shown in the IDE HDD section followed by "OK"
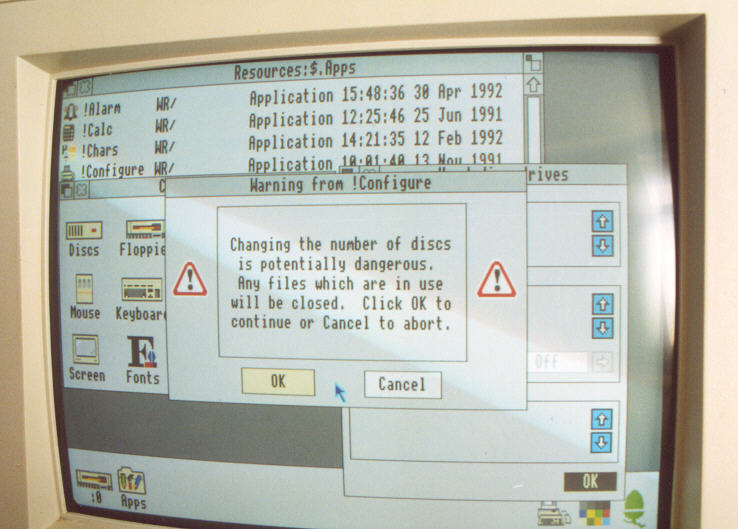
You will recieve this warning screen. Just click on "OK"
When done, the new HDD will be present on the taskbar.
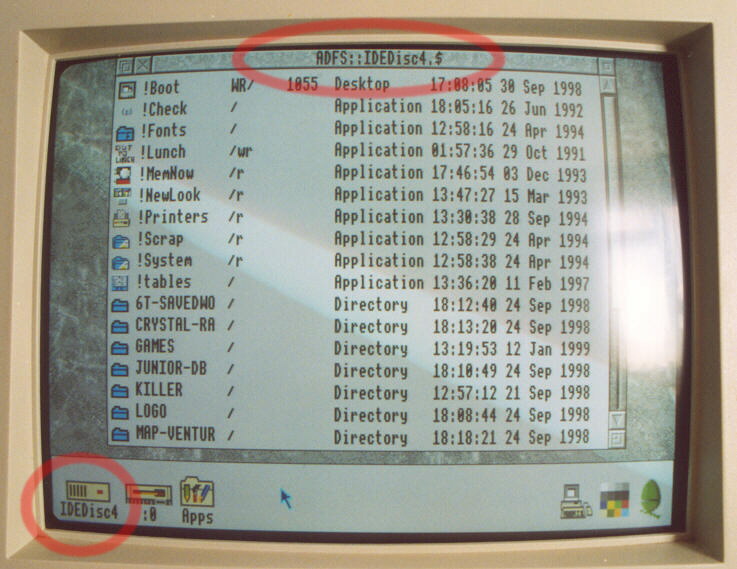
Just click on its icon to boot and view its contents. Job well done.