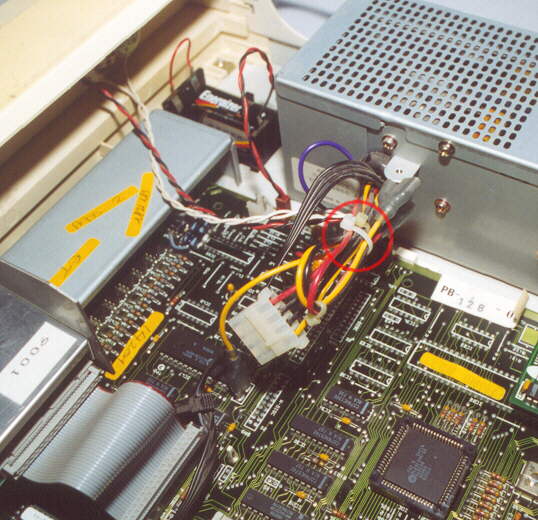
Inside the machine, cut the cable tie that holds the extra power cables together.
DO NOT cut into the cables.

You should now have a red, black and yellow and the spare connector for a hard disc.
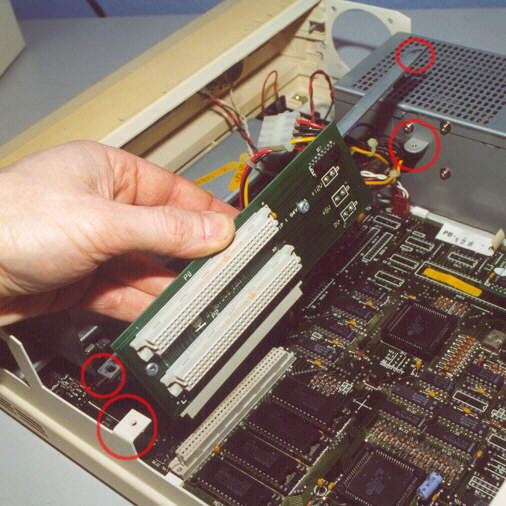
Fit the backplane as shown, being careful not to trap any cables.
The holes in each end of the mounting bar should line up with the one on the PSU and side of the case.
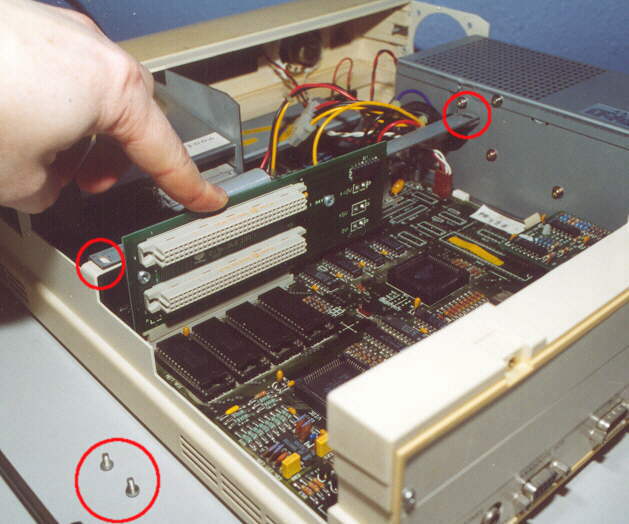
When everything is in line gently push down to ensure the connector is fully home. Secure the backplane
and mounting bar to the machine using the 2 straight screws in the positions highlighted.
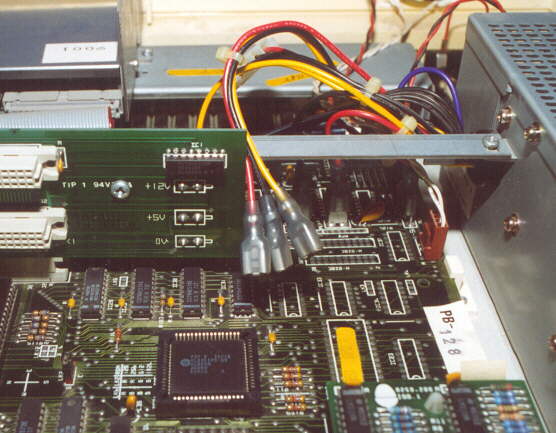
The 3 power cables need fitting to the Backplane. Yellow to the +12v, Red to the +5v and Black to the 0v
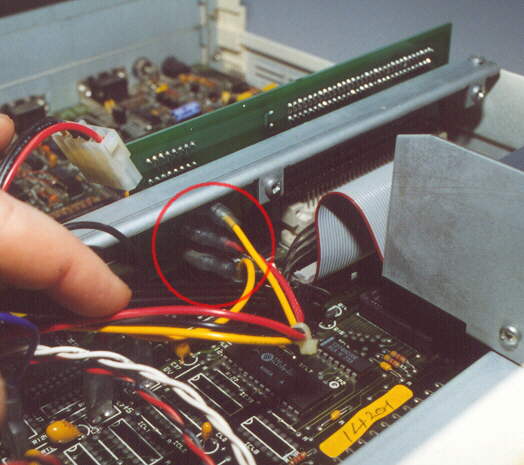
They fit on the opposite side to the markings! How usefull ! It's a tight job with large hands so be careful.
And support the other side of the backplane whilst pushing the connectors on.
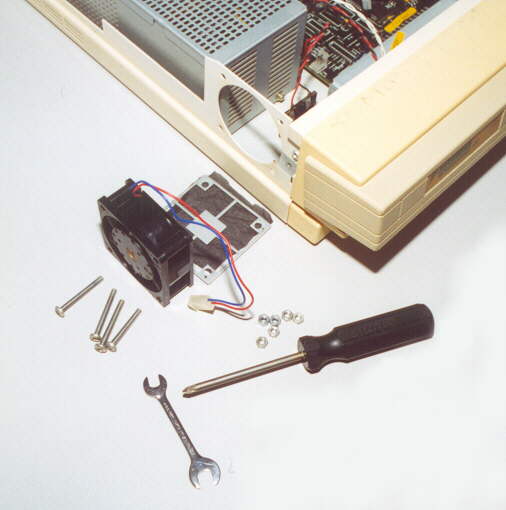
Next we will fit the chassis fan. Take the 4 long screws and push them through the 4 holes in the side of
the chassis from the outside inwards. Hold them in place and fit the fan over them,
NOTE - the direction of airflow is shown on the fan body, the arrow should be pointing INWARDS.

Secure the fan in place with 4 nuts.
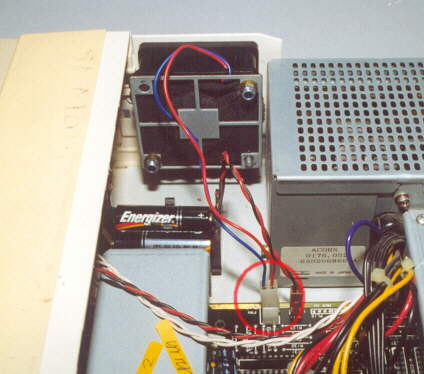
Finally press the filter over the screws and fit the filter clamp, securing it with the final 2 nuts.
Last and most important, attatch the fans power connector to the mainboard as highlighted.
You can now either fit some podules or just replace the machines lid.