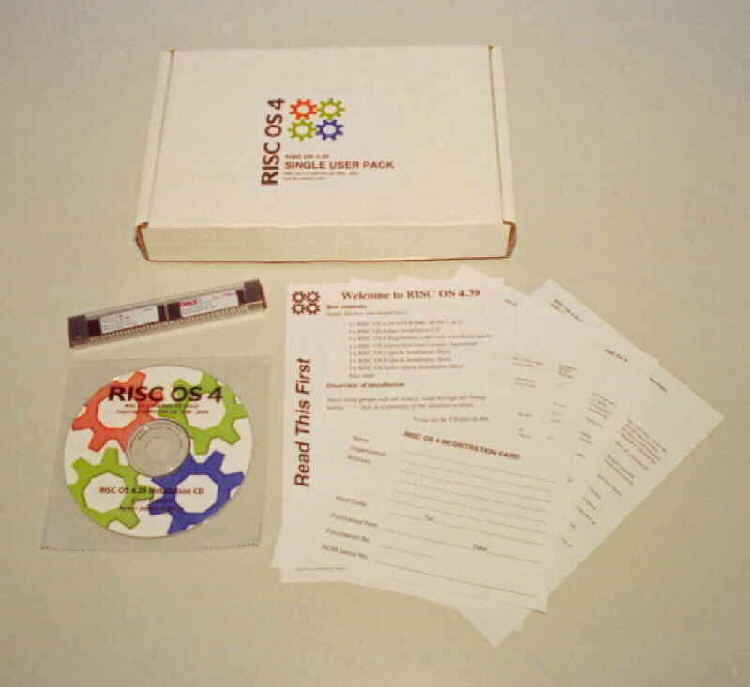
RISC OS 4 Adjust Single User Pack, as supplied to me via CJE Micro's.
It contains, 2 ROM's containing the OS, a CD with relevant hard disc components for many
variations of Adjust upgrade, Instruction leaflets and product registration card.

A last look at my RISC-PC's desktop in RISC OS 3.7 format.
Whilst the machine is still running, make a copy onto floppy disc of !Hform from the CD.
This will be required to re-format the hard disc for RISC OS 4.
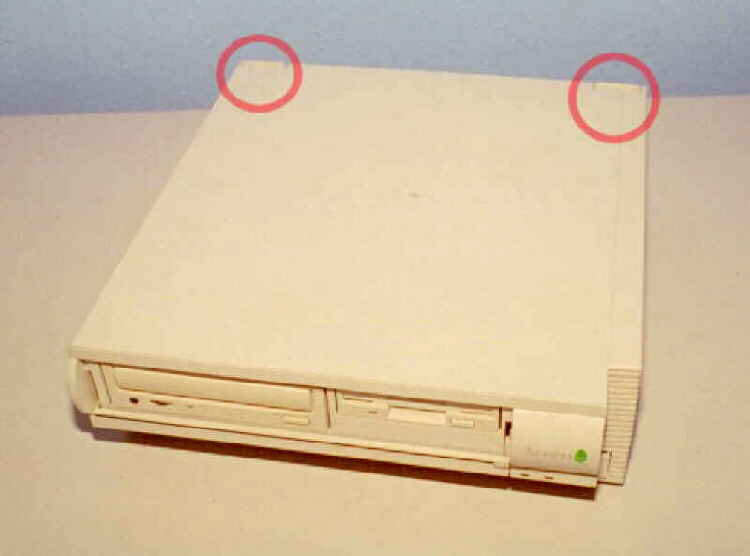
First step, remove the top cover by turning the two rear locking screws through 90 degrees.
The top cover can now be removed.
Remove the processor and any co-processor from their relative slots.
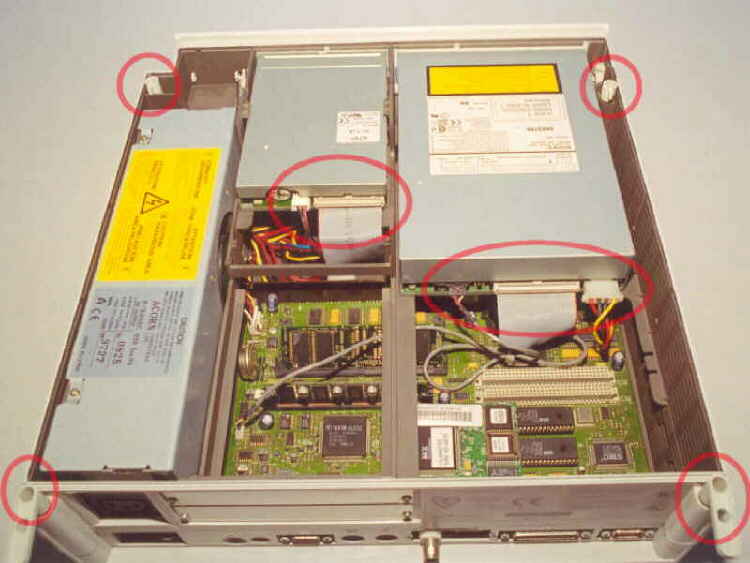
Disconnect cables to the floppy and CD-ROM drive, remove the four locking pins.
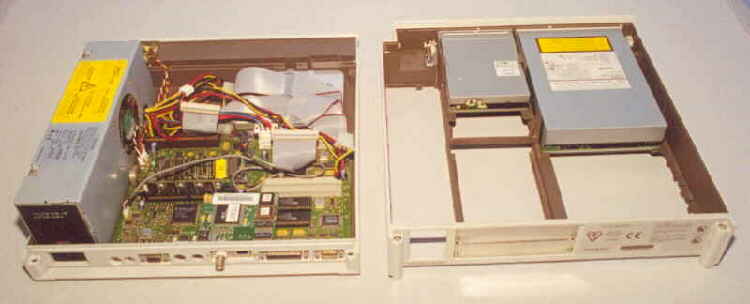
The upper "slice" can now be lifted away.
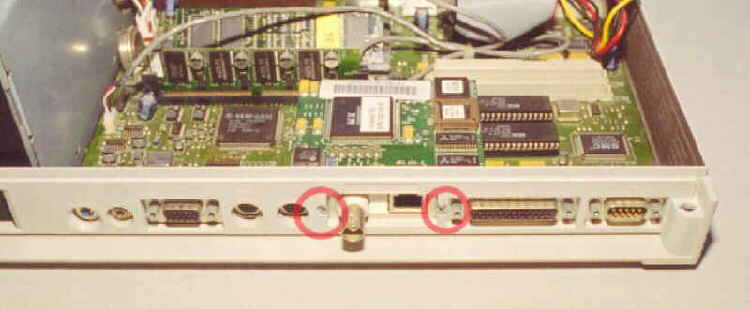
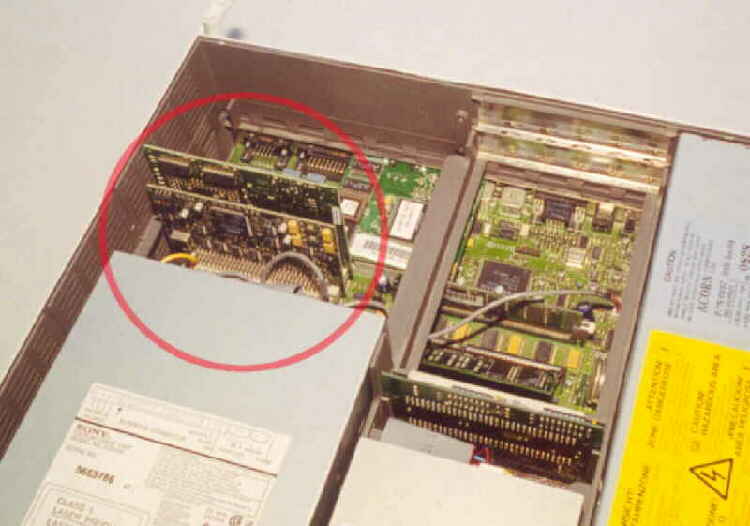
If fitted, remove the two screws that secure the network card in place.
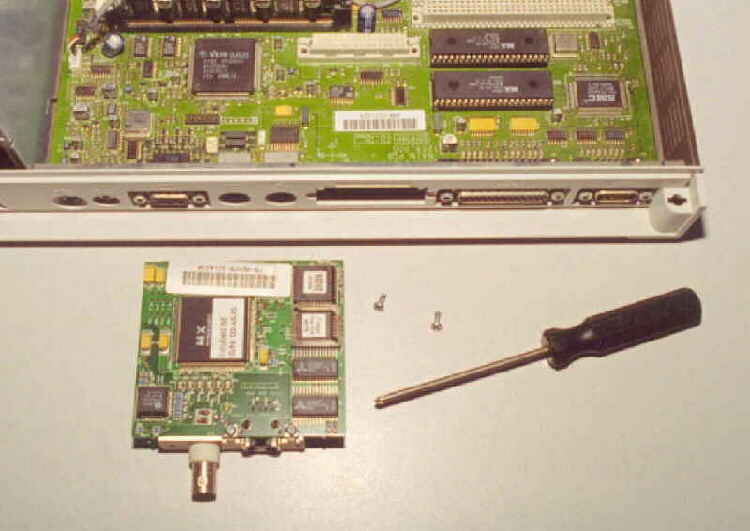
Ease the card out of its mainboard socket and away from the chassis.
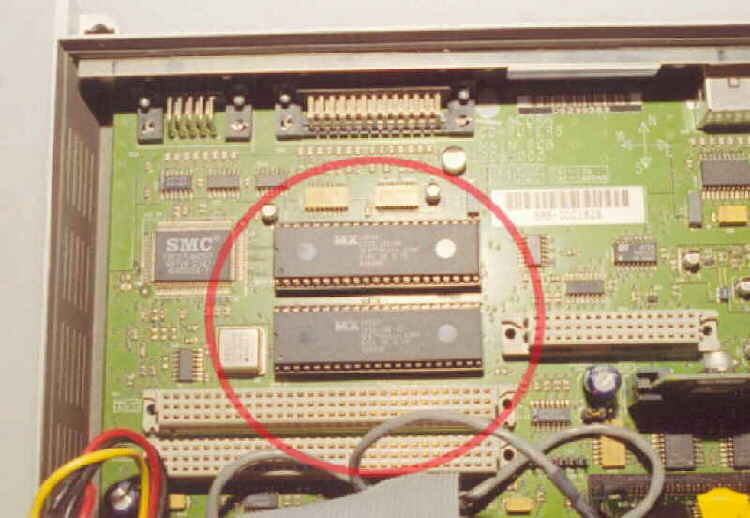
We now have a clear view of the OS ROM's, they are labeled ROM 1 and 2.
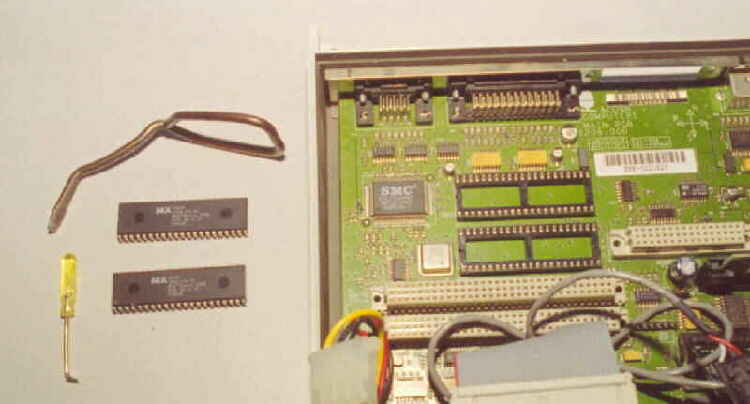
CAREFULLY ! ease out the old ROM's. I use these bent screwdrivers to do the job.
Place the screwdriver between the ROM and ROM SOCKET and ease from one end, then another
until the ROM's free. Be careful not to damage the pins on the ROM, or more importantly the mainboard.
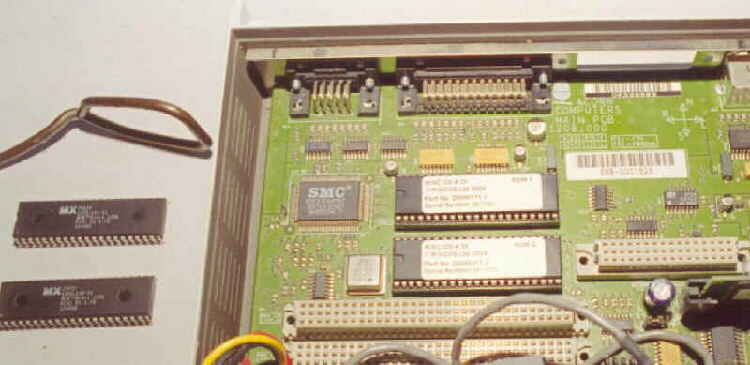
Take the new ROM's, they are labeled ROM-1 and ROM-2, line up, and push them into there relevant sockets,
making sure pins line up BEFORE pushing home. If the pins are spread to wide from side to side, lay the
chip on its side on a table and bend them all at once slightly so they are 90 degrees to the ROM.
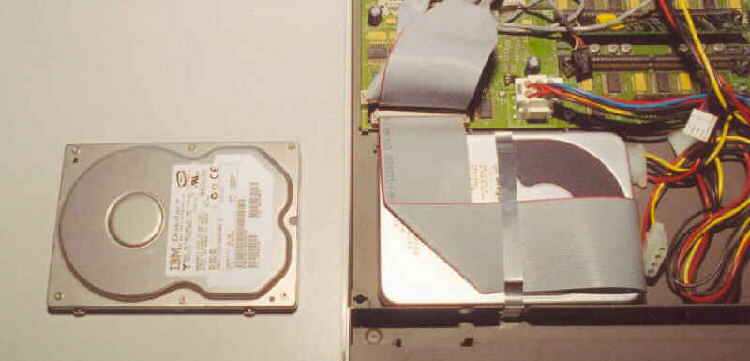
I decided that now would be a good a time as any to upgrade the old 1.2Gb Hard Disc with an
IBM DeskStar 40Gb unit. Just make sure the new drive has its jumpers set to MASTER.