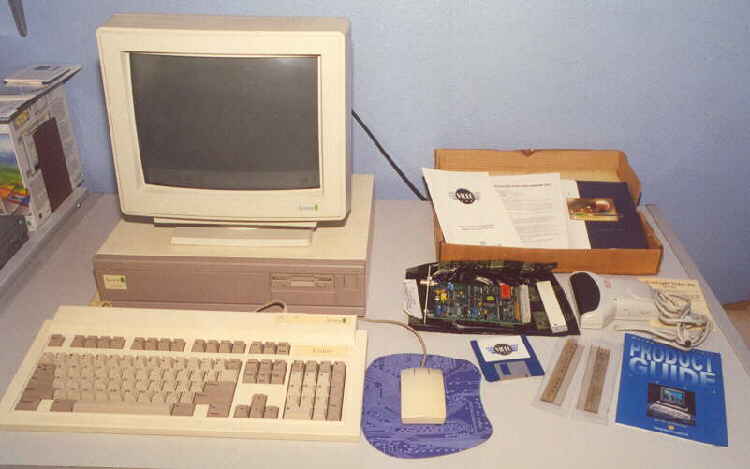
A newly aquired Computer Concepts Scanlight 256 Video Podule and Hand Scanner is to be fitted to my A5000
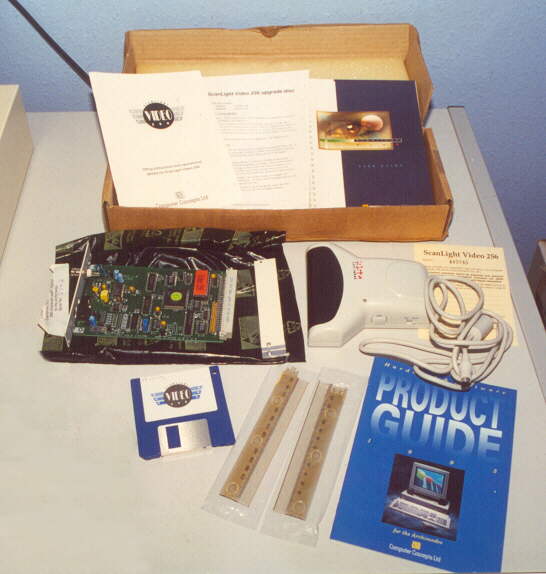
The package consists of, Podule, Hand Scanner, Manual, Fitting Instructions, Updated software leaflet,
Software on Floppy Disc, Registration Card, Ruler for scanning in a straight line (very useful) and of course,
the original box.
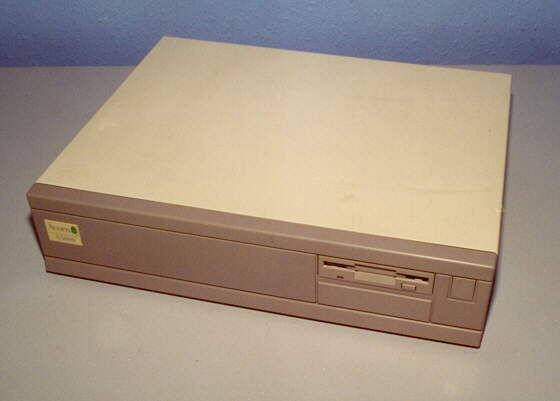
Disconnect the machine from the mains supply and remove monitor, keyboard mouse etc.
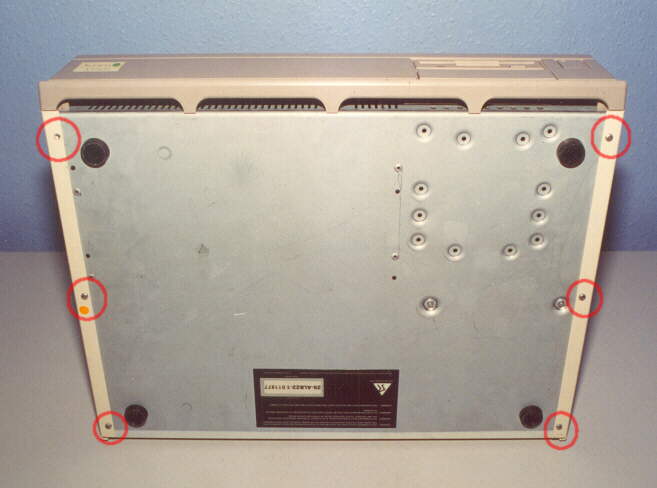
Unscrew and remove the six screws highlighted in this image, these secure the lid.
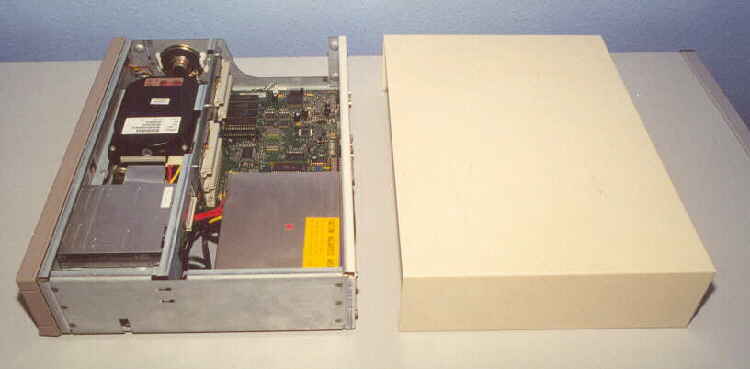
Sit the machine right way up, and slide the top cover off to the rear.
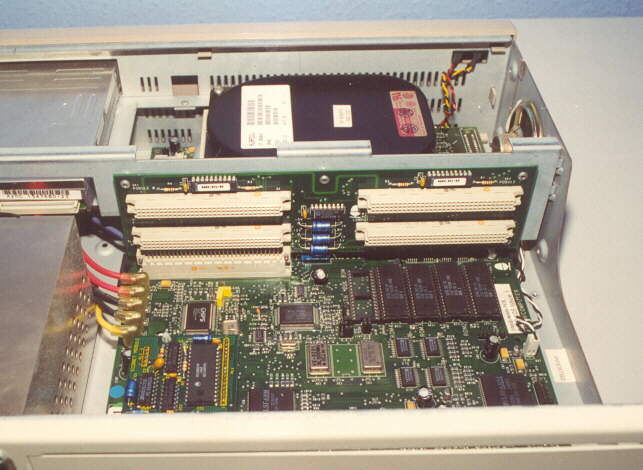
This machine has the "required" backplane fitted and plenty of choice as to available locations
for the podule. The podule can be fitted to any slot.
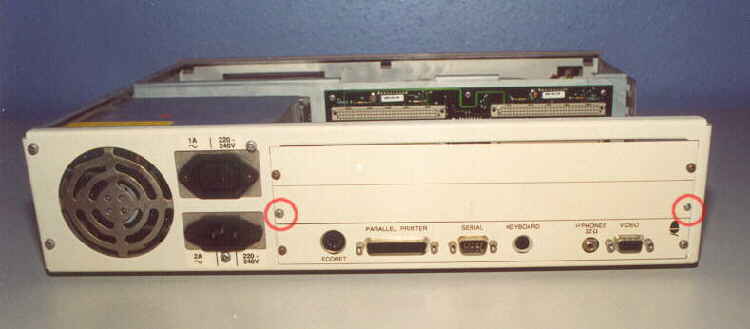
We now need to remove a blanking plate from the rear of the case, we will remove the lower one as
fitting the podule here will make future upgrades easier. So remove the two screws highlighted.
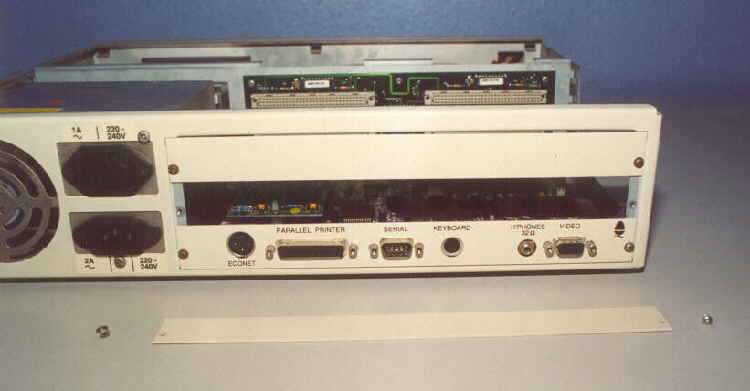
This image shows the blanking plate removed.
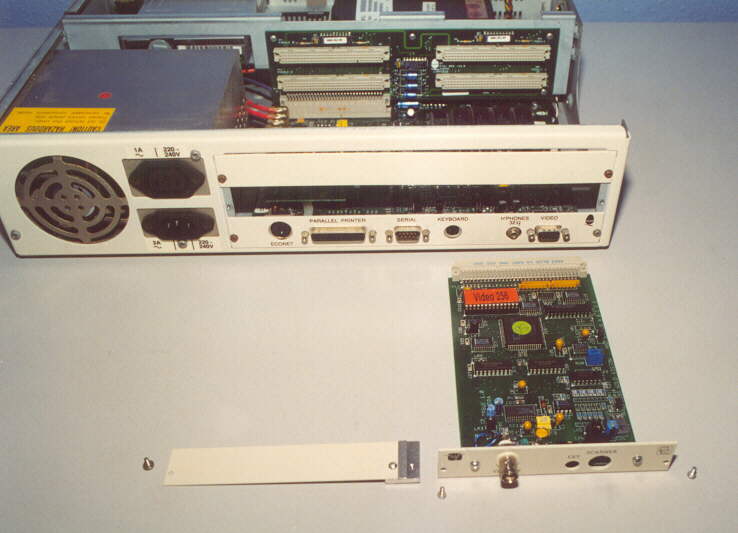
Here we have the podule (half width) and a Half Width blanking plate to seal the rear of the case.
We will be fitting the podule to the lower right slot in this case.

Carefully manouver the podule through the slot at the rear and connect it to the backplane by
pressing it together. I have secured one end of the podule to stop it falling out (highlighted).
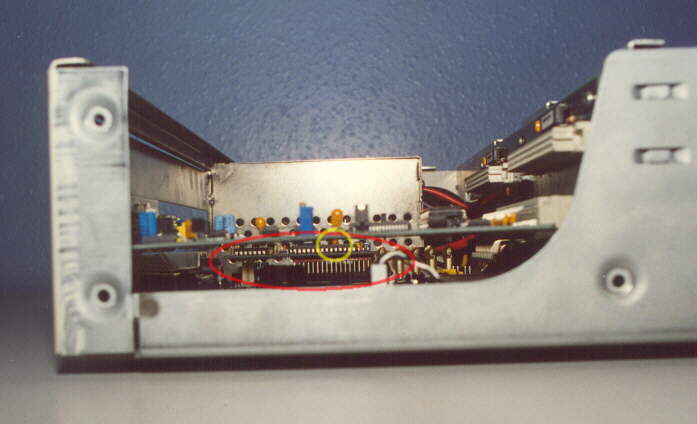
The reason I chose the right hand slot is due to a capacitor on the Econet module being rather high
and it was fouling the underside of the Scanlight board, If I need to use the left hand slot in
future I will have to carefully bend the capacitor out of the way.
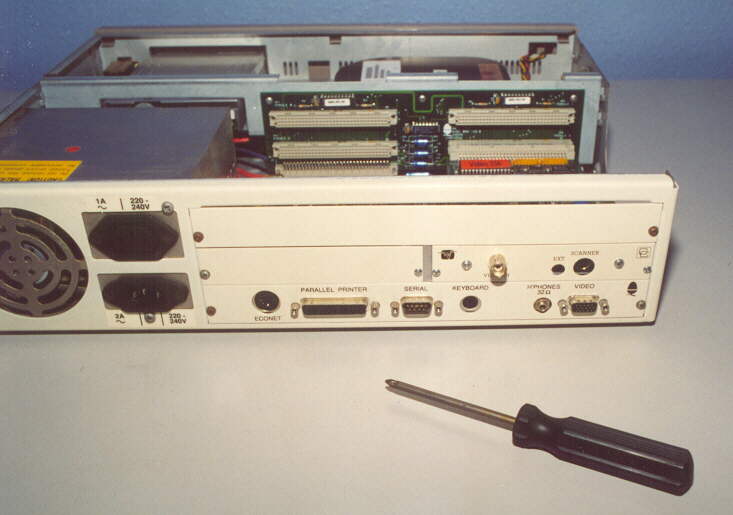
Now fix the supplied half width blanking plate into position using original and screws supplied.