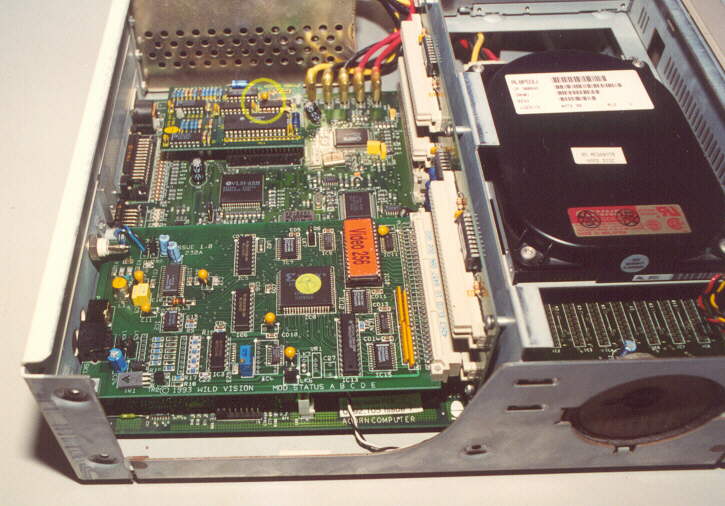
A general view of the completed installation.
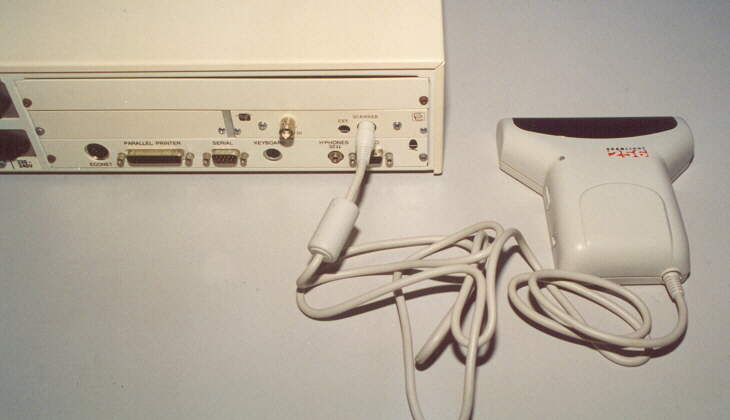
The Hand Scanner plugs into the Scanner port on the podule.
DO NOT plug in or disconnect the Hand Scanner with the machine powered up!

Re-assemble the machine ie monitor, keyboard and mouse. Power on and when the desktop is reached
press F12 and type *podules , If you have successfully installed the podule it will display its
hardware info and the podule slot to which it is fitted.
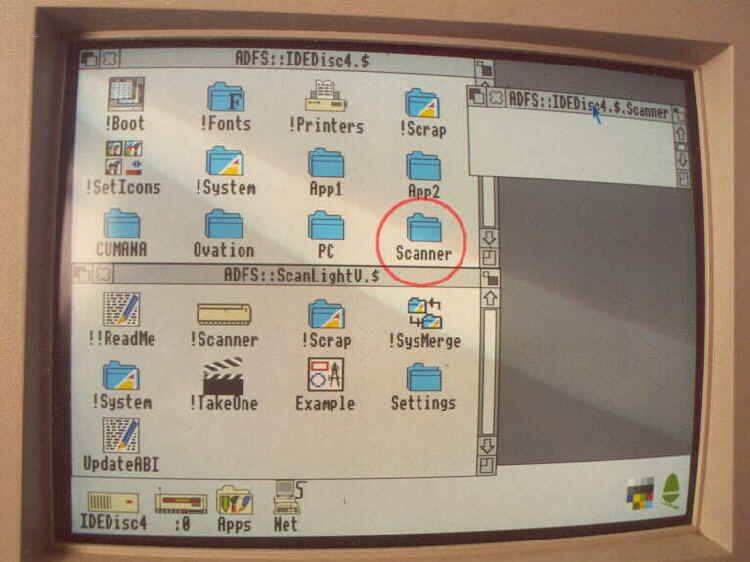
Using the Filer I have created a new Directory (highlighted) called "Scanner".
I have opened this new directory on the right of the screen, I have also inserted the software disc and opened
this (lower window), now just highlight all items on the floppy disc and drag them to the new Scanner directory.
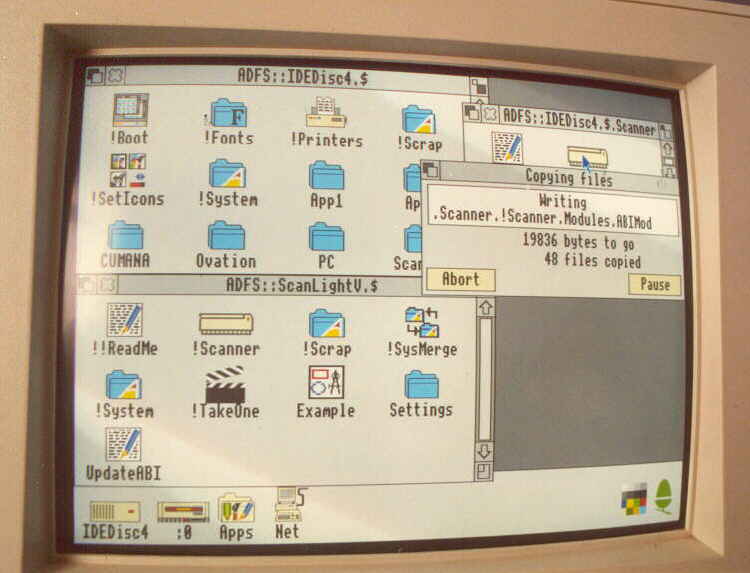
This image shows file transfere under way.
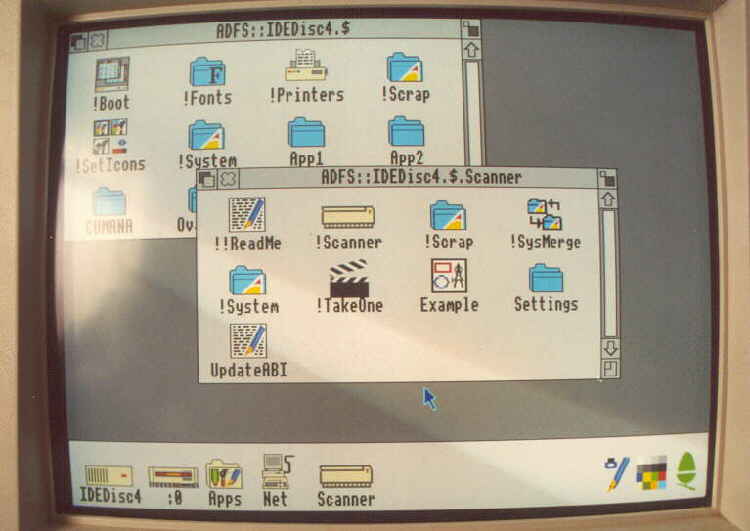
Once complete the Scanner directory should look as it does in this image.
Double clicking on !Scanner loads the application and it appears on the Task Bar.
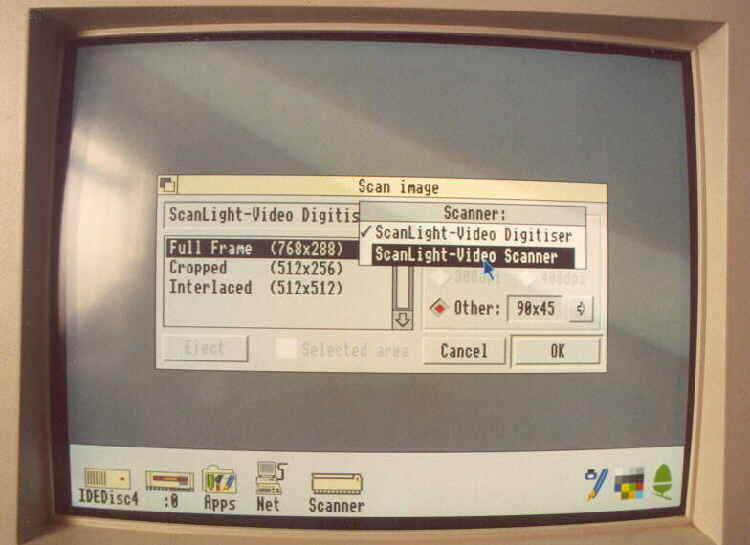
Clicking on the Scanner Icon I am presented with this window.
First thing to do is select my scanning source from the top left drop-down box.
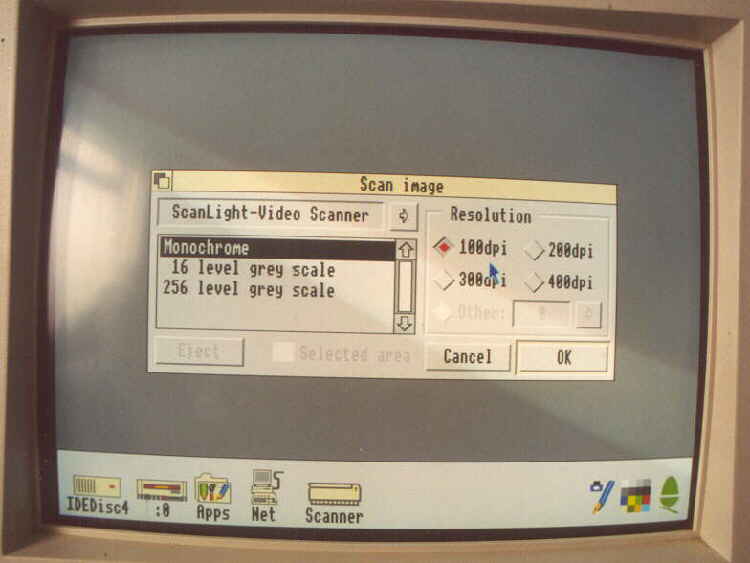
Next I will select my scan settings, so for this test, "16 level grey scale" and "200 dpi" will be selected.
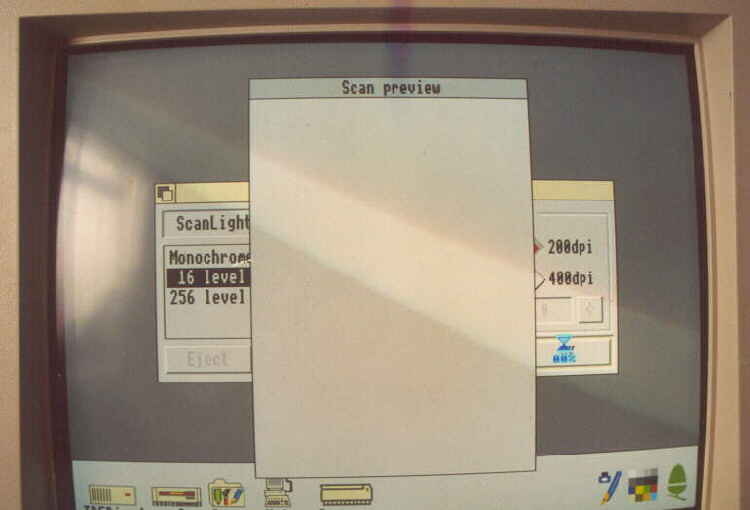
On pressing OK, the Hand Scanner is powered up and a "Scan Preview" window appears.
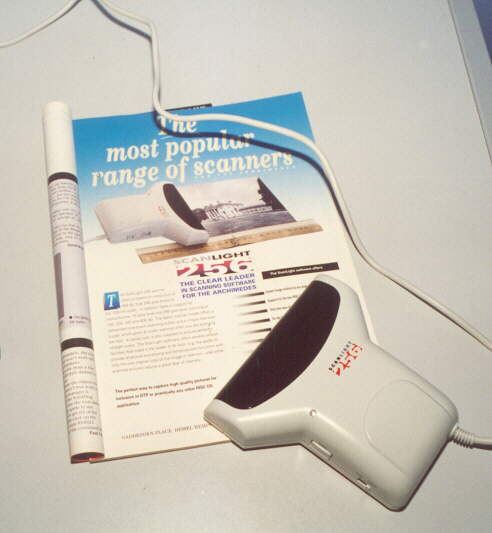
For this demo I have chosen an actual Scanlight advert out of an Acorn magazine to practice on.
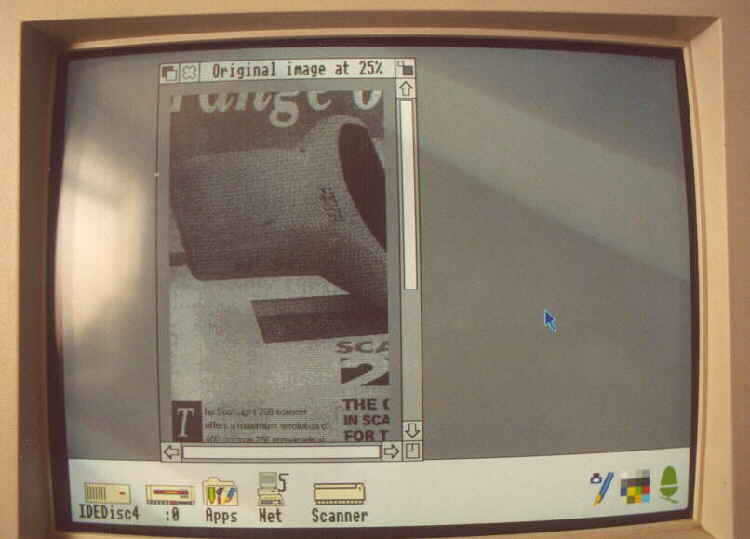
Dragging the scanner across the image whilst holding the "Scan" button produces a real-time preview
on the screen. Experiment with dot-pitch, brightness etc with the controls on the scanner itself.
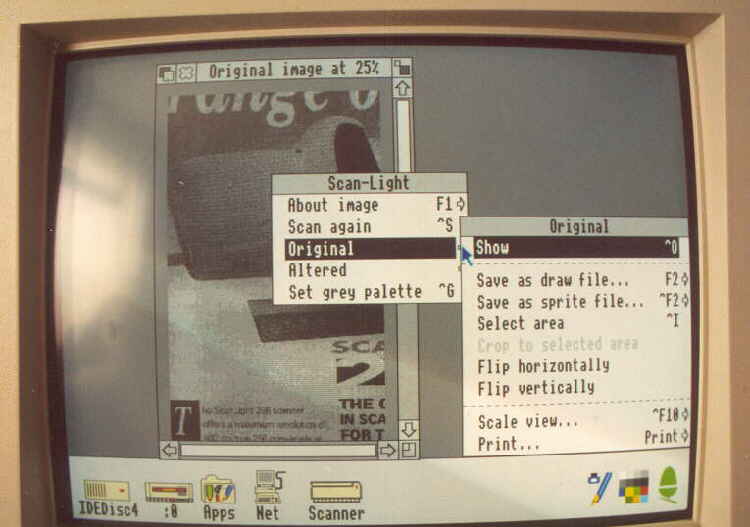
On completion of scanning I can now use the Menu (centre mouse button) and from this Save the image to disc.
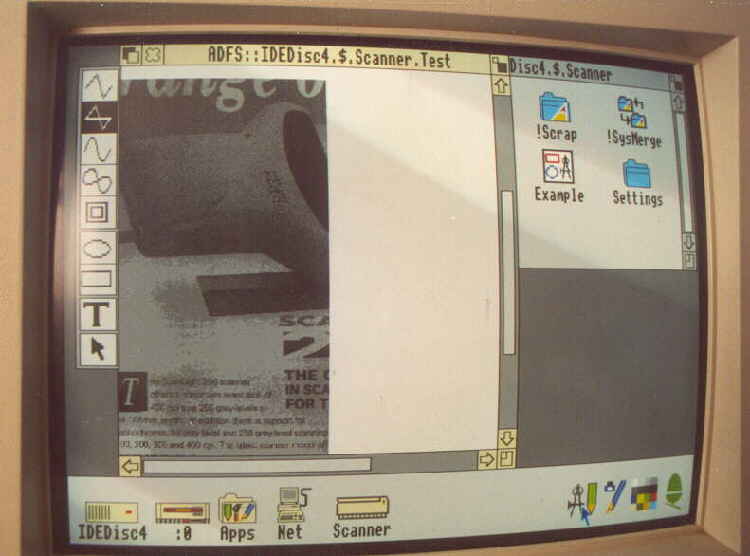
To view my image I have dragged the newly created file to !Draw. This has been a test.
Better results can be obtained by selecting 256 level grey scale, but remember more memory
is required for higher resolution and levels of grey scale.