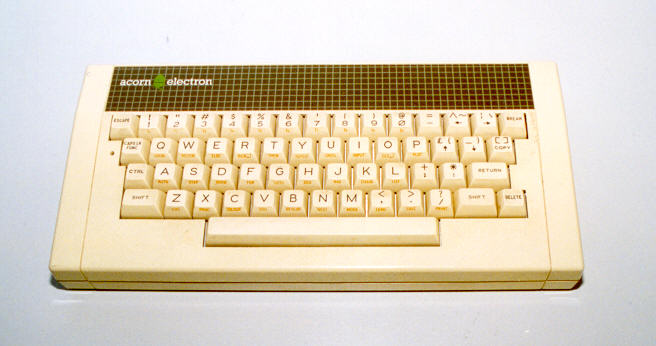
An Acorn Electron ready for a clean-up.
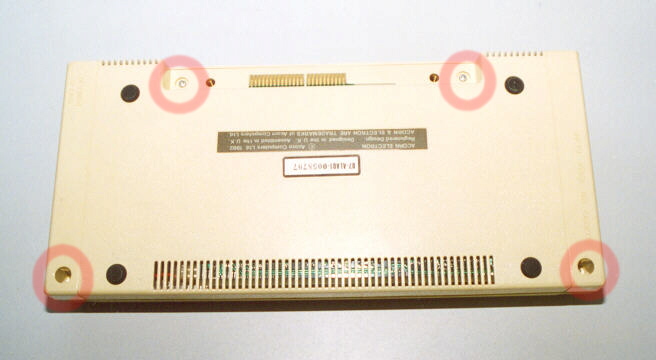
First, remove the 4 screws indicated in the base of the unit.
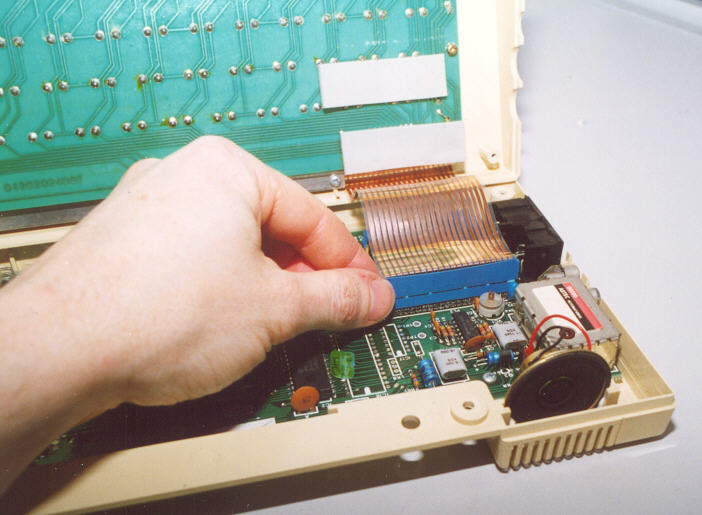
Next, pivot the top half of the case forward and remove the keyboard
ribbon cable by gripping at its ends and working it off. It will more than
likely be tight.
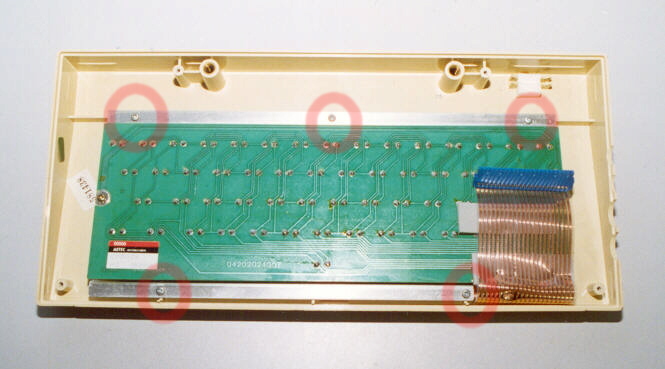
Remove the keyboard assembly from the top half of the case by removing
the 5 screws highlighted in this image.
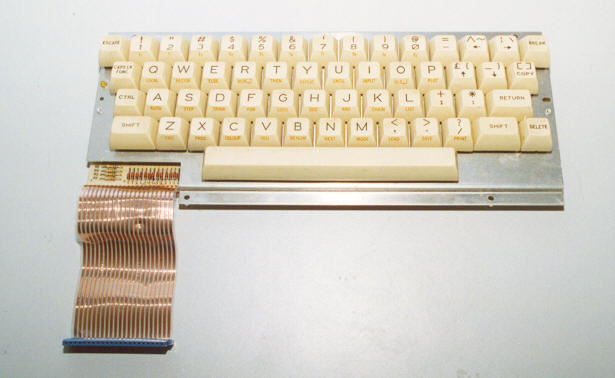
A view of the keyboard assembly removed.
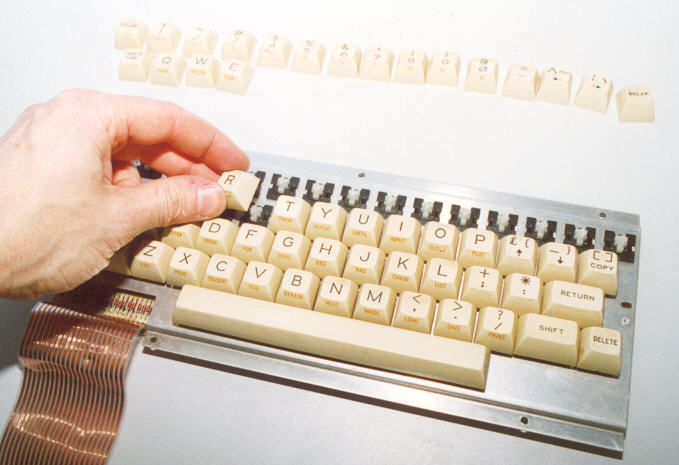
Remove the keys one at a time by gripping hold of them and pulling
upwards. Some will come off easily but some will take quite a force.

Dust, then wipe the keyboard chassis with a damp cloth. Then take
a damp cloth to the keys. Not the best of images but you can see the difference.