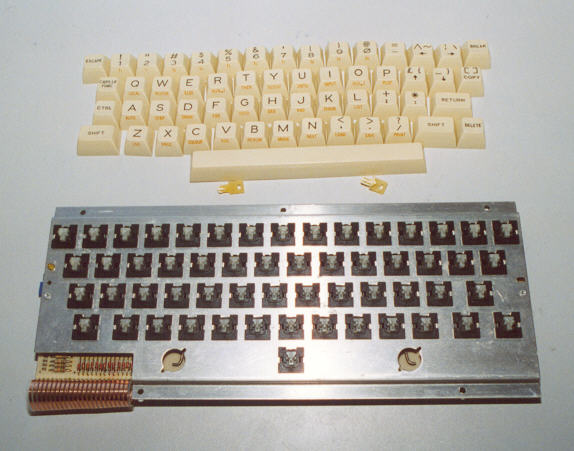
Once cleaned, all the keys can be refitted to the keyboard's "chassis".
Just press them back on.

Next, take a wet cloth, drip water on the case and give it a good
scrub with an "old" toothbrush. This will get any grime out of the textured
surface. (Bad image Right Hand side clean in this picture).
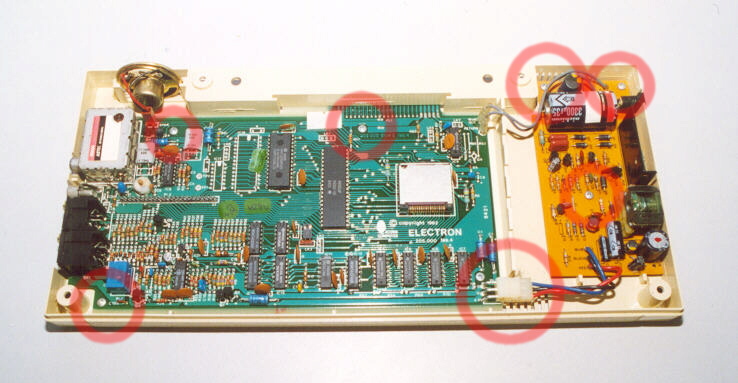
Now remove the Mainboard and internal PSU by removing the screws
an cables highlighted.

The two boards can now be lifted free. Clean the bottom half of
the case in the same was as the top. Damp cloth and a bit of a scrub with
a brush.
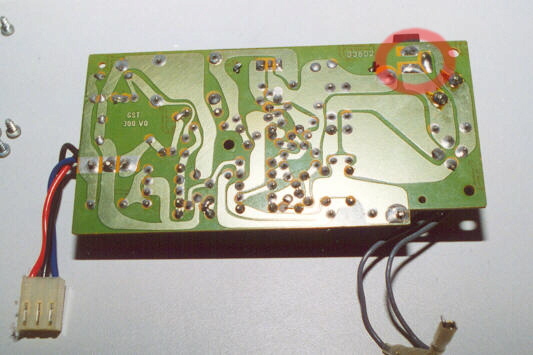
Dust the PSU board off, then INSPECT the area highlighted in this
image for cracked solder joints.
Its a common fault on Electrons. Repeated removal/insertion of power
lead weakens the joint.

Clean the mainboard with a brush and vacuum hose and it will come
up like new.
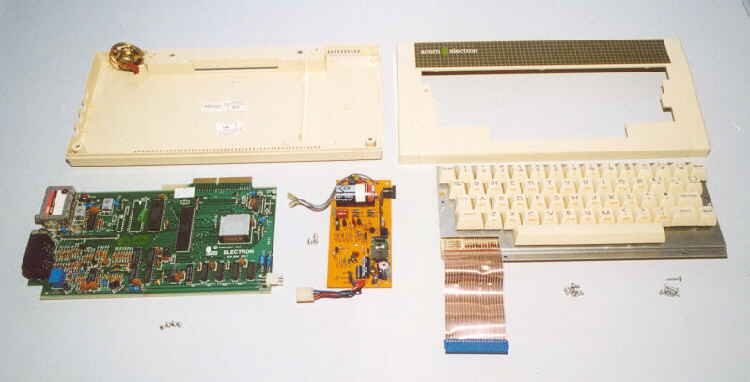
All the parts laid out ready for re-assembly. Just do the reverse
of above, you cant go wrong.