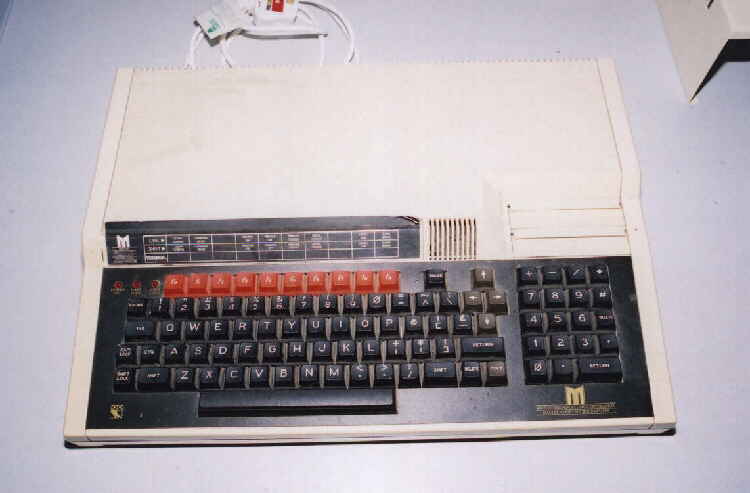
A typically grubby Acorn BBC Master 128 ready for a bit of restoration.
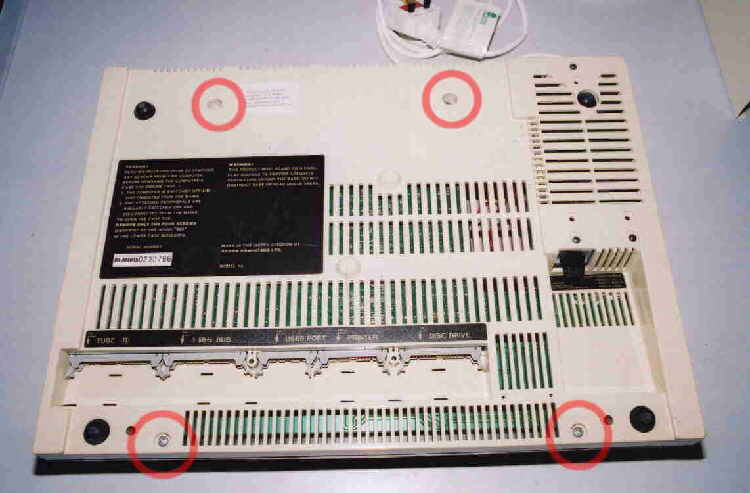
First of all, on the underside remove the 4 screws marked "Fix".
The 2 from the rear will be longer than the 2 from the front.
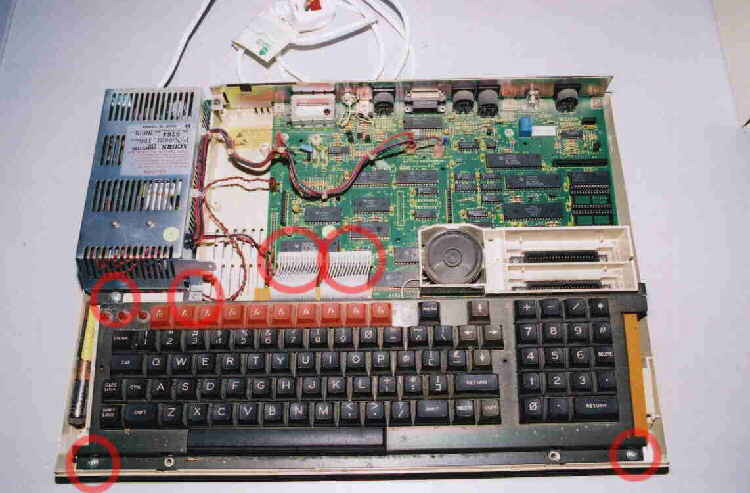
Turn the assembly over again and lift off the lid to reveal a filthy
interior. Undo and remove the 4 screws which hold the keyboard in
place. Followed by the Ribbon cables and lift clear.
With the keyboard removed access is superb.
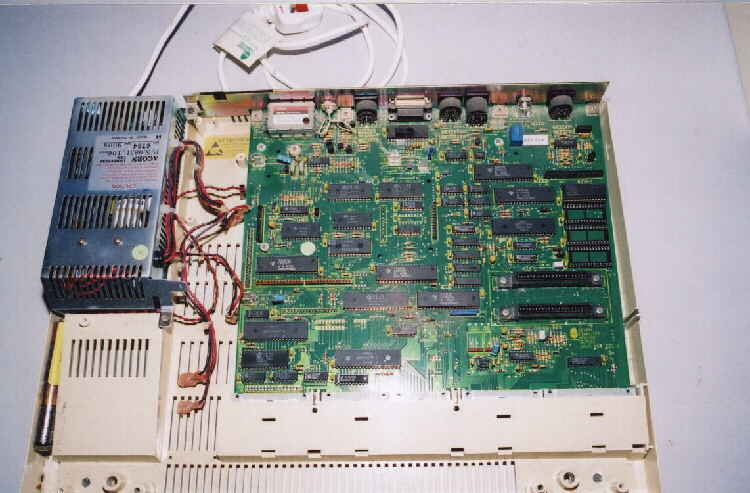
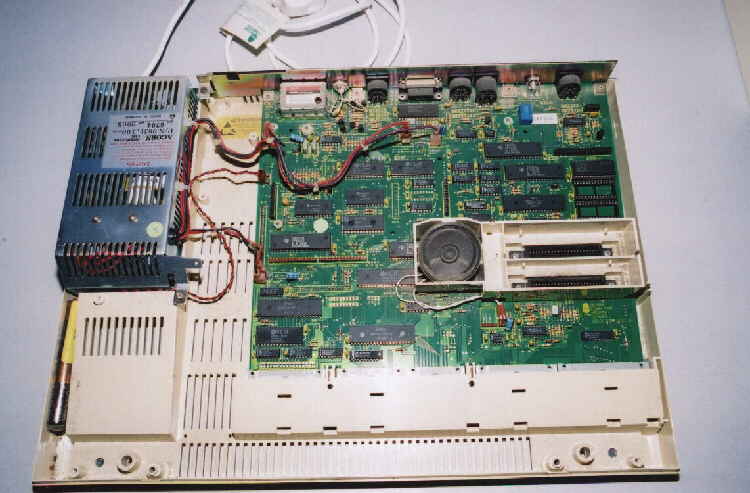
Lift up the ROM cartridge carrier to remove from the mainboard,
unplug the speaker cable and lift the assembly clear. Also remove all power
connections to mainboard, noting where they go.
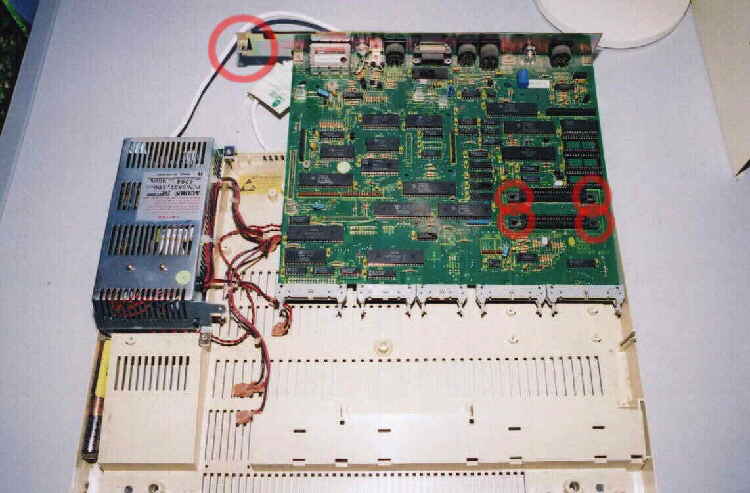
Remove the 4 screws at either end of ROM cart sockets, followed
by 1 where backplane attatches to power supply. Then lift upwards at the
rear and pull mainboard backwards out of the case.
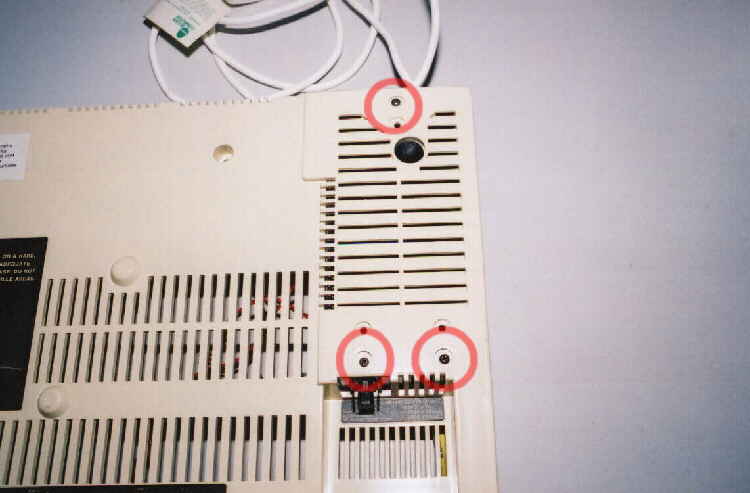
The power supply is removed by unscrewing the 3 screws on the underside of the unit.
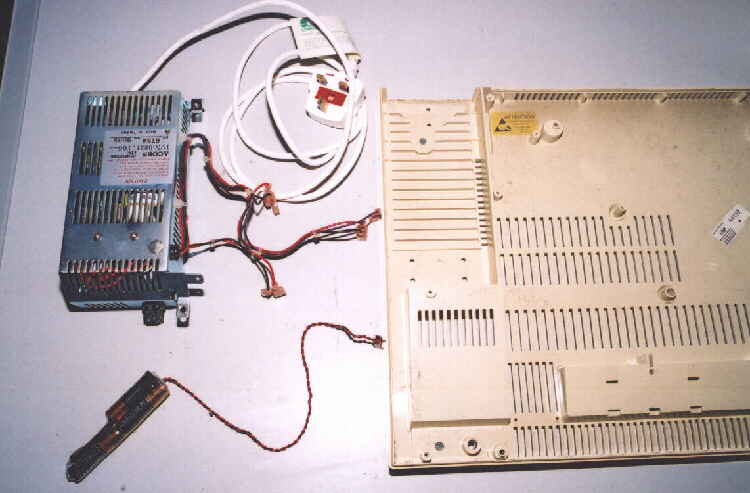
The power supply can now be lifted clear along with the battery pack.
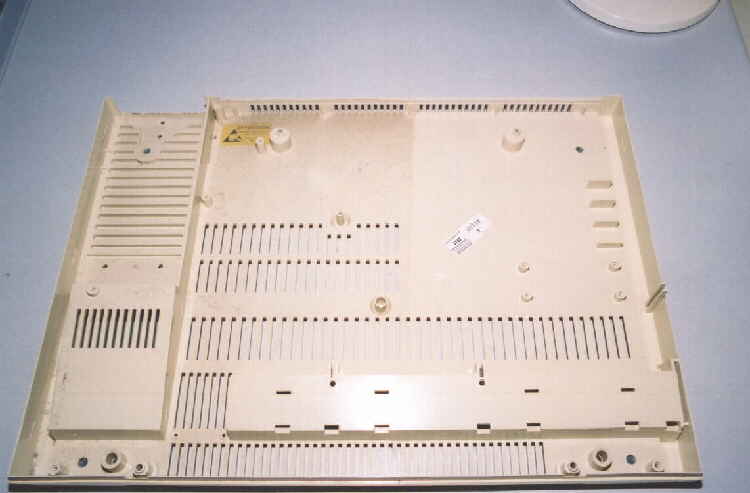
Next using only a damp cloth, clean the interior.
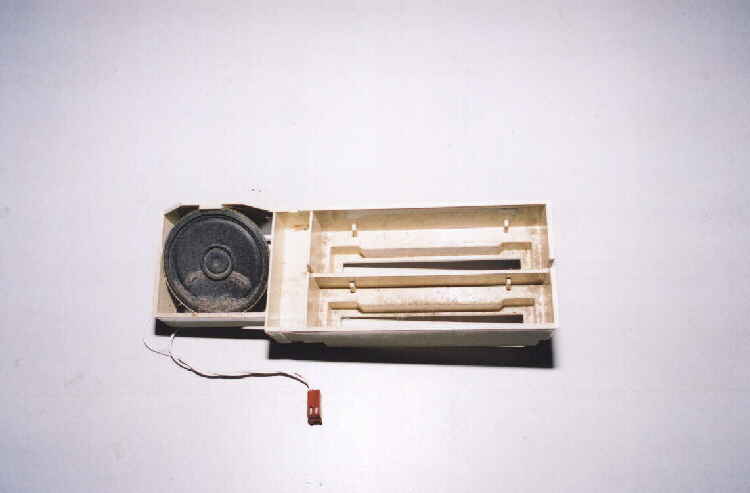
The ROM cartridge assembly will be particularly filthy as dirt
just falls into it through the top flaps.
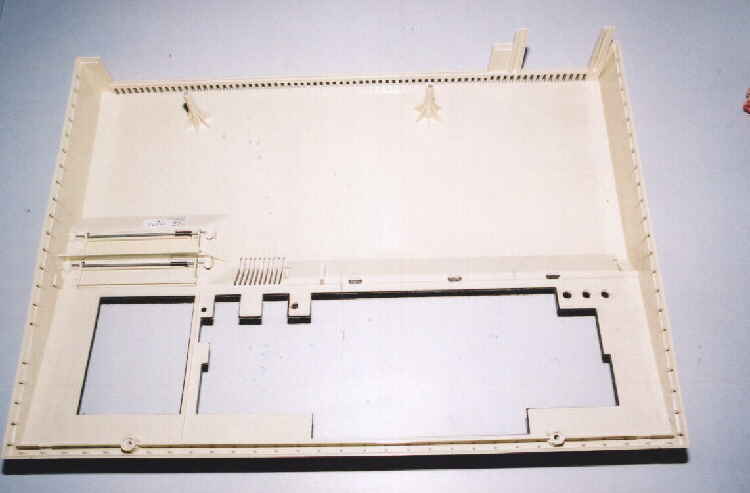
Use the same cleaning technique for the interior of the "lid" section.
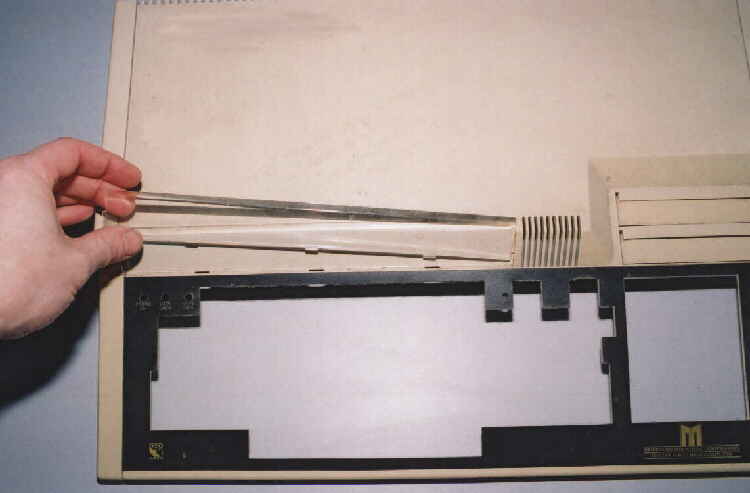
For the Exterior of the lid. First remove the function key-strip, by sliding upwards
then pulling on the centre until "one" end pops out, then lift away.