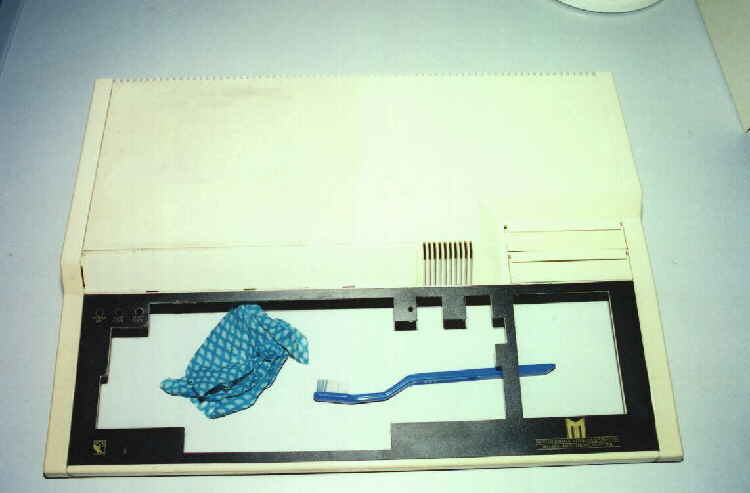
Not a good photograph, but it can be clearly seen on the "right" of the image what
result can be achieved with a little water and scrubbing with an "old" toothbrush.
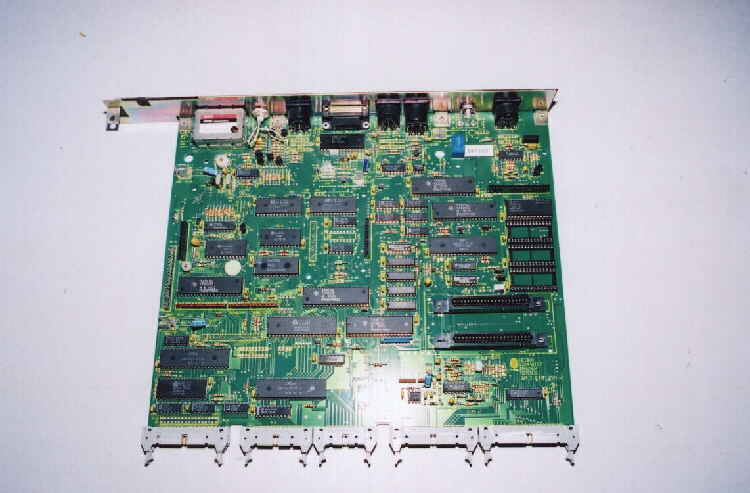
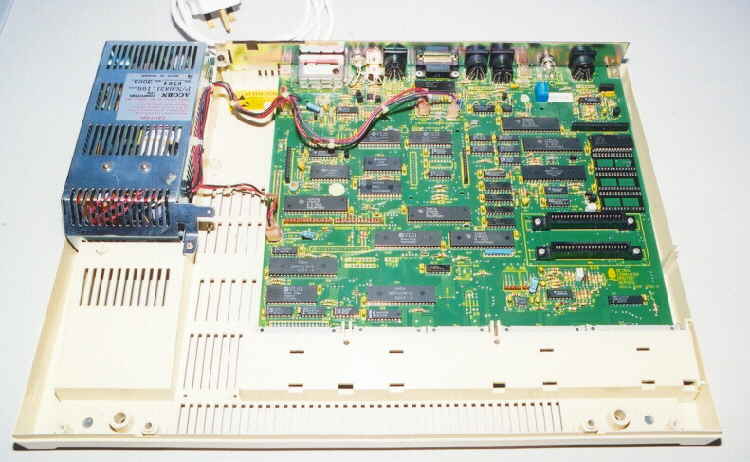
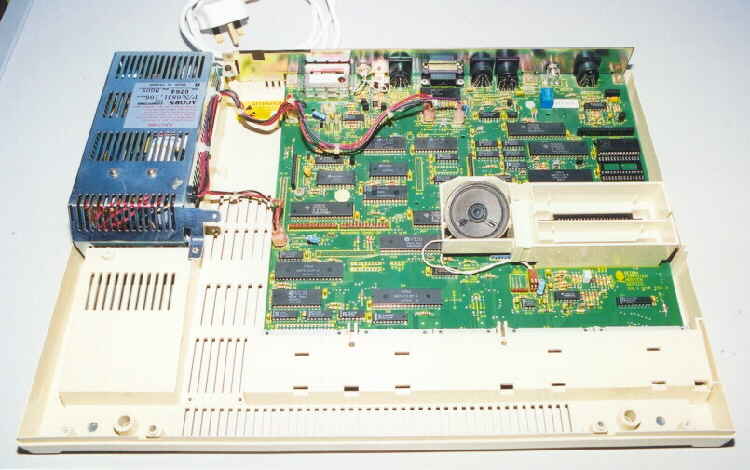
To clean the Mainboard, use an artist soft paintbrush and a vacuum cleaner hose to loosen
and remove the dirt/dust. Mainboards clean up surprisingly well using this technique.
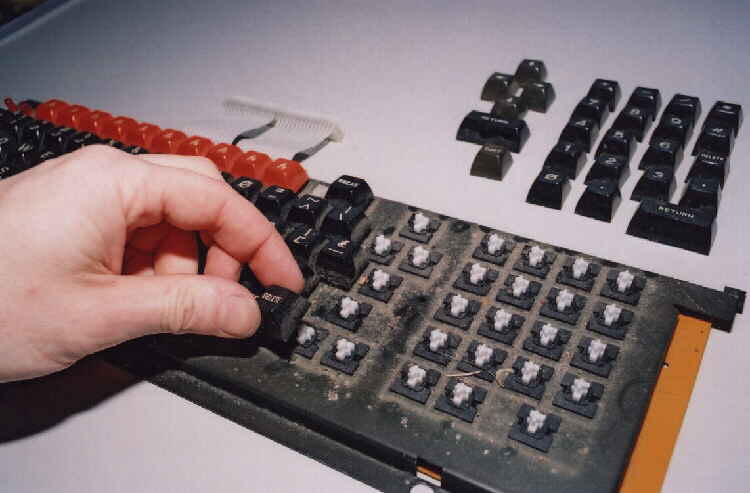
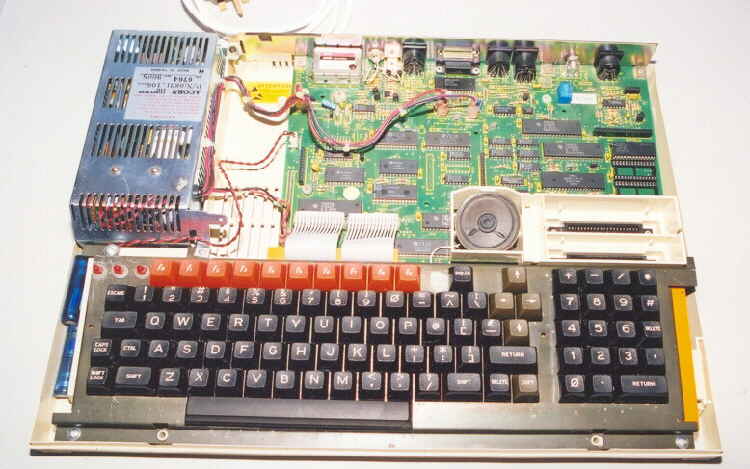
Next the Keyboard. Remove all the keys by gripping hold and pulling upwards away from
the keyboard. Not for the feint hearted, all sorts of grime will be found here.
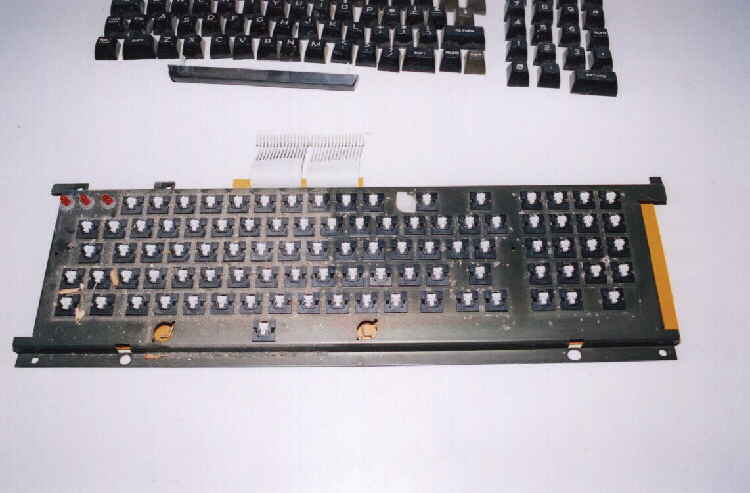
With all the keys removed, use the same technique as the Mainboard.
A brush and vacuum hose. The results are noticable on the right of the image.
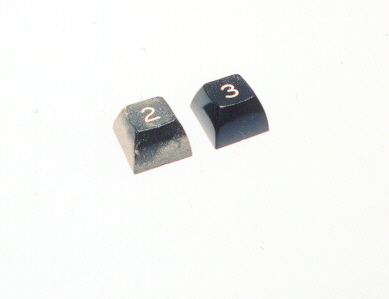
Wash each individual key with a damp cloth only. The dry with a clean cloth.
This image shows the results easily obtained. Its tedious work with this many keys but well worth it.
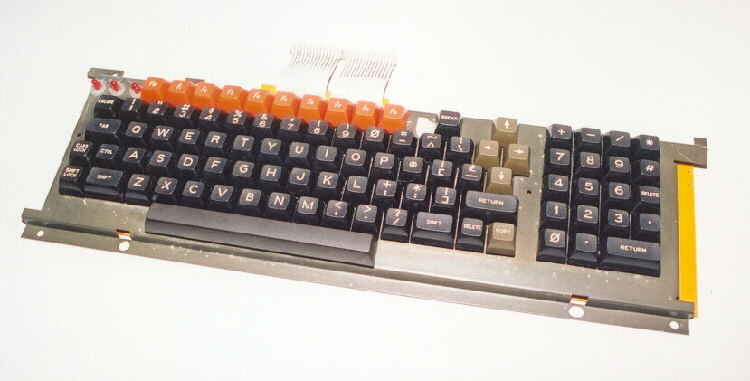
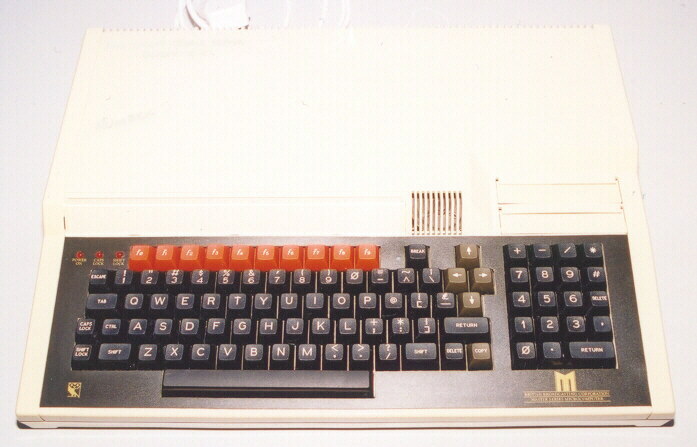
What did I tell you? Look at the image and see how that work has paid off! The keyboard
looks near mint again. Nothing worse than typing on a filthy keyboard.
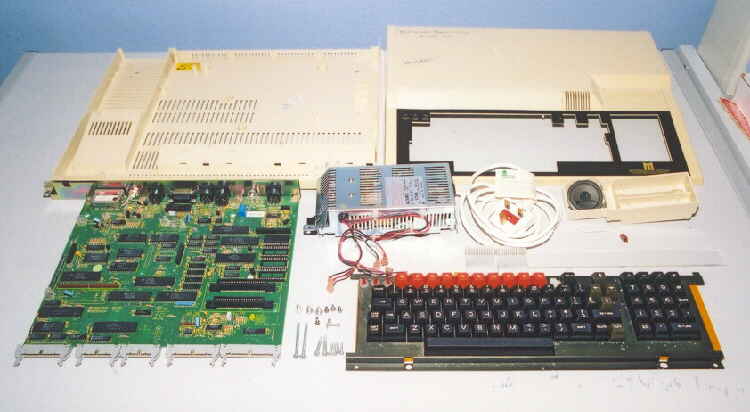
Here we have all the cleaned components laid out ready for re-assembly.
First refit the power supply(3 screws) followed by the mainboard(5 screws 1 clip).
Next reconnect the power leads to the Mainboard EXACTLY how they came off.
Next re-attatch the speaker cable and locate and install the ROM cartridge unit.
Re-fit the Battery pack to the left of the keyboard and its connections to the mainboard.
Refit the keyboard (4 screws 1 clip) and attatch the ribbon cables.
Re-fit the top of the case using 4 screws(2 long 2 short). Looks alot better now.
Dont forget to re-configure the CMOS as settings will have been lost due to battery disconnection.